
...
| Sv translation | ||||||
|---|---|---|---|---|---|---|
| ||||||
1. Forgot your account password. How and where to restore it?User password data is stored in encrypted form, so you can view the information without registering.
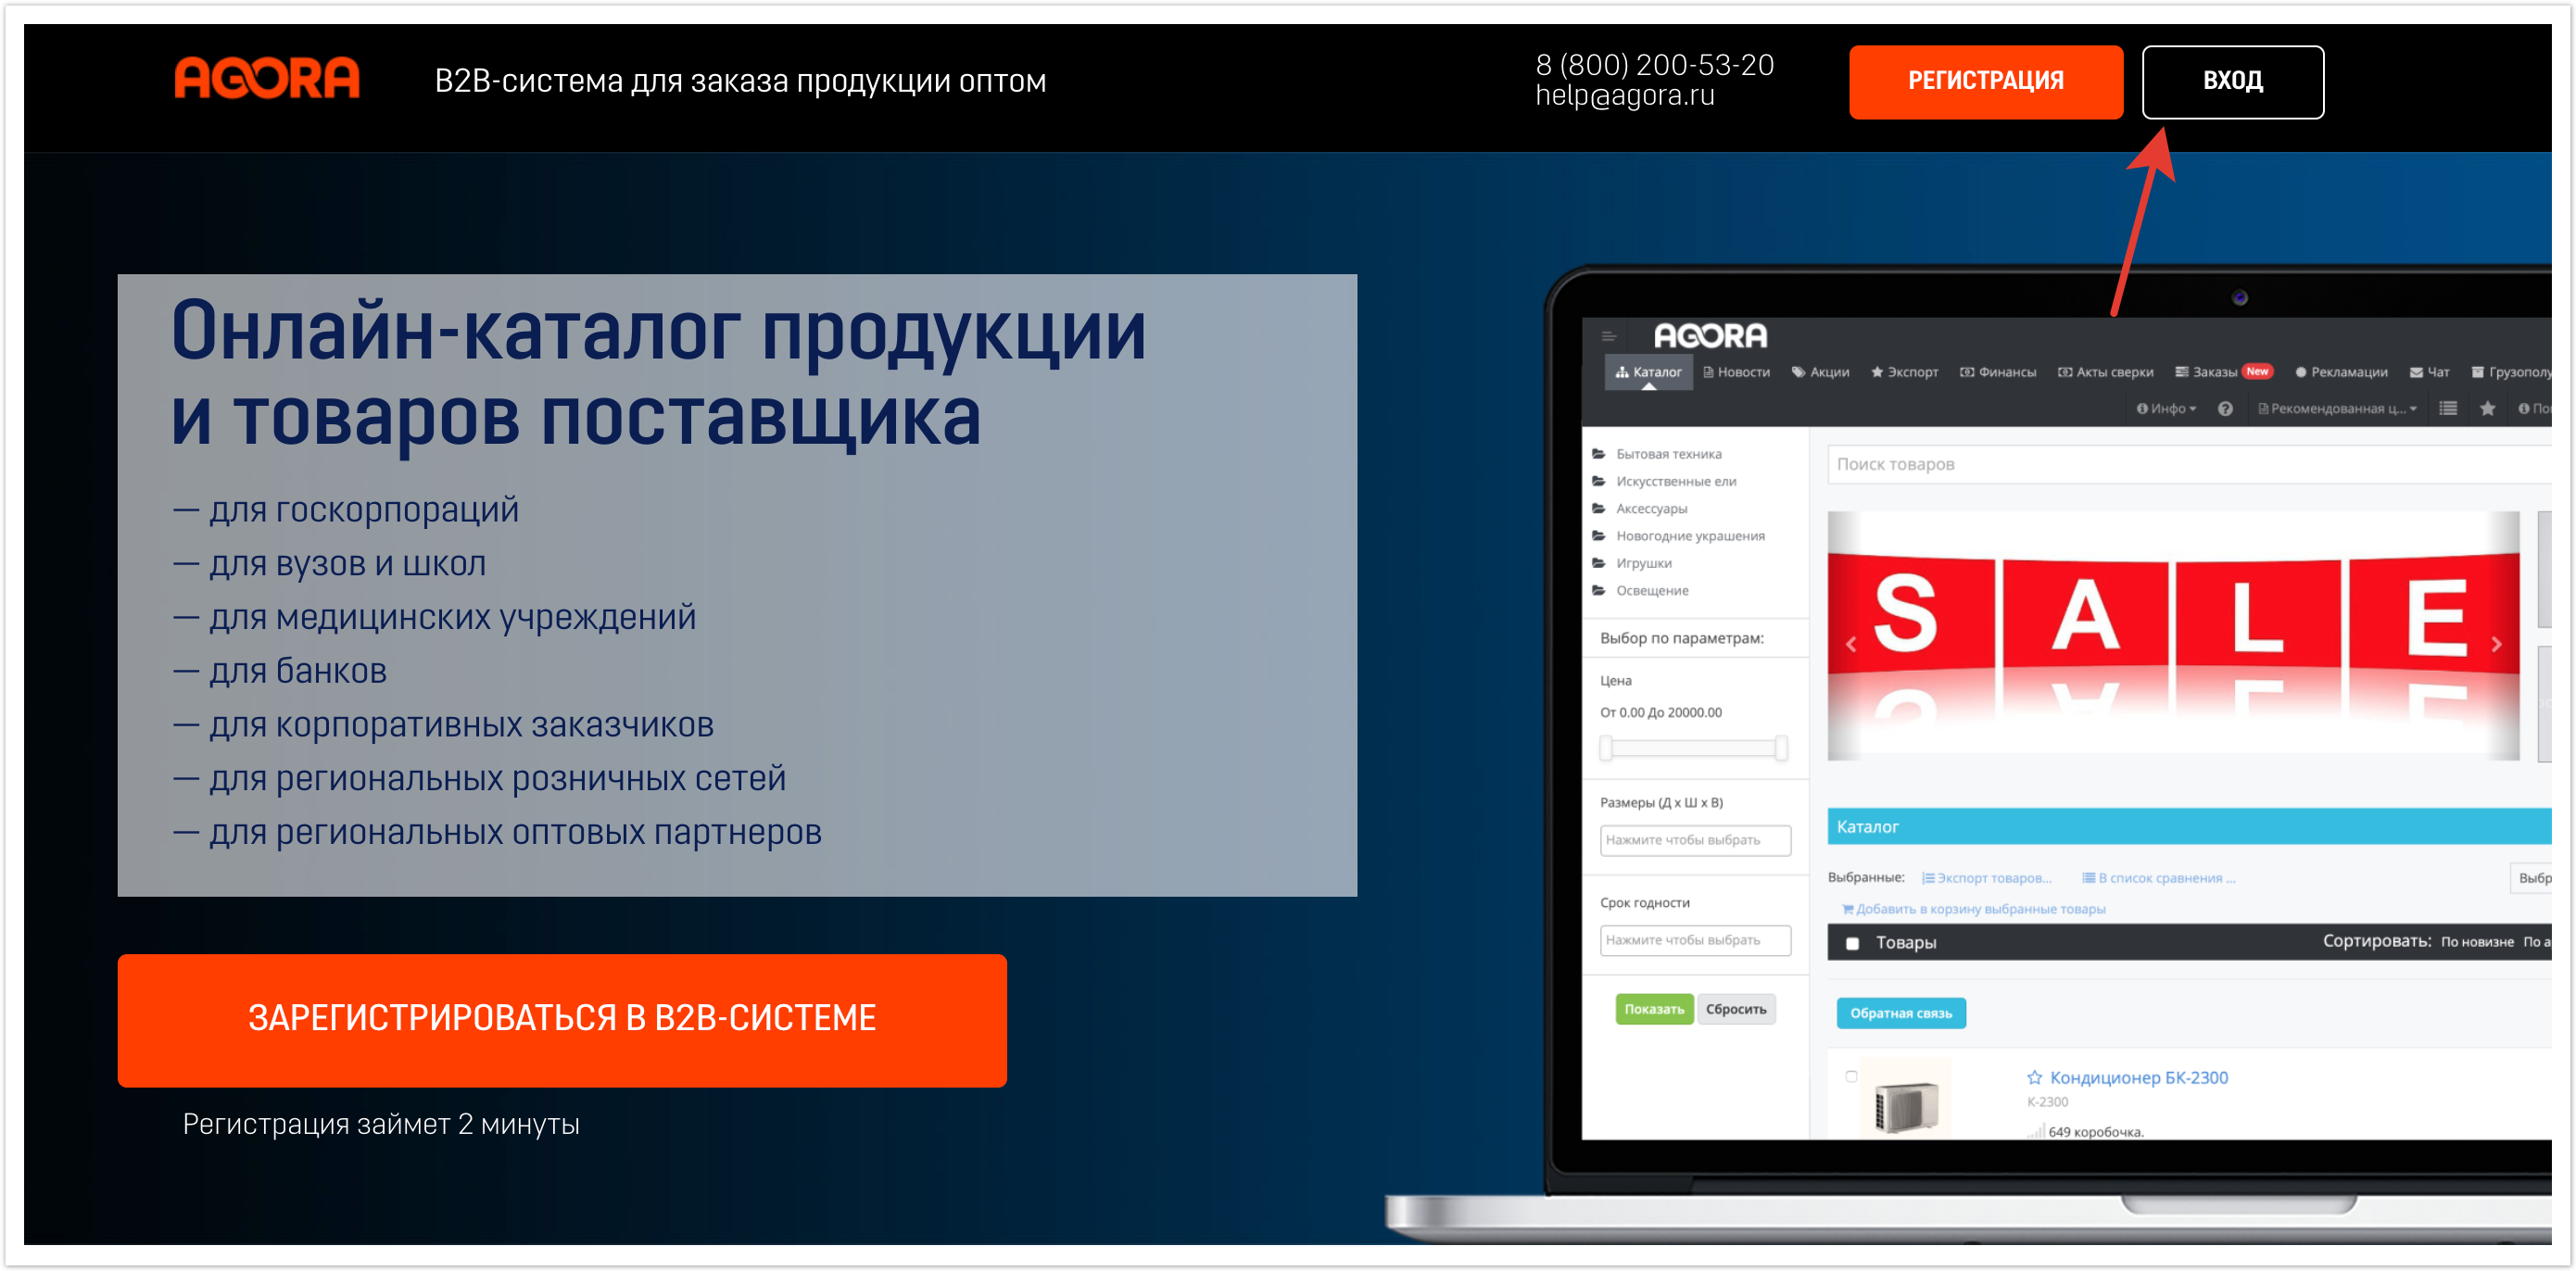
¹In the first option, just go to the main page of the project and click the My Account button located at the top of the main page:
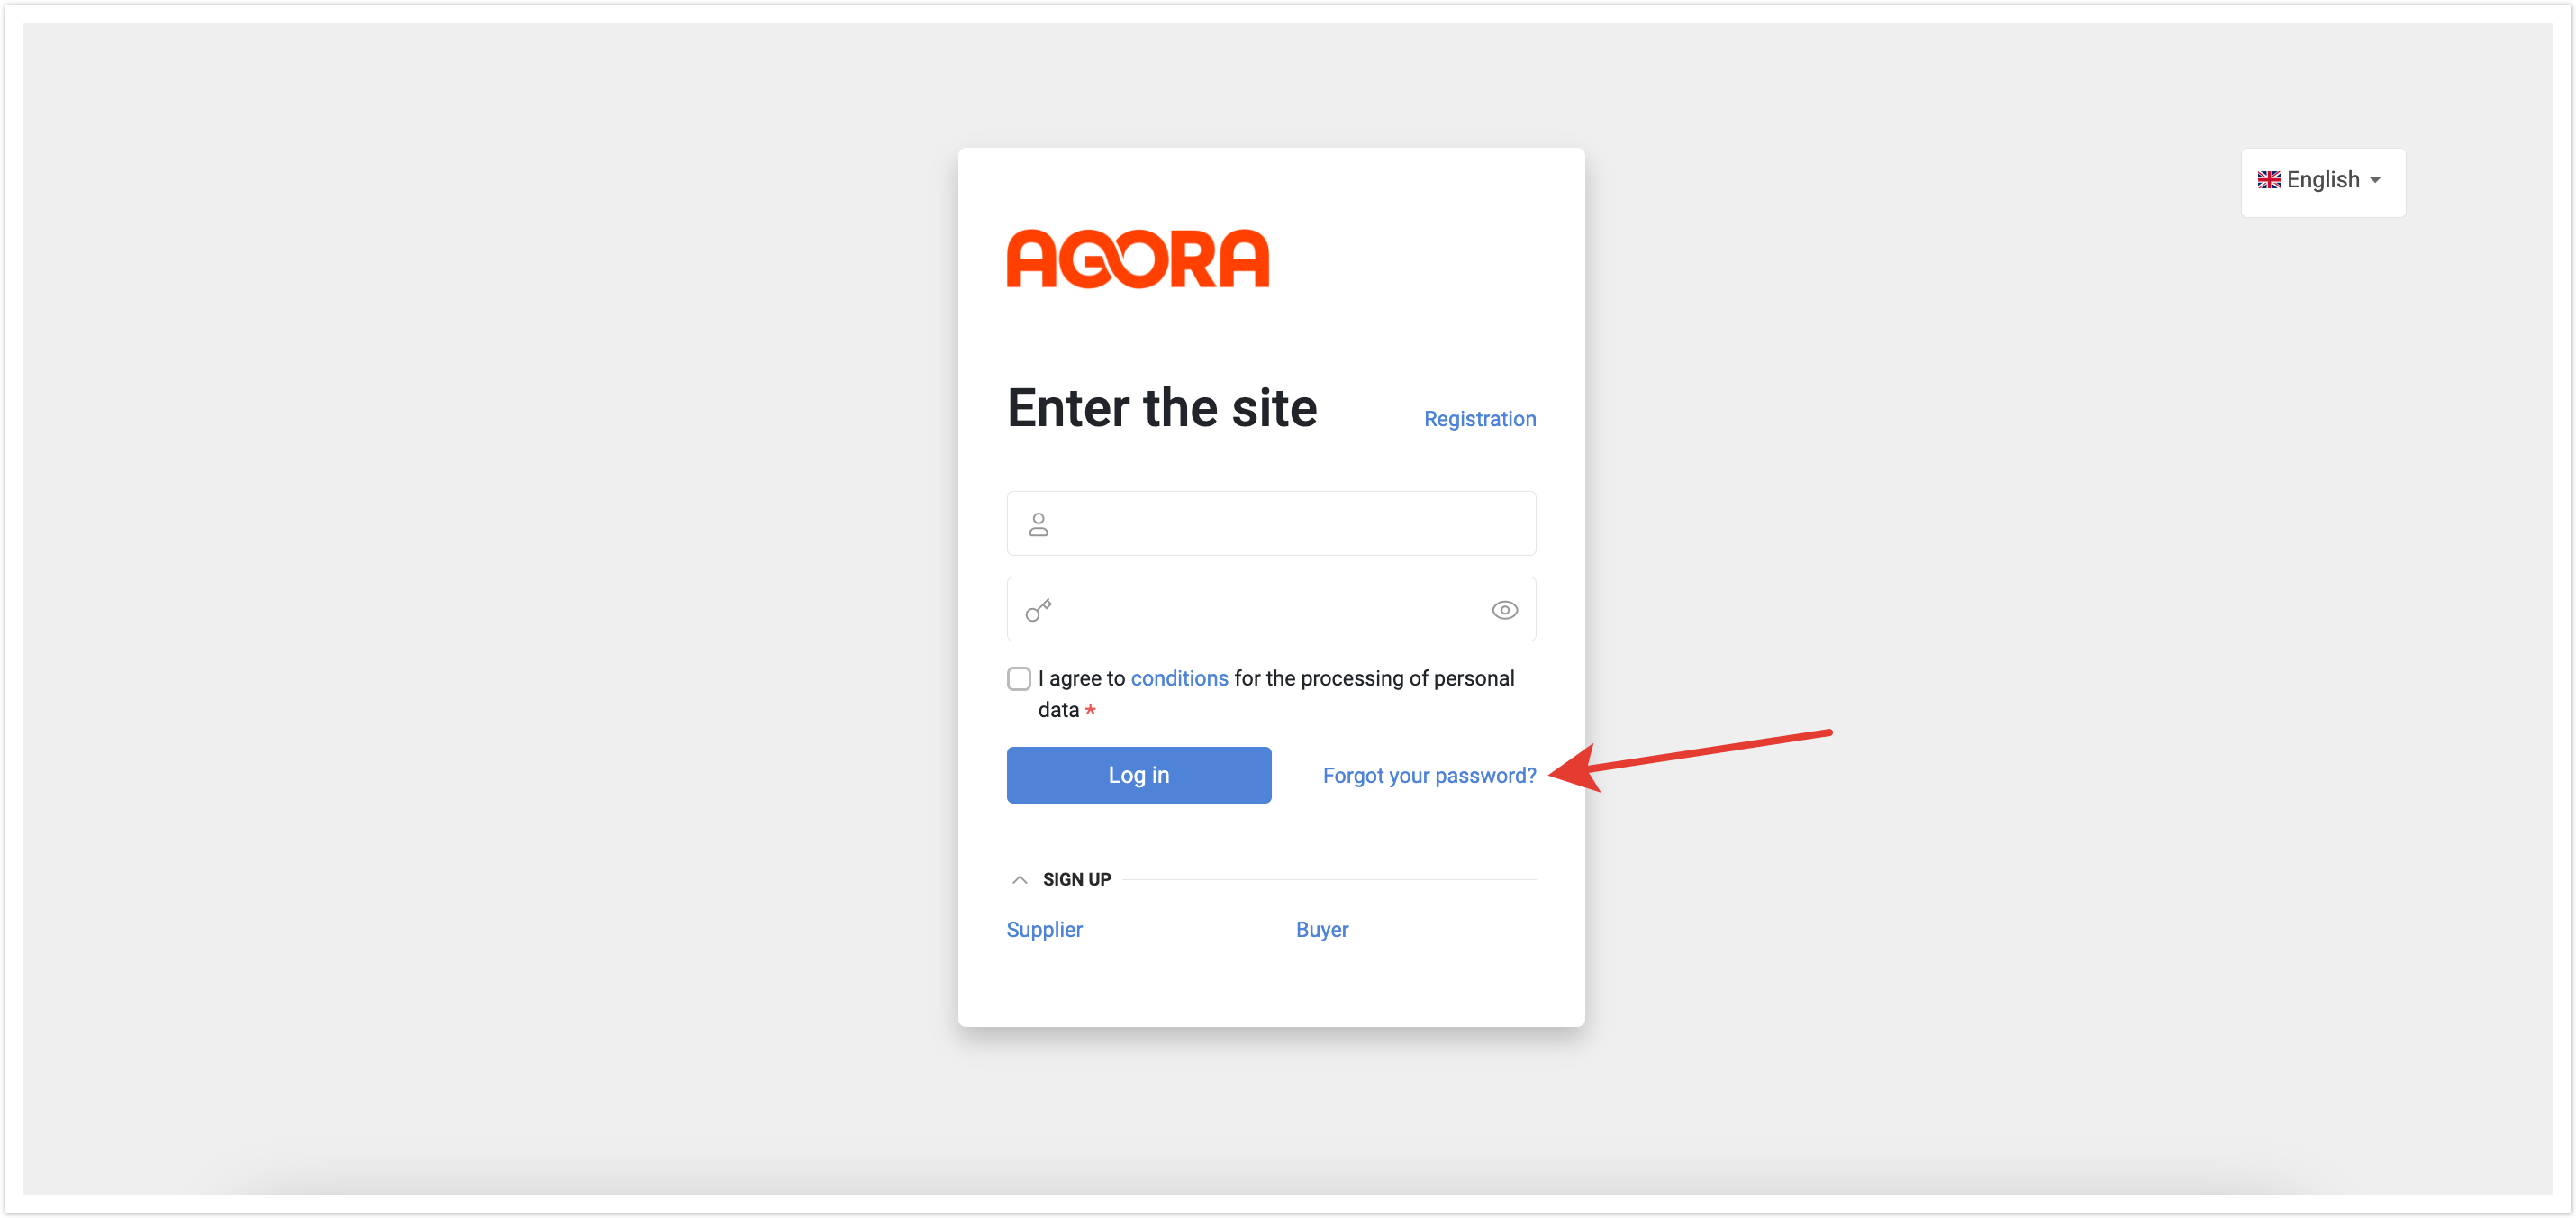
In the form that opens, just click on the button Forgot your password?
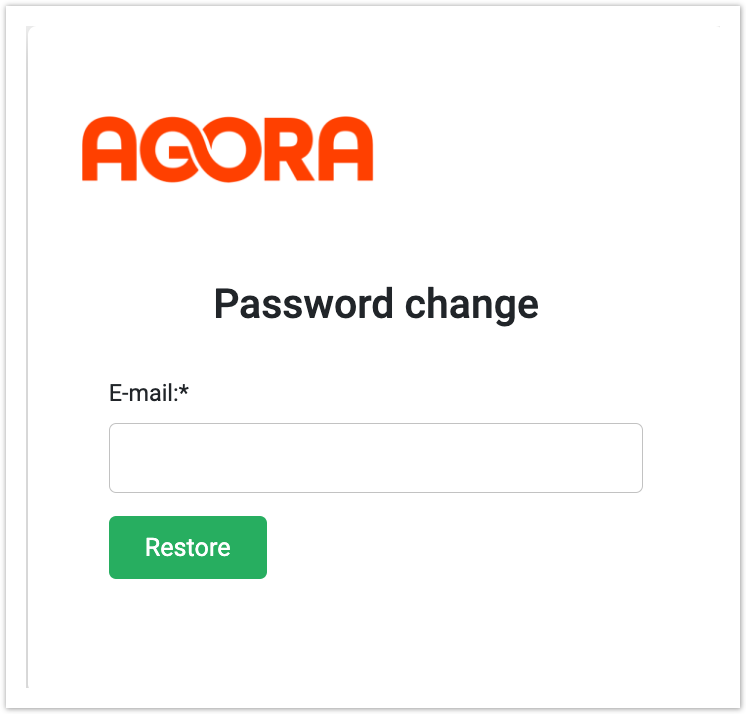
The next step in the recovery will be to indicate the mail address that was originally indicated at registration. After specifying the mail address, just click the Restore button.
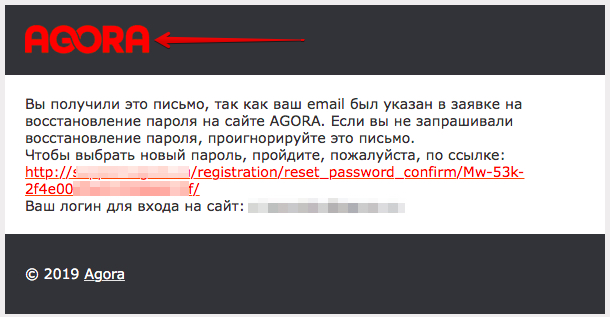
A notification will be sent to the mail address you specified with a link to a password change:
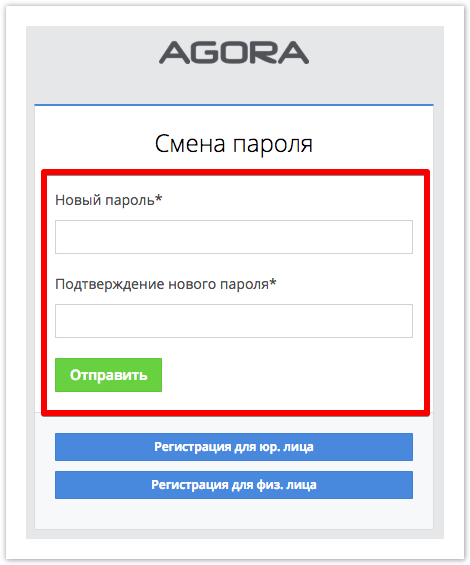
By clicking on the link received, a redirect (redirection) to the page for specifying a new password will be carried out: The password will be changed after specifying it in the appropriate fields and clicking the Submit button.
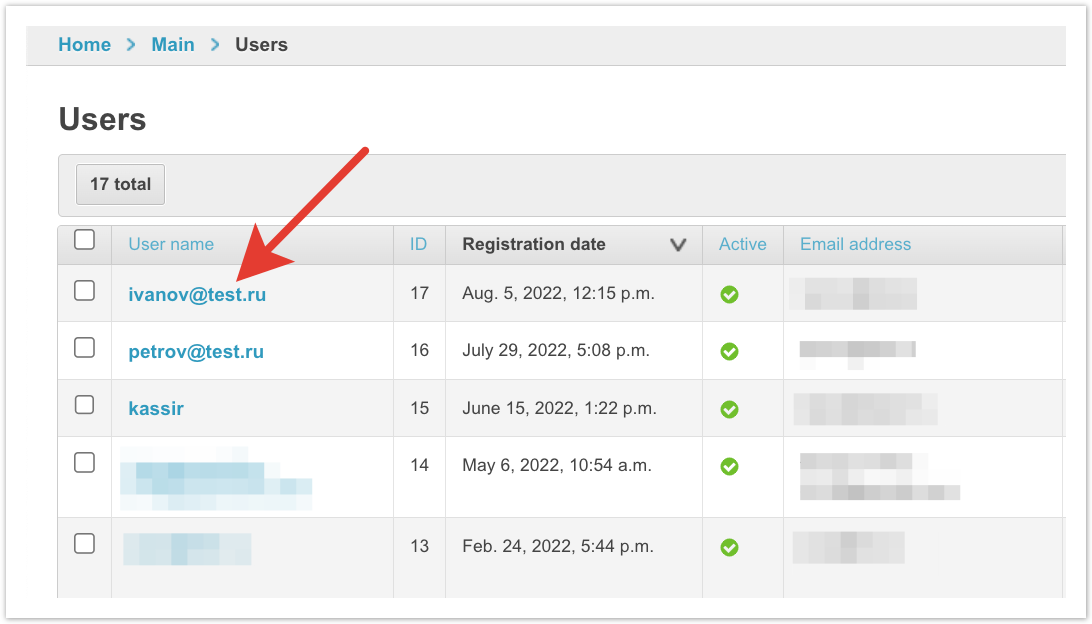
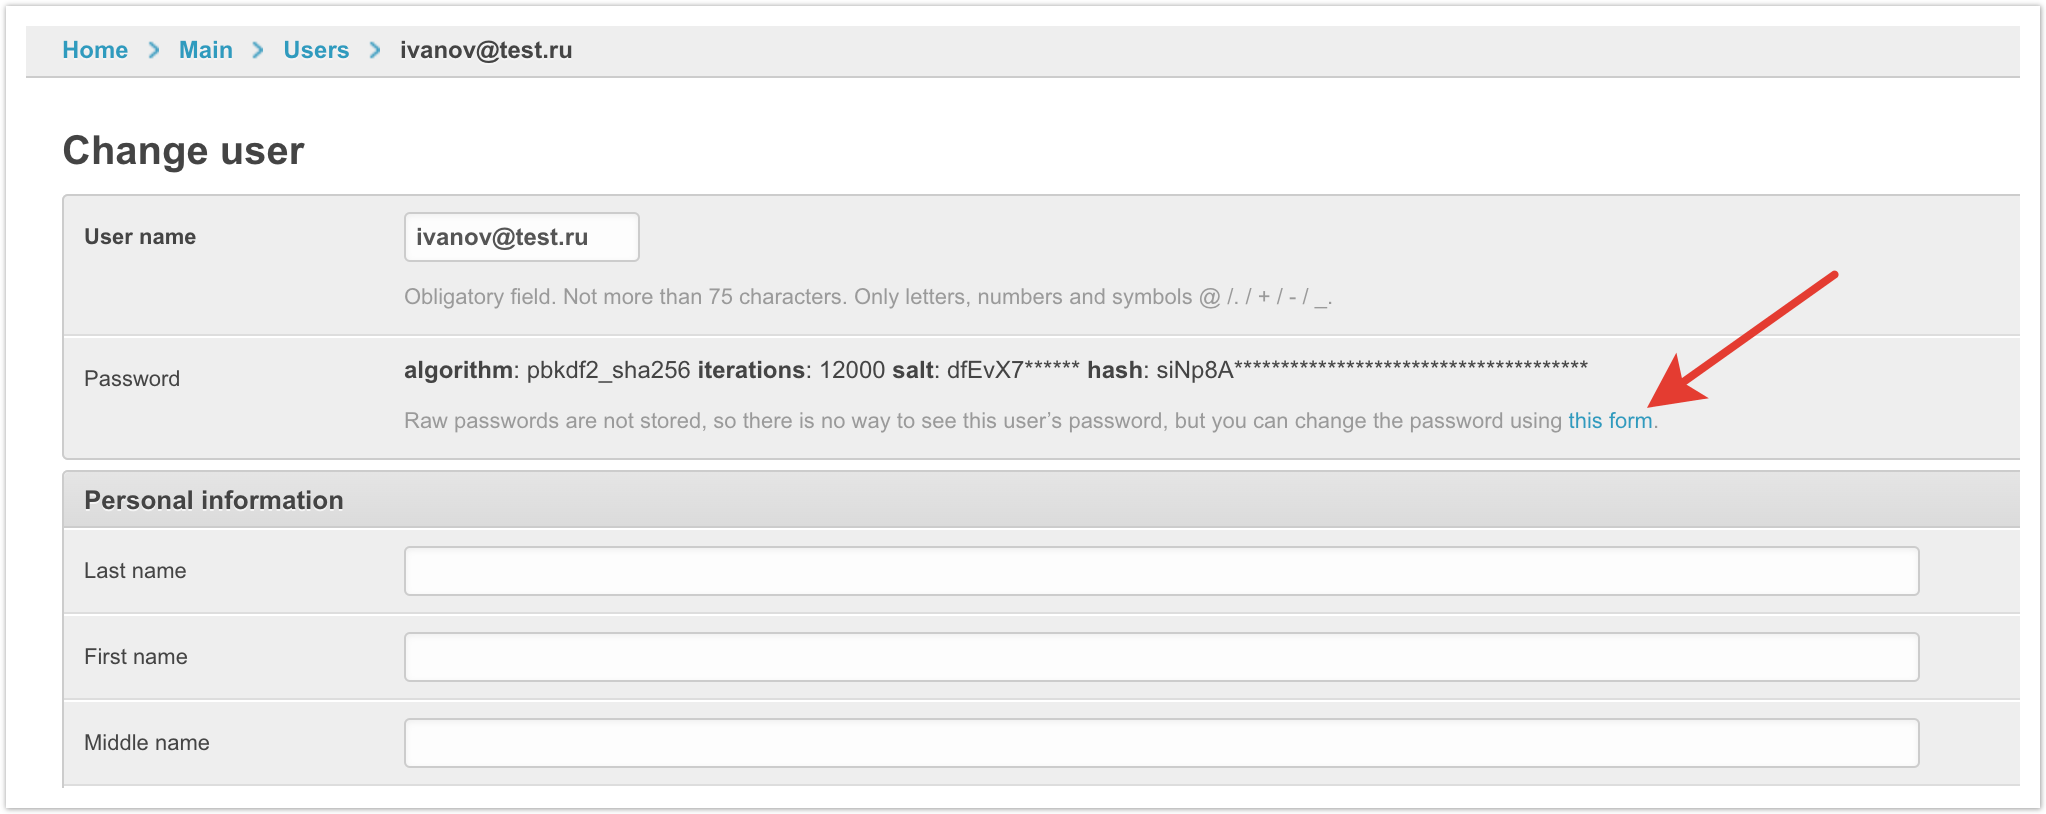
²To change/restore the password using the project admin panel, you must:
Typically, the username is the email address in the Username column.
After the password is changed, the user will be able to log in to the portal using the "new" authorization data.
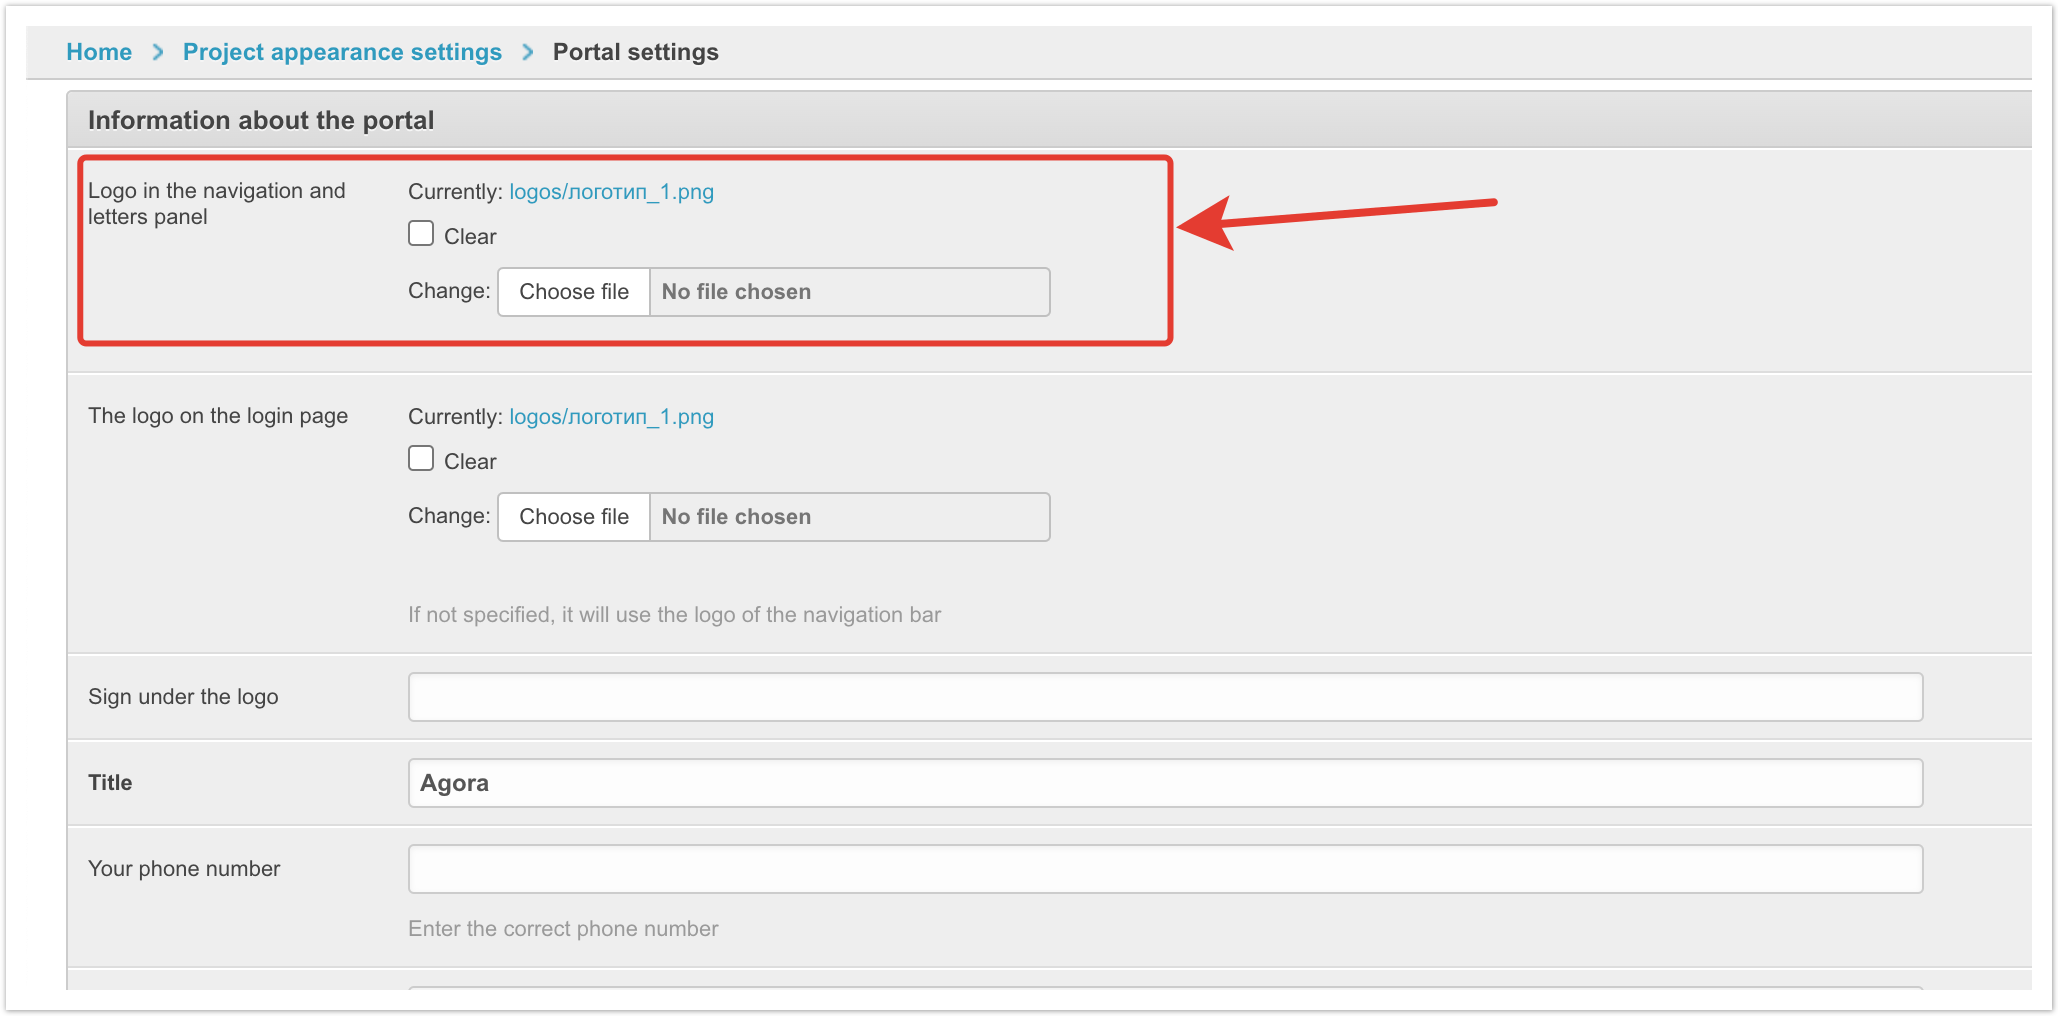
2. How to upload your own logo to the portal?Our service allows you to use your logo both in the signature of emails or portal navigation¹, and on the user authorization page².
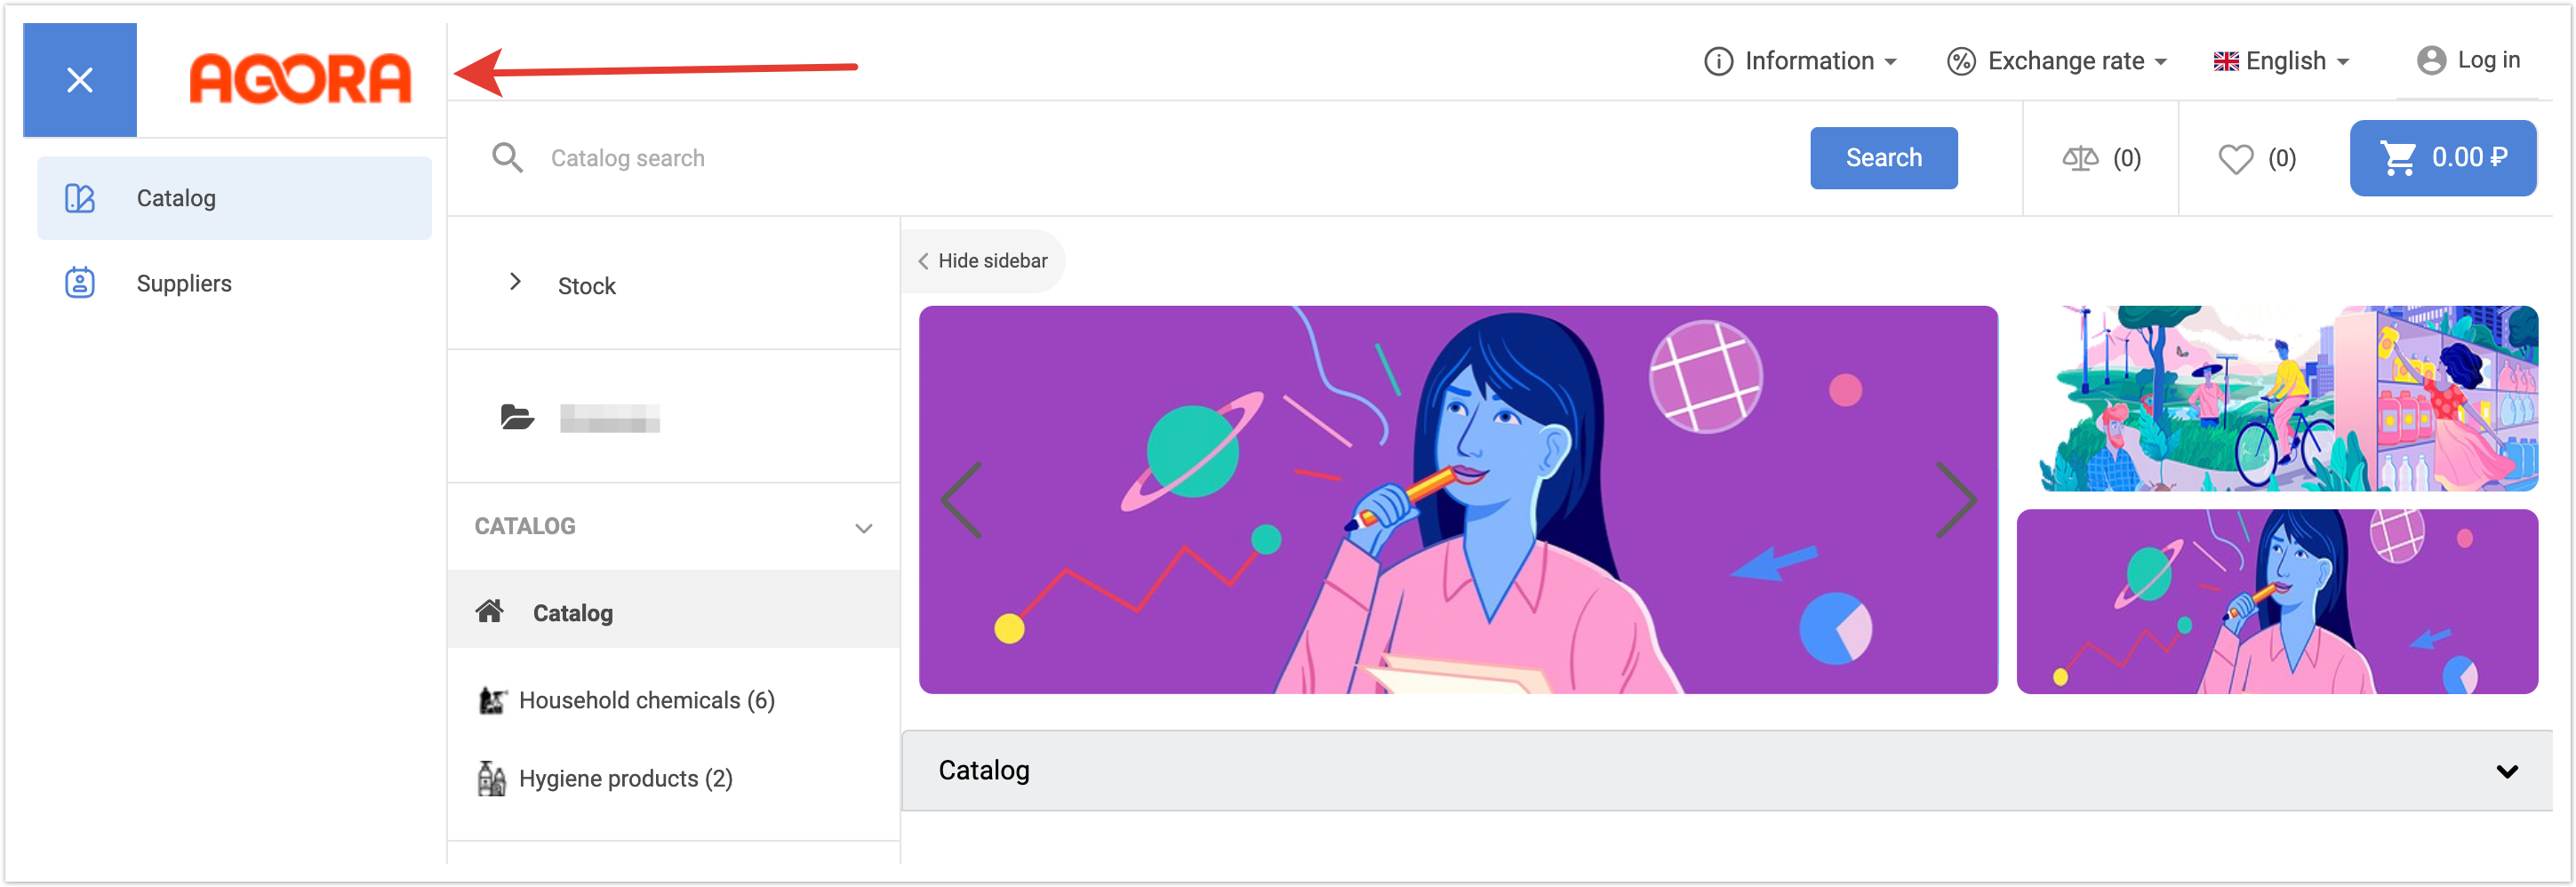
After successful loading, the logo will be displayed in letters sent to users and in the navigation of the project interface:
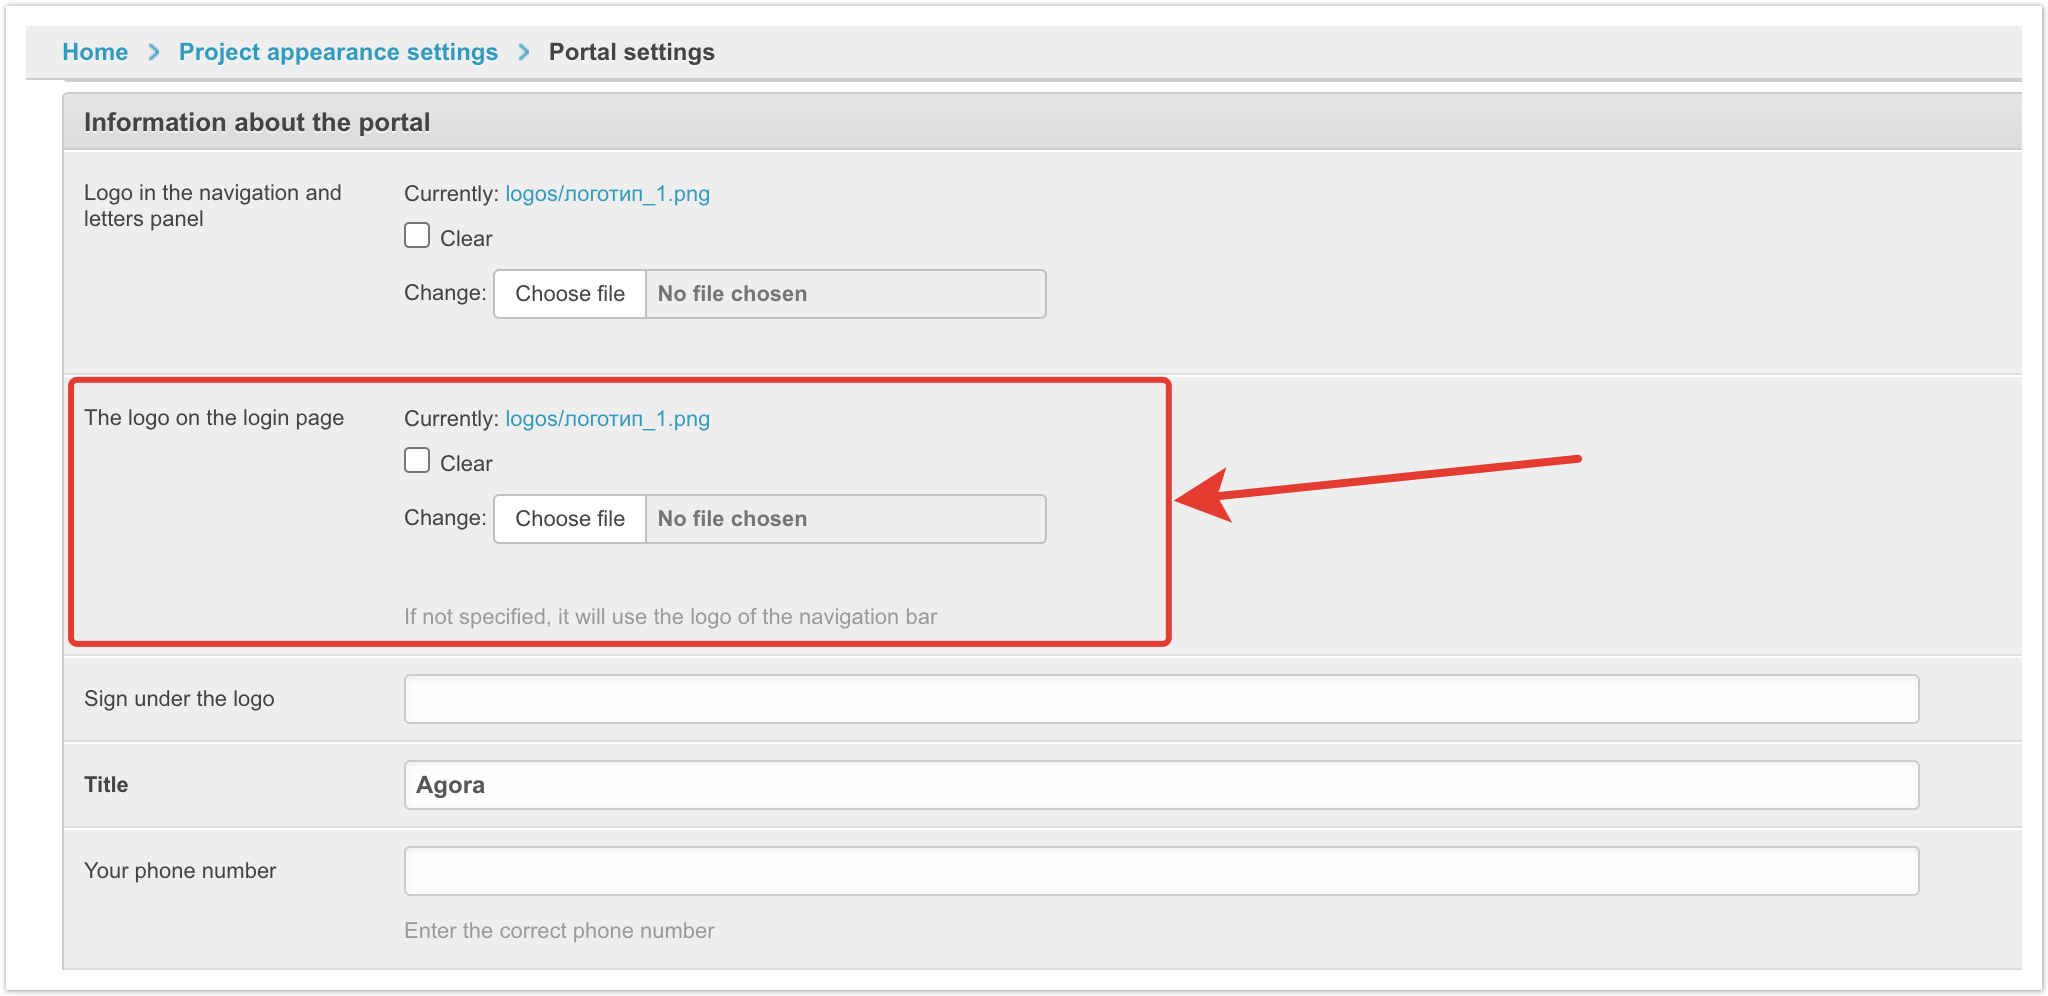
² To download the logo that will be displayed on the authorization page, you must also go to the Platform settings section of the project administrative panel and find the Information about the platform section. By clicking on the Choose file button in the The logo field on the login page, it is enough to indicate the path to the downloaded logo.
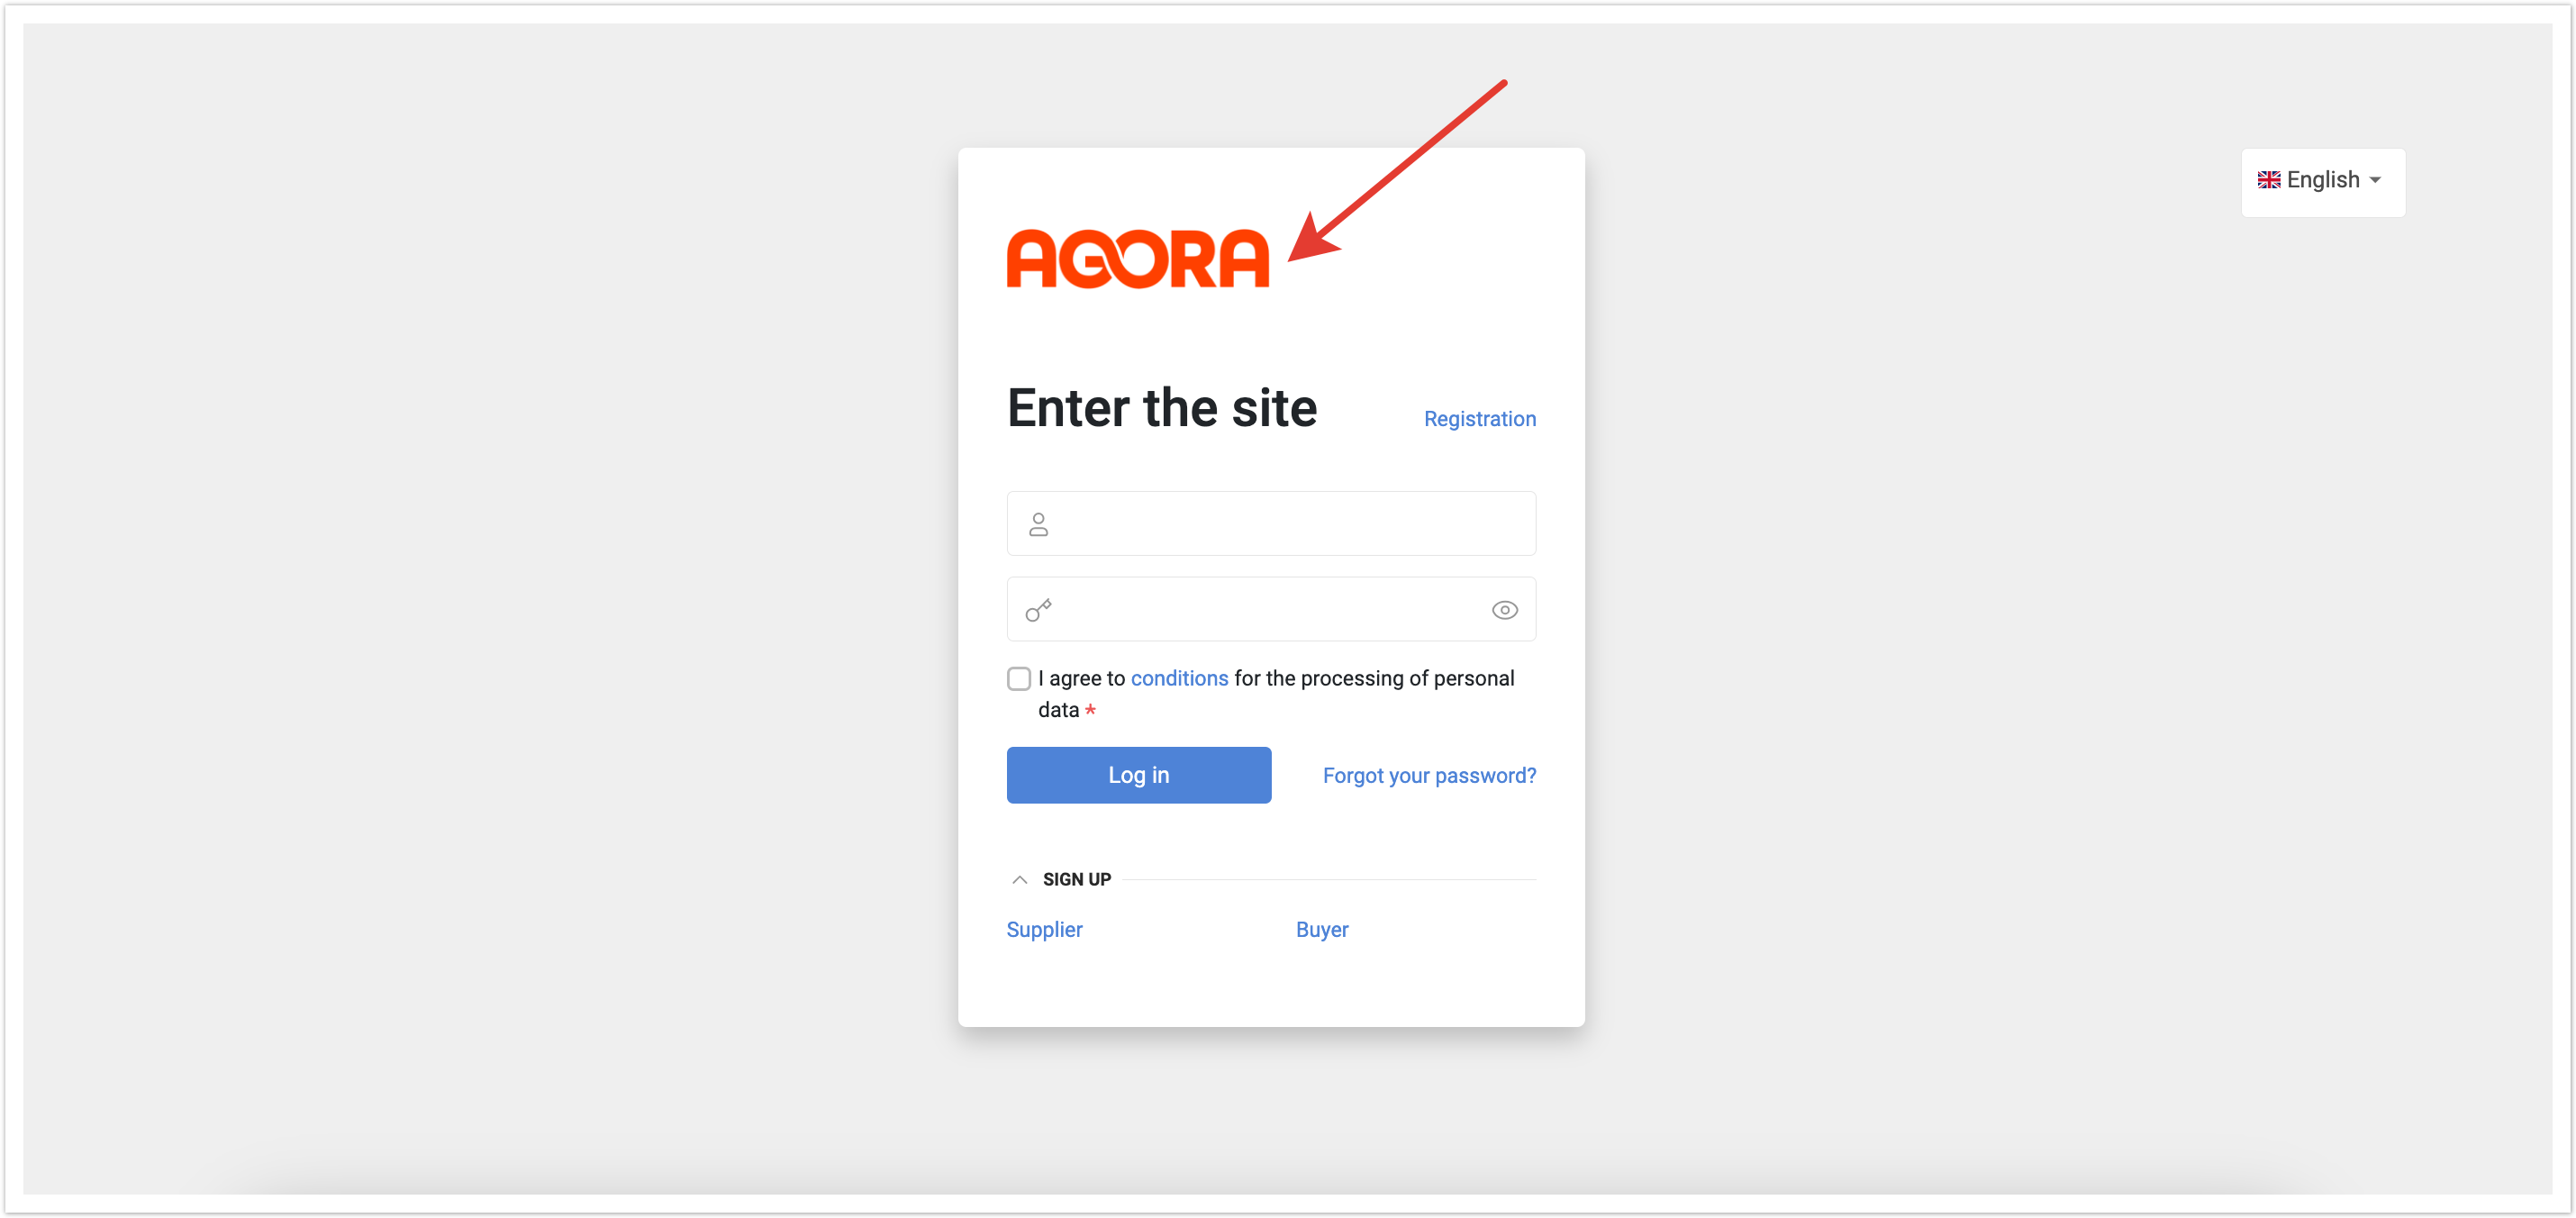
If you successfully upload the logo, the changes will be reflected on the authorization page.
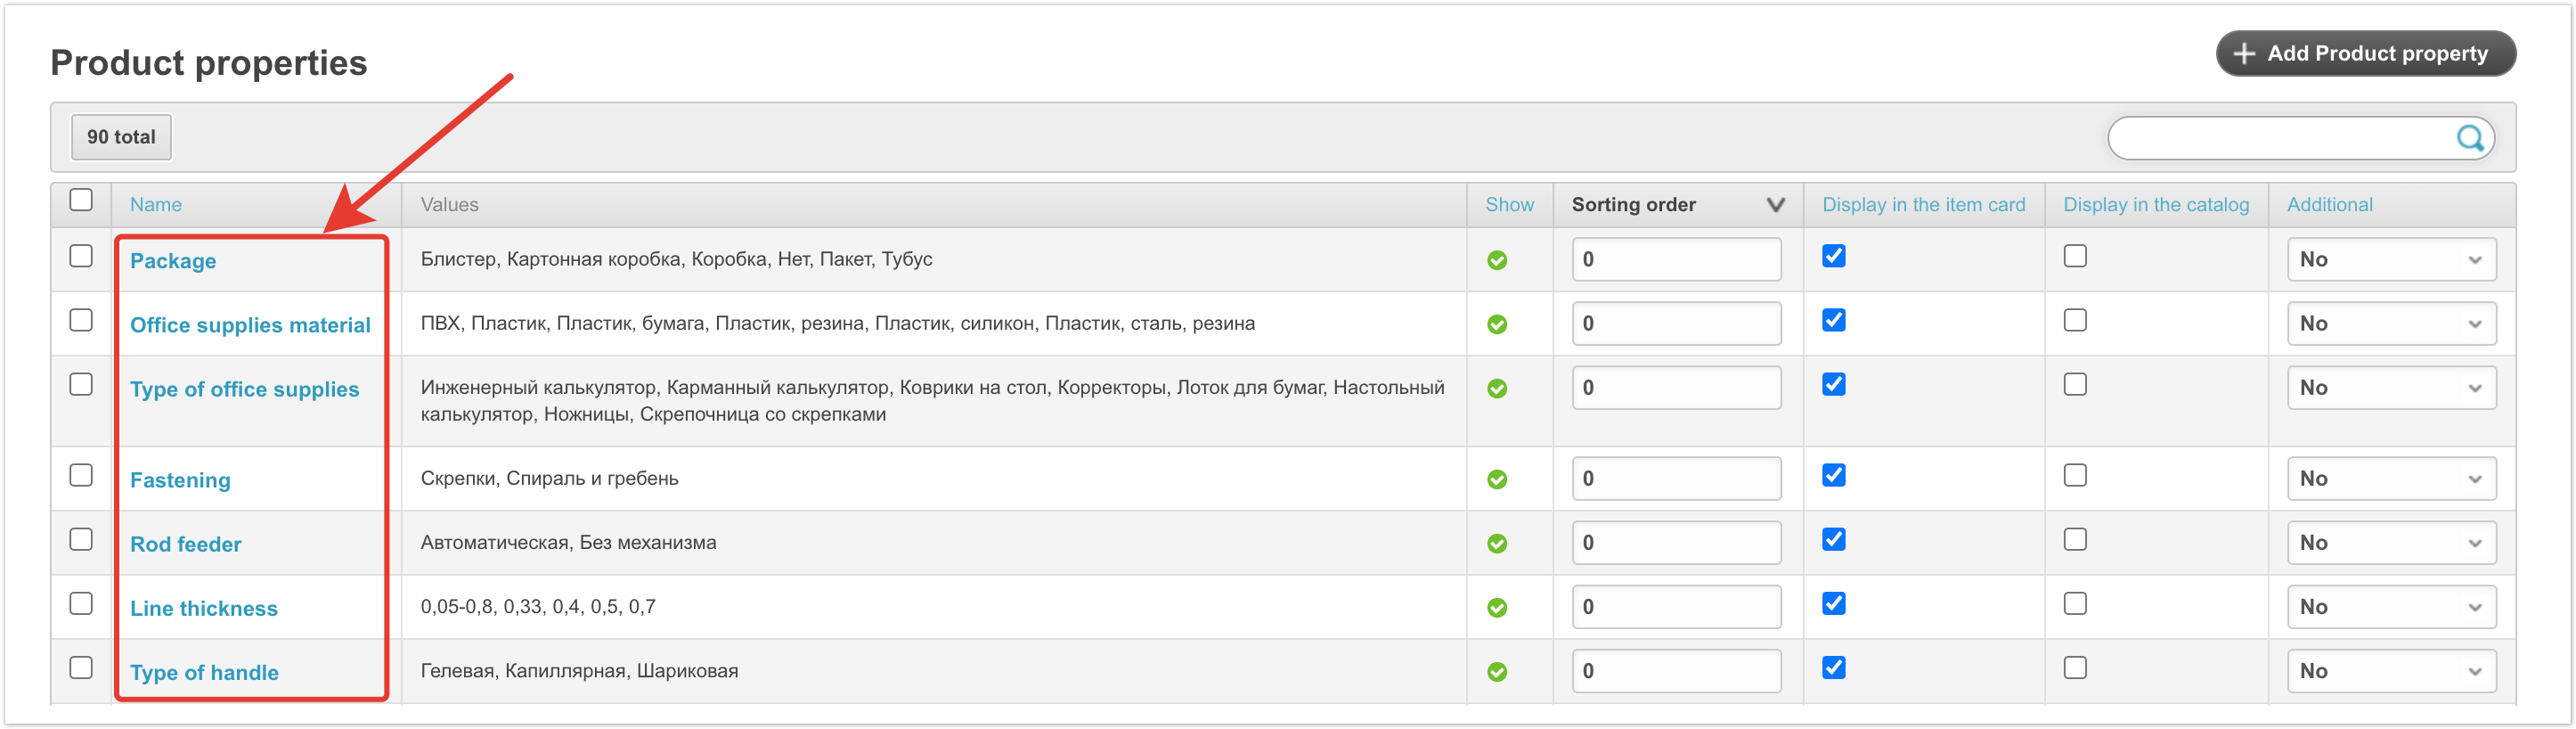
3. I have many product properties. Can I add them to my advanced search criteria?Yes, you can use any product property to configure advanced search filtering conditions. In order to add your product property as an advanced search criterion, you need to log in to the project administrative panel. After authorization, you must go to the section Product Properties. The window that opens will contain all the properties of the products that have been uploaded to the portal. To go to the settings for a specific product property, click on its name:
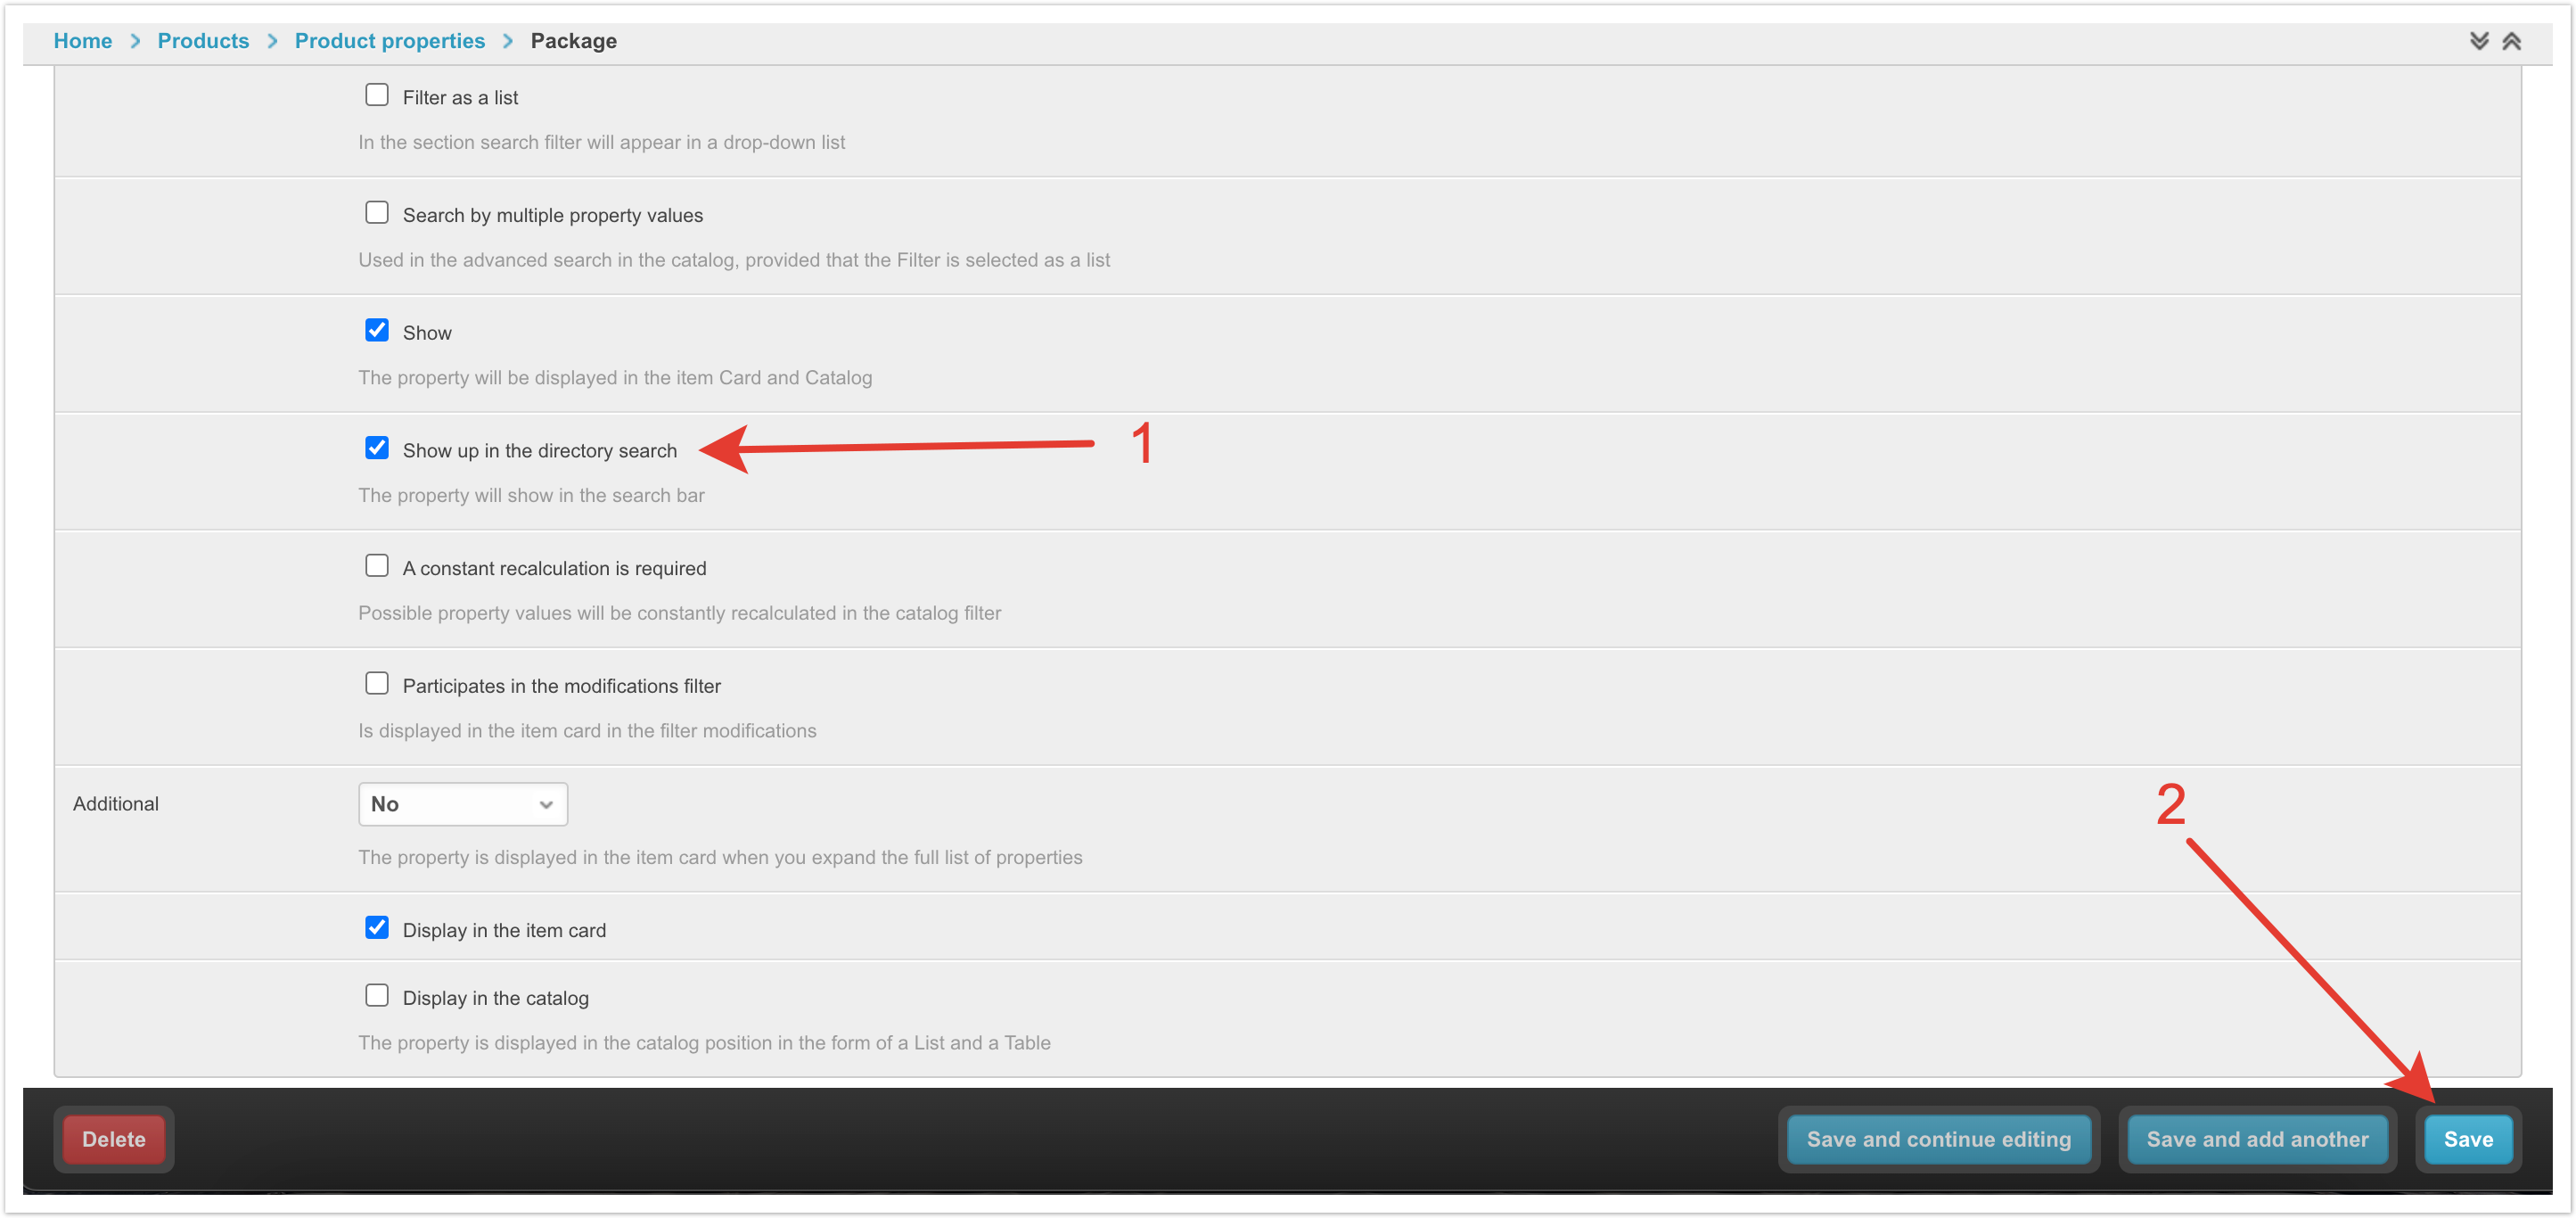
In the window that opens, go to the bottom of the page and mark the check box Show up in the directory search:
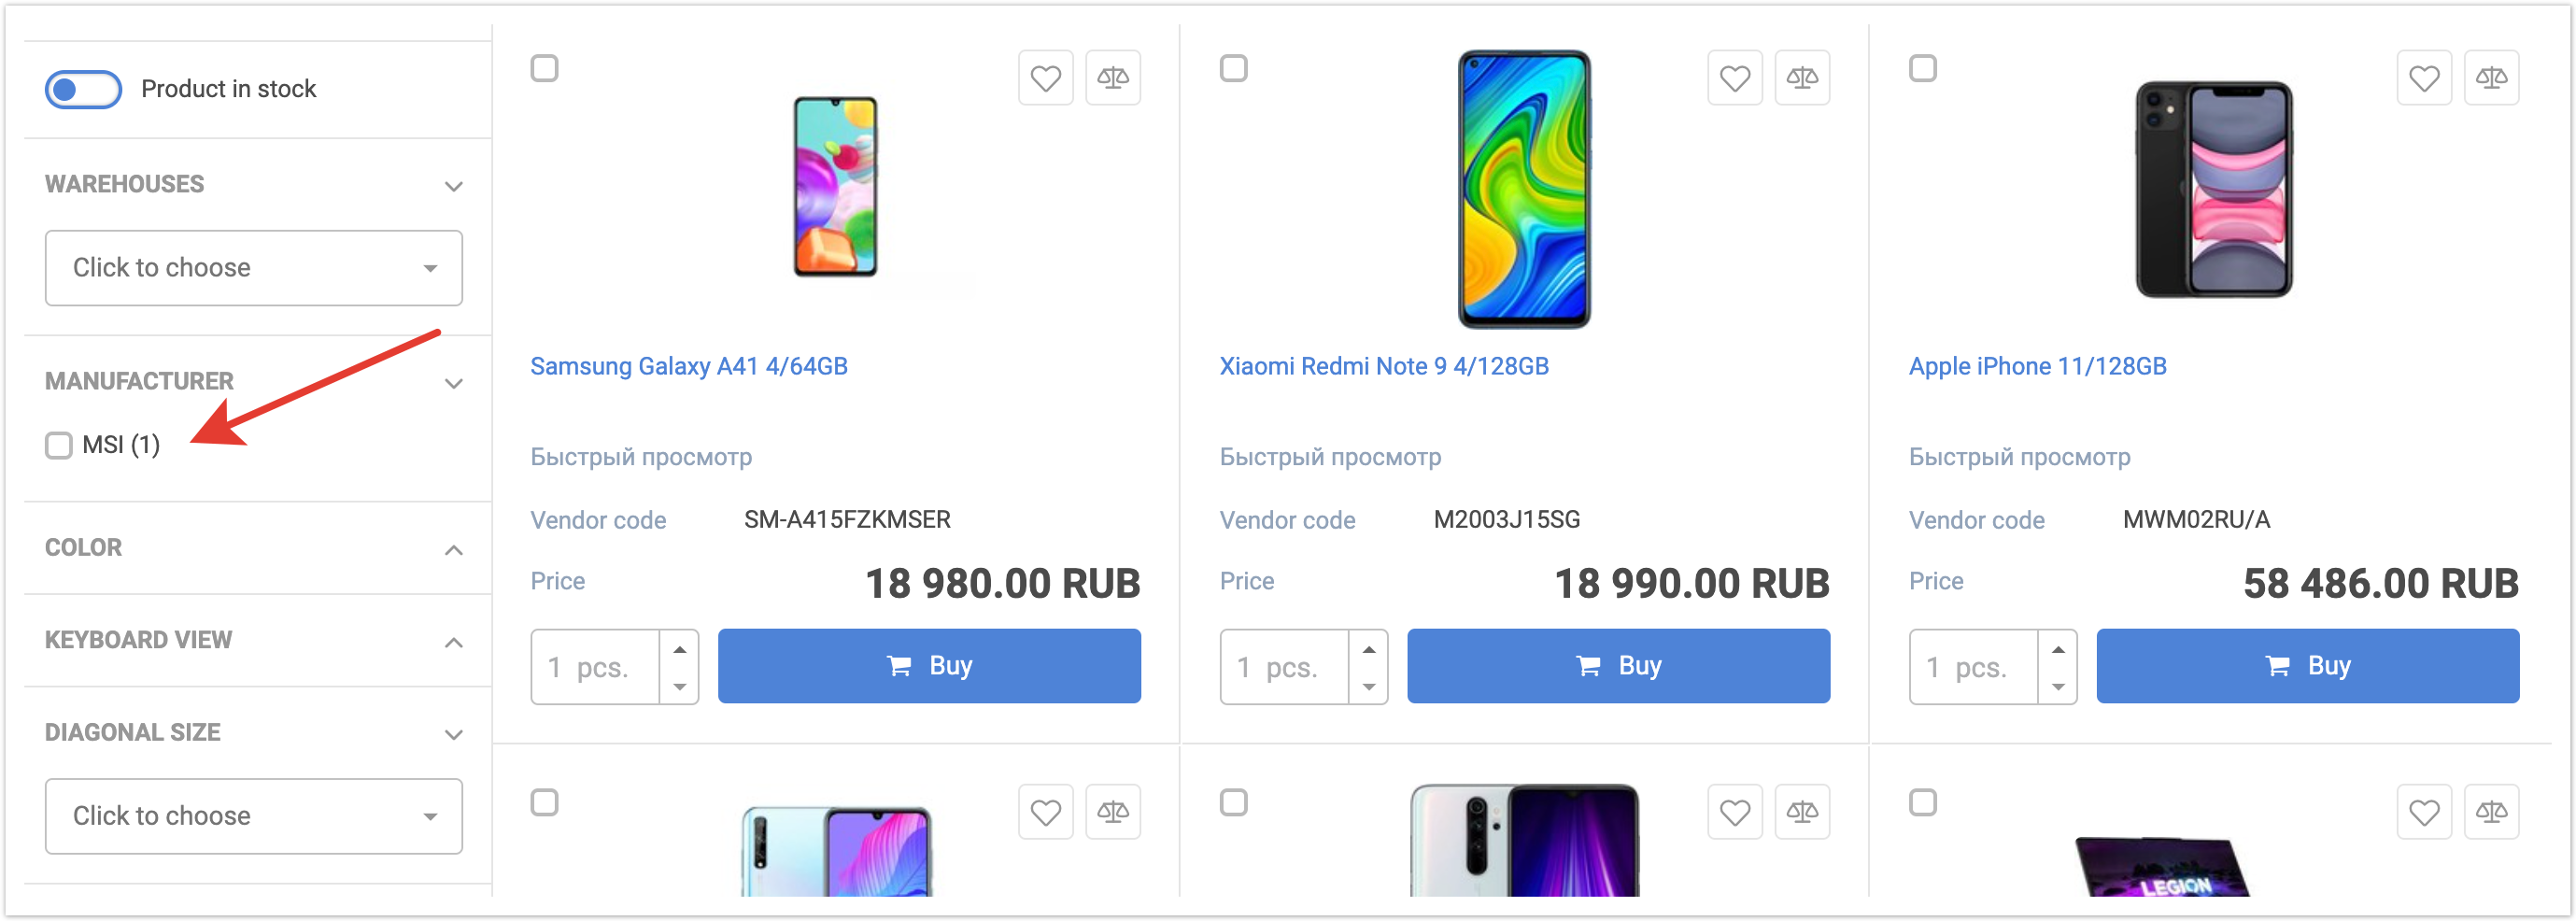
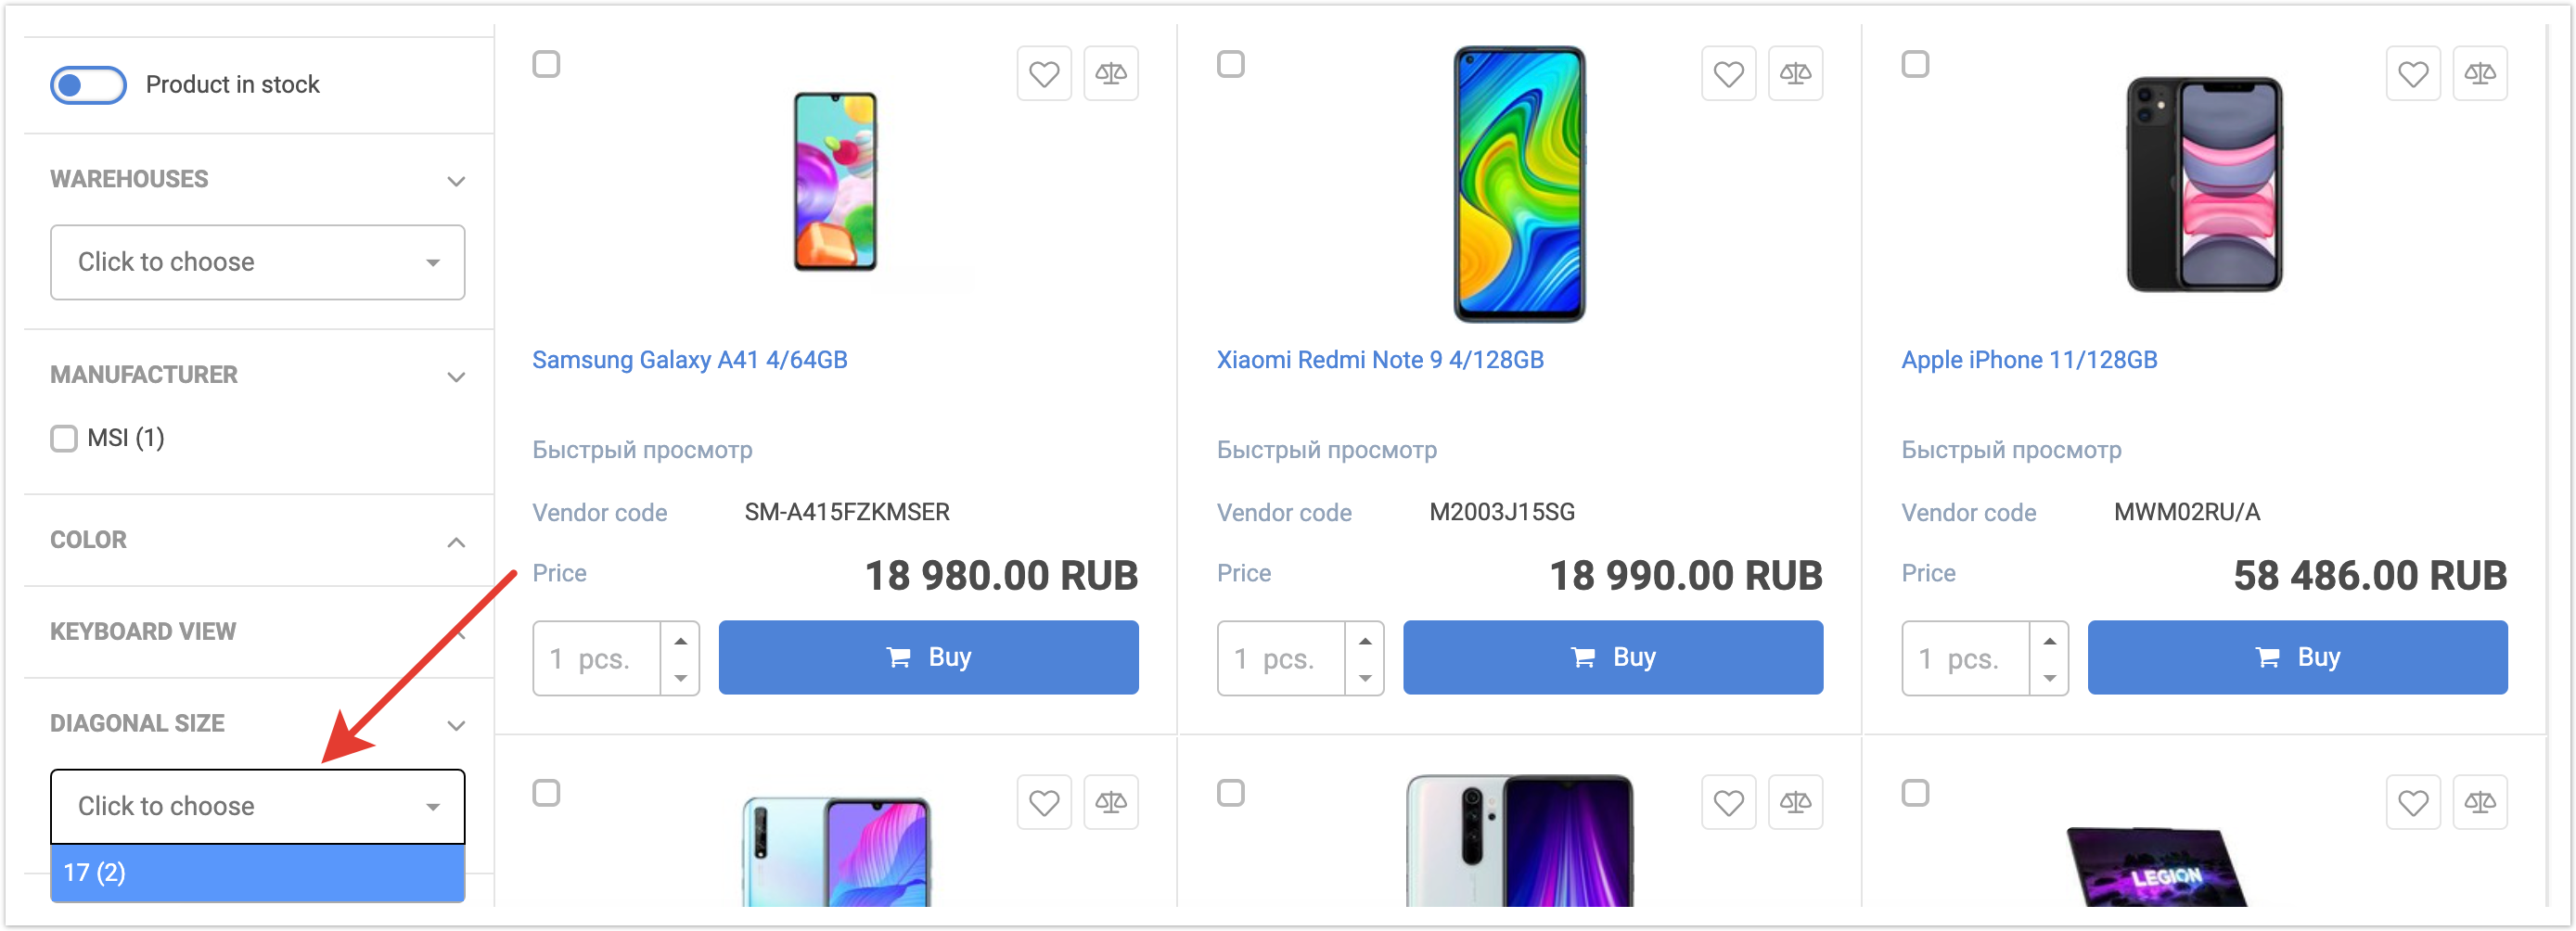
To save the changes made, just click on the Save button located at the bottom of the page. After you save your changes, the property you added will be displayed in the advanced portal search:
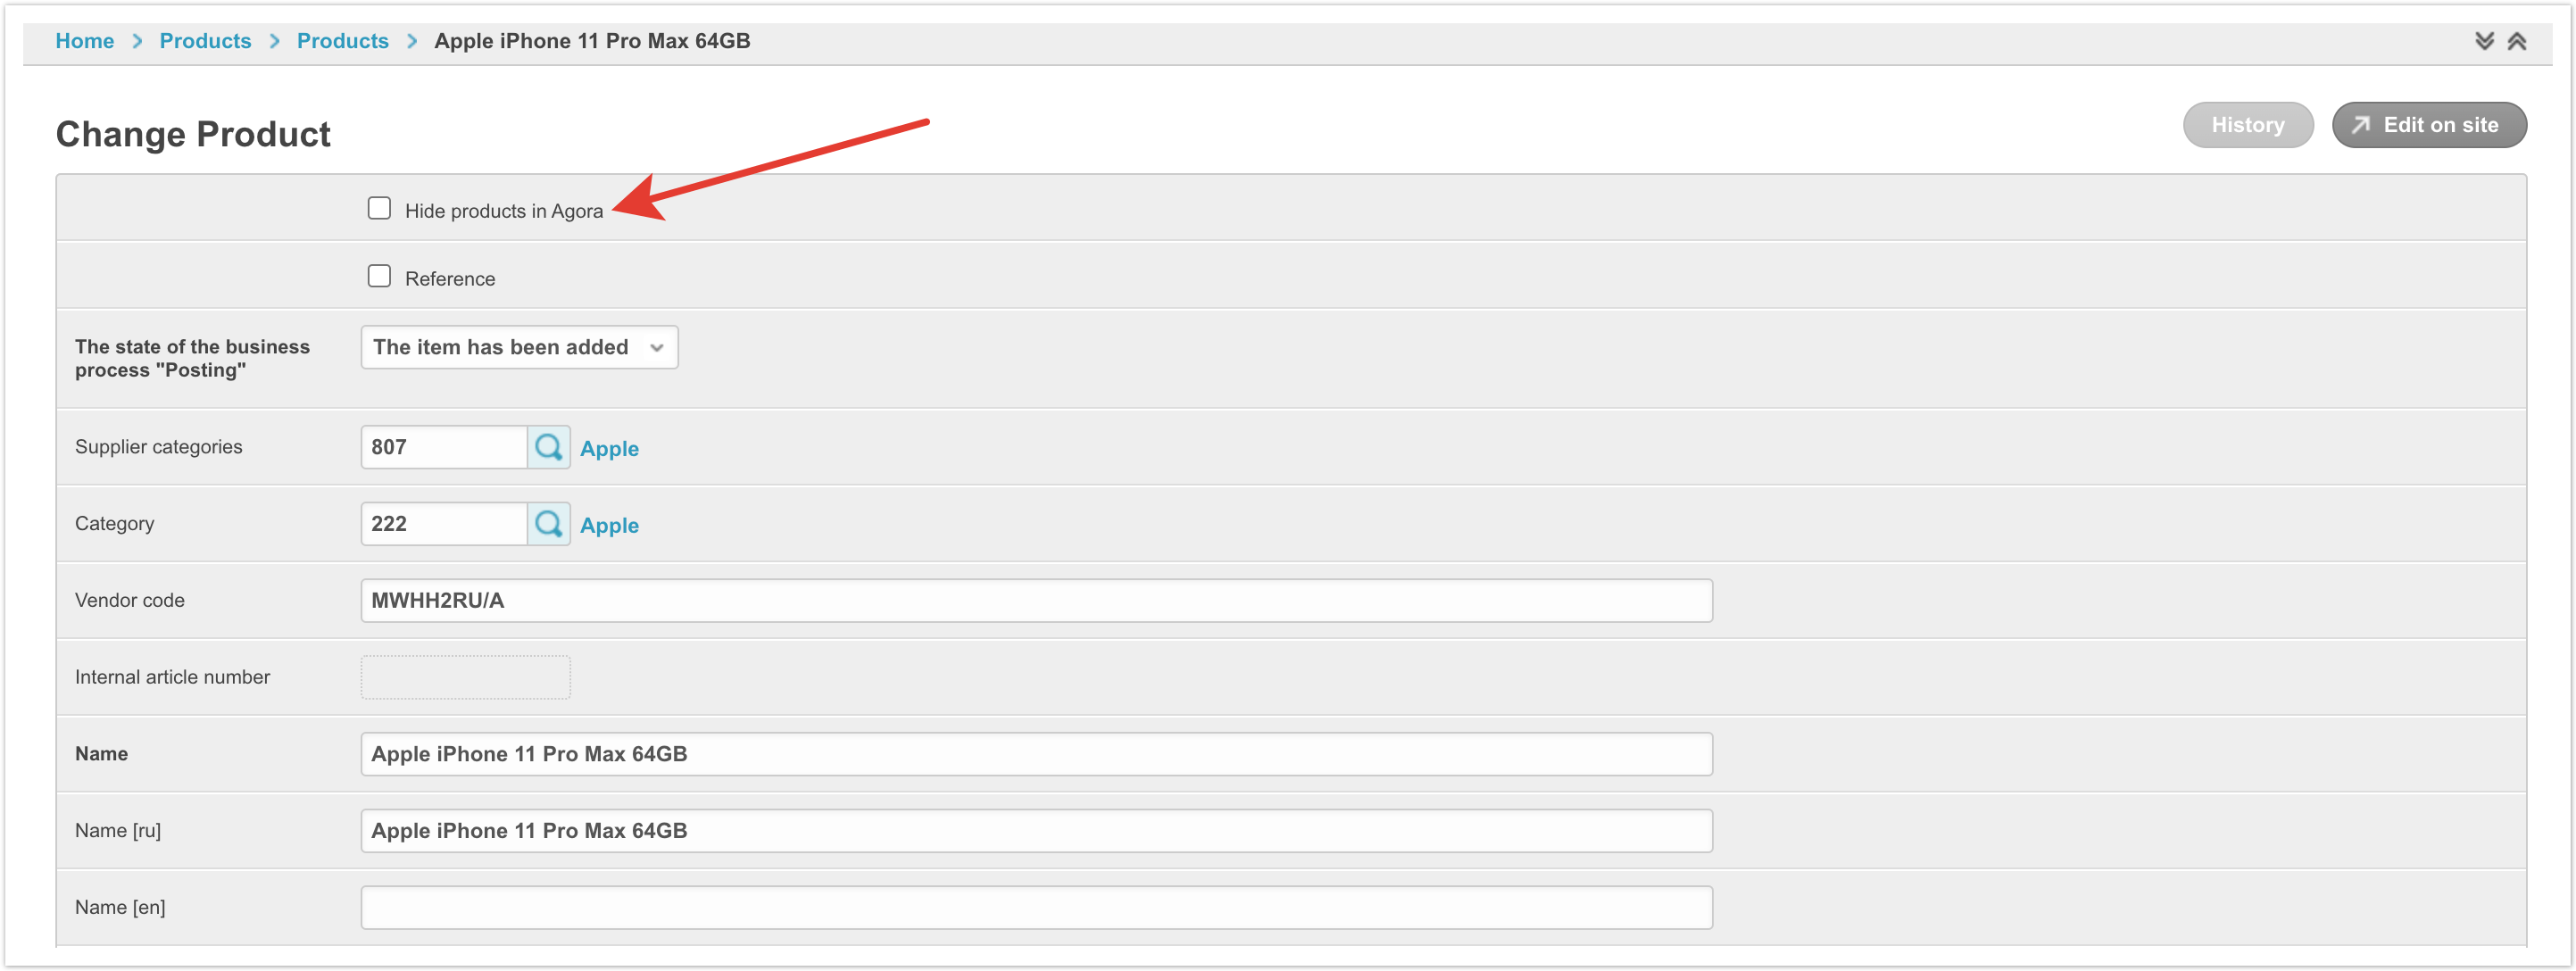
4. How can I hide the products from customers?To hide the product(s) from customers, you need to log in to the administrative panel of the project and go to the Products section. In the window that opens, a list of all the products uploaded to the portal will be available. To hide a specific product, just click on its name. In the opened product card, it is enough to note the check box Hide product in Agora:
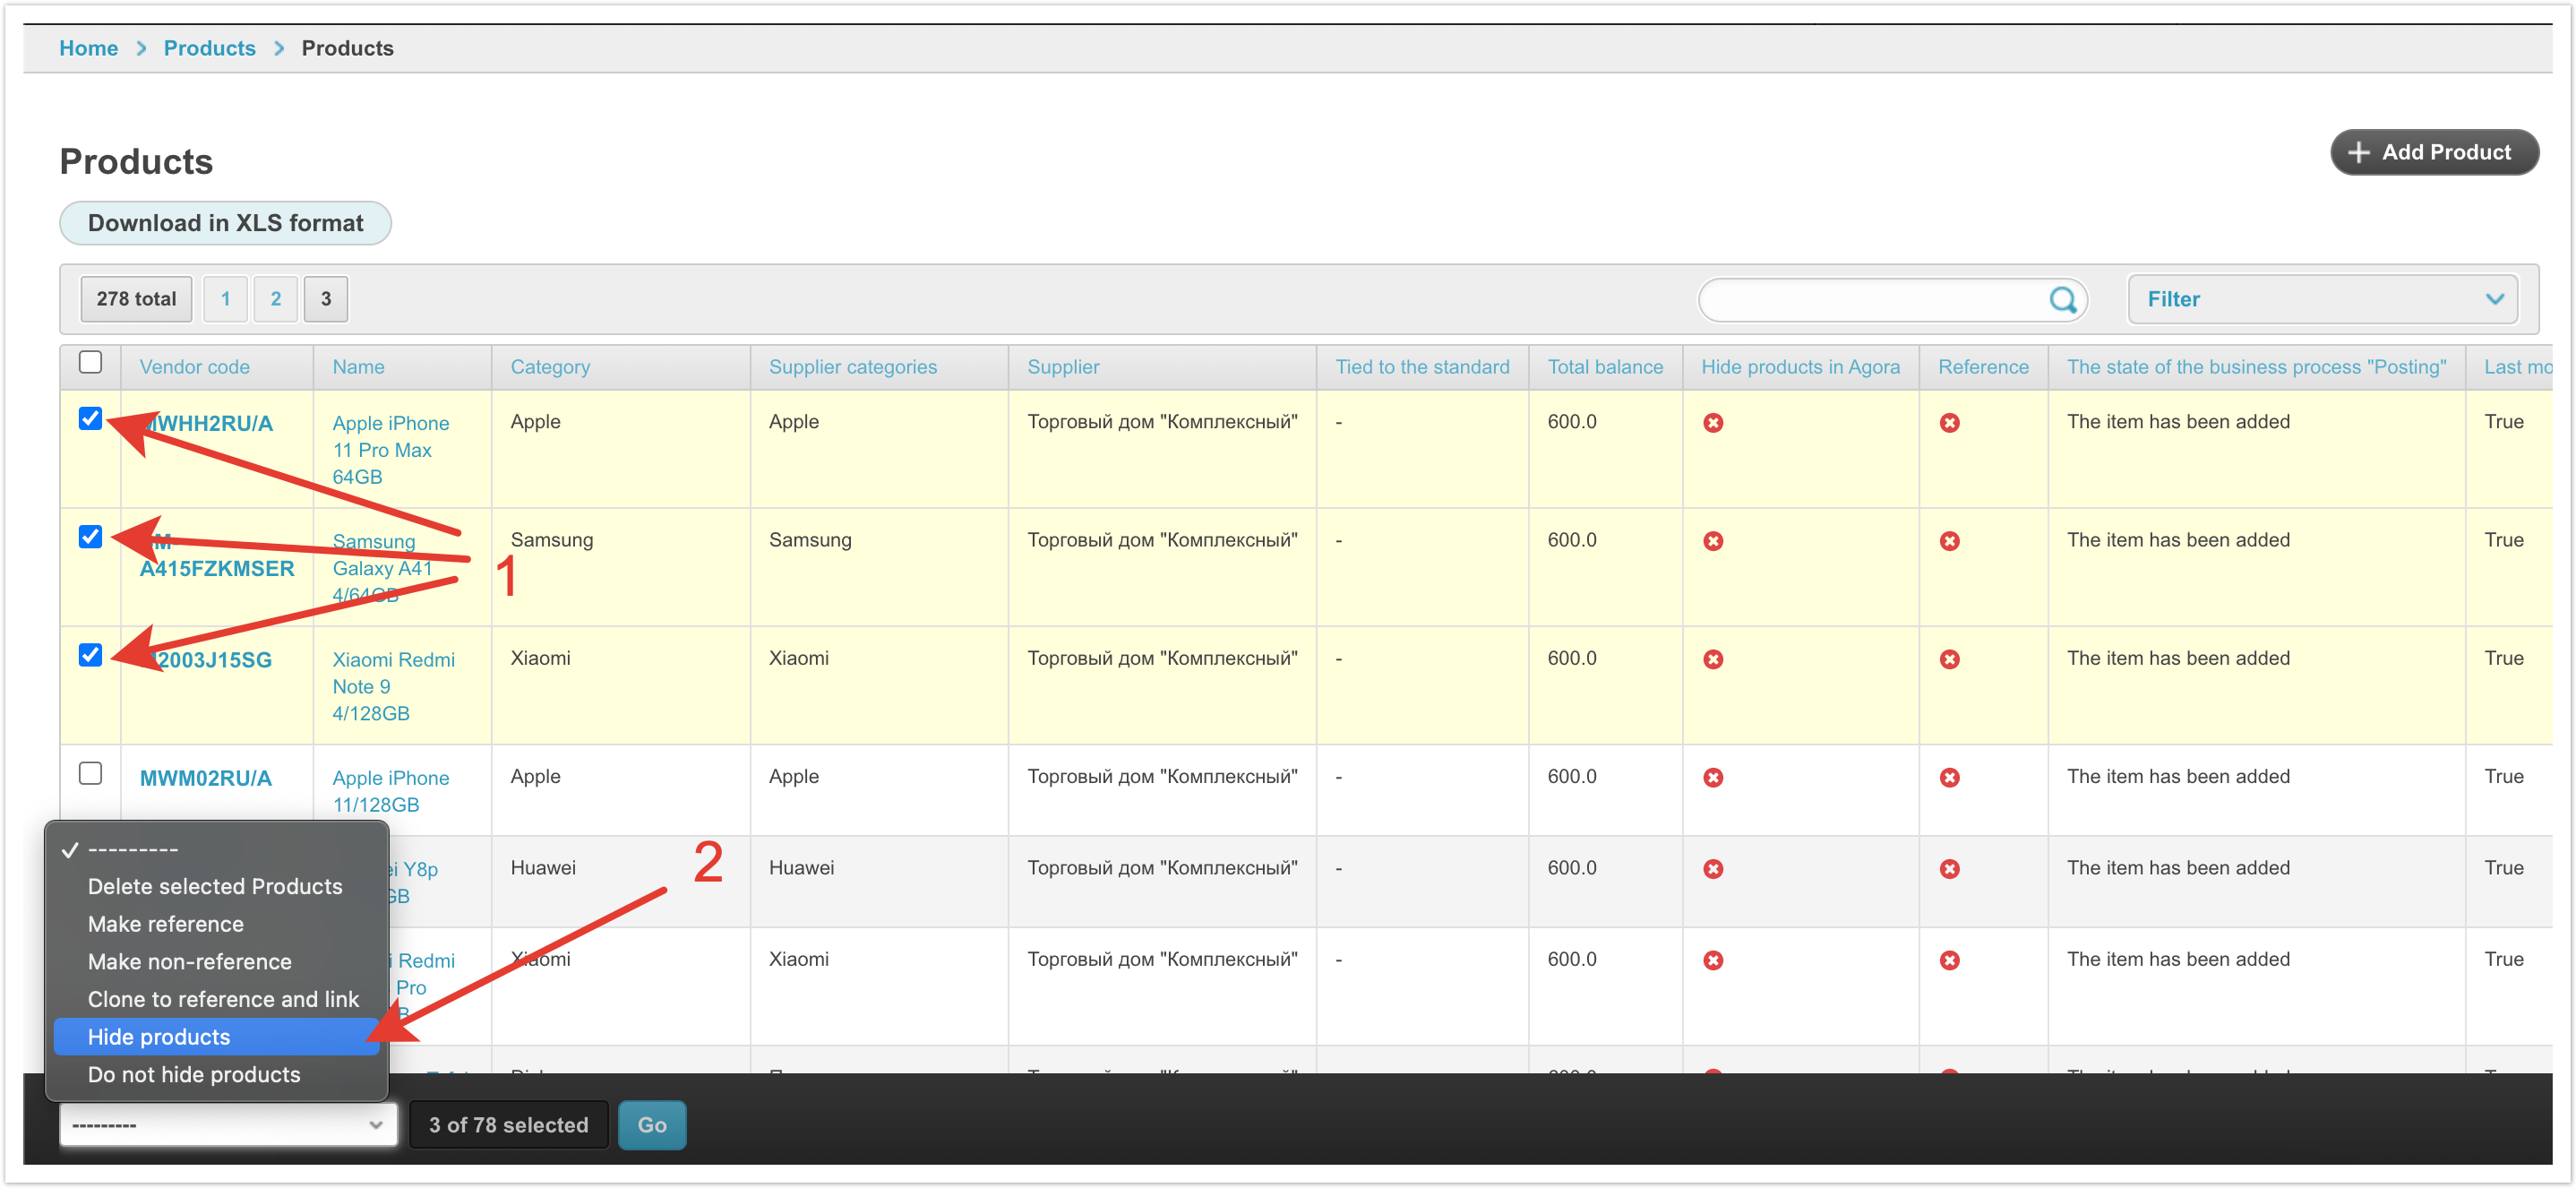
After that, just click the Save button located at the bottom of the page to save the changes. If you need to hide several products at once, then in the Products section of the administrative part of the portal, just check the checkboxes next to the name of the necessary products and select Hide products in the drop-down list of actions (at the bottom of the page)
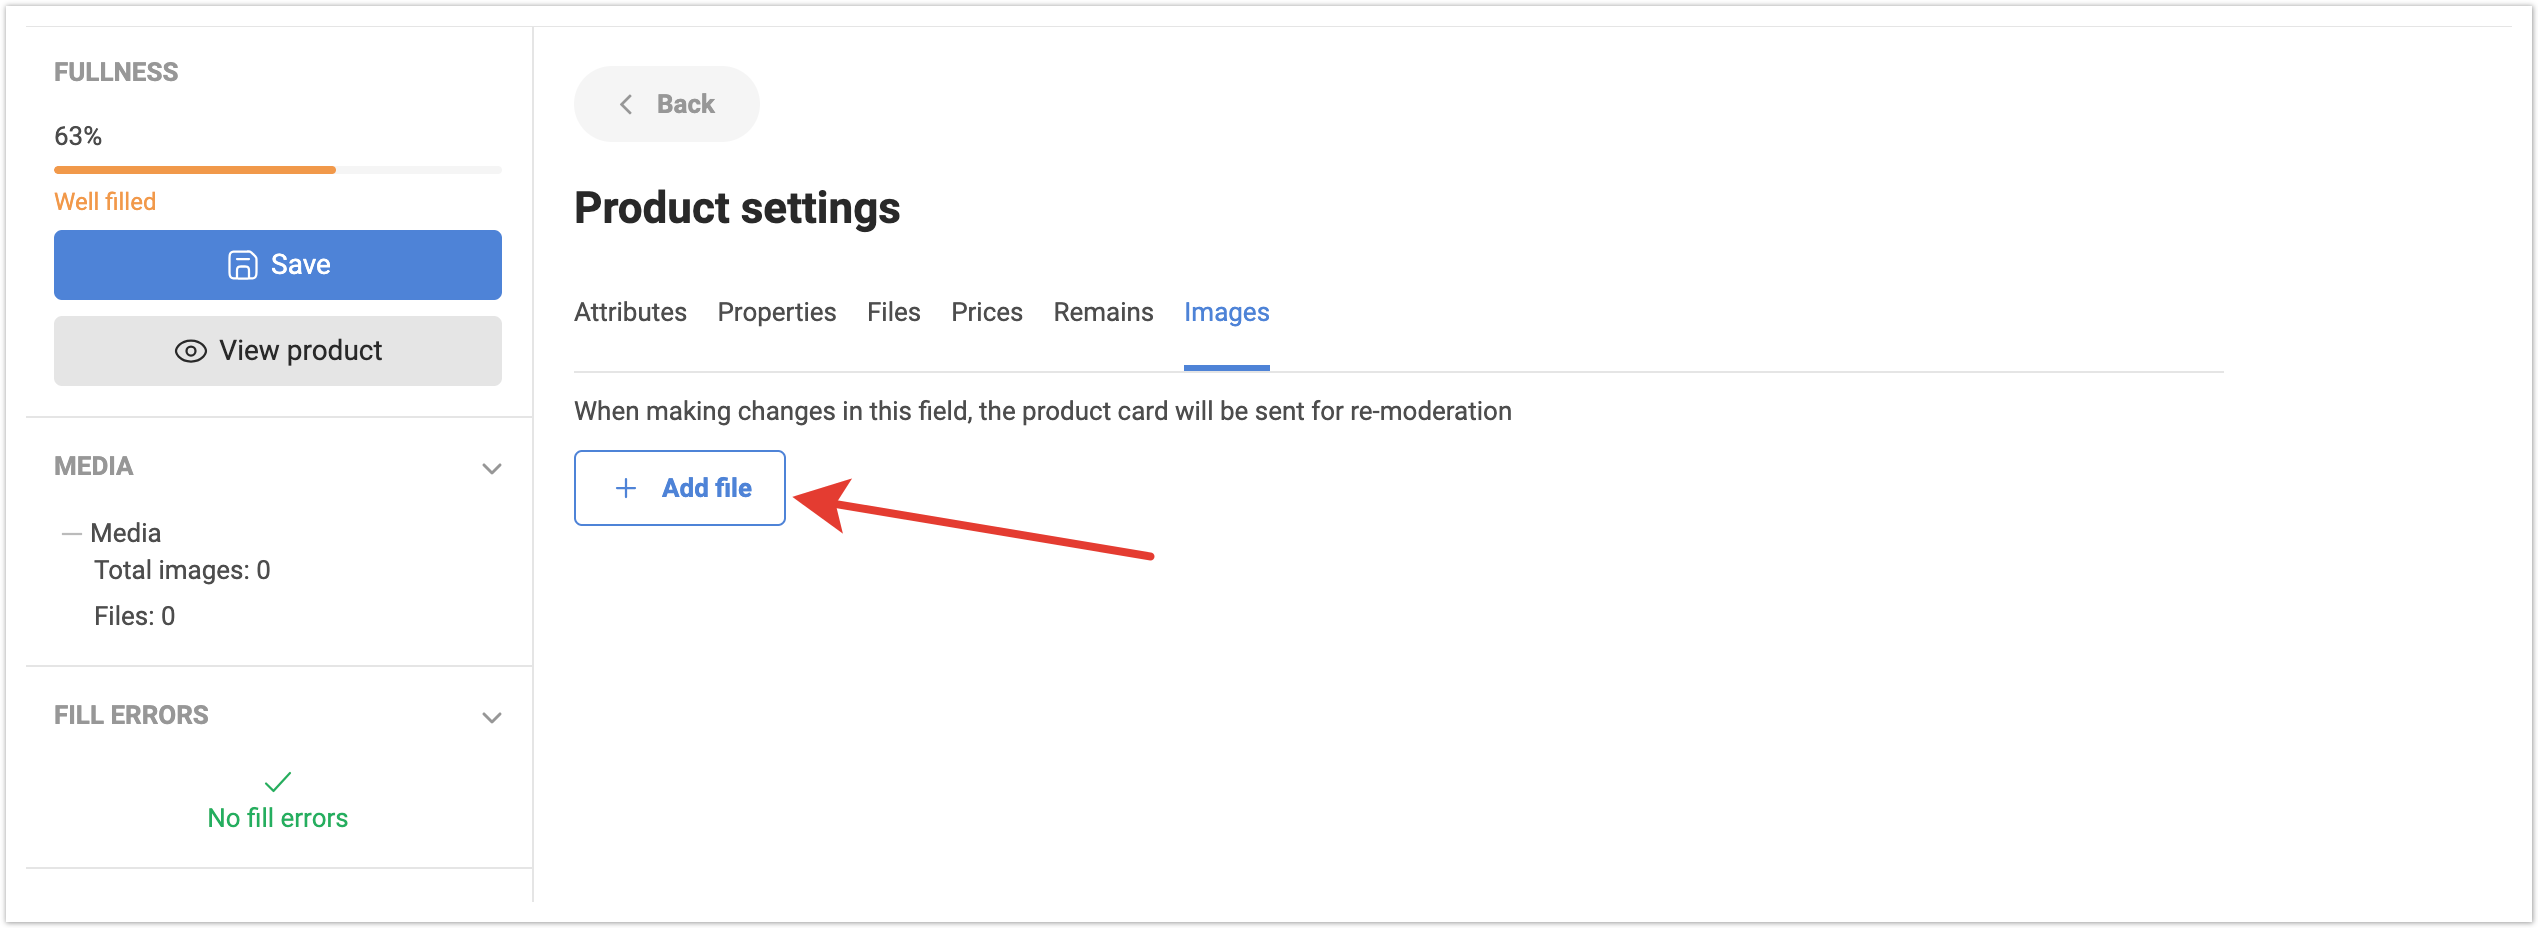
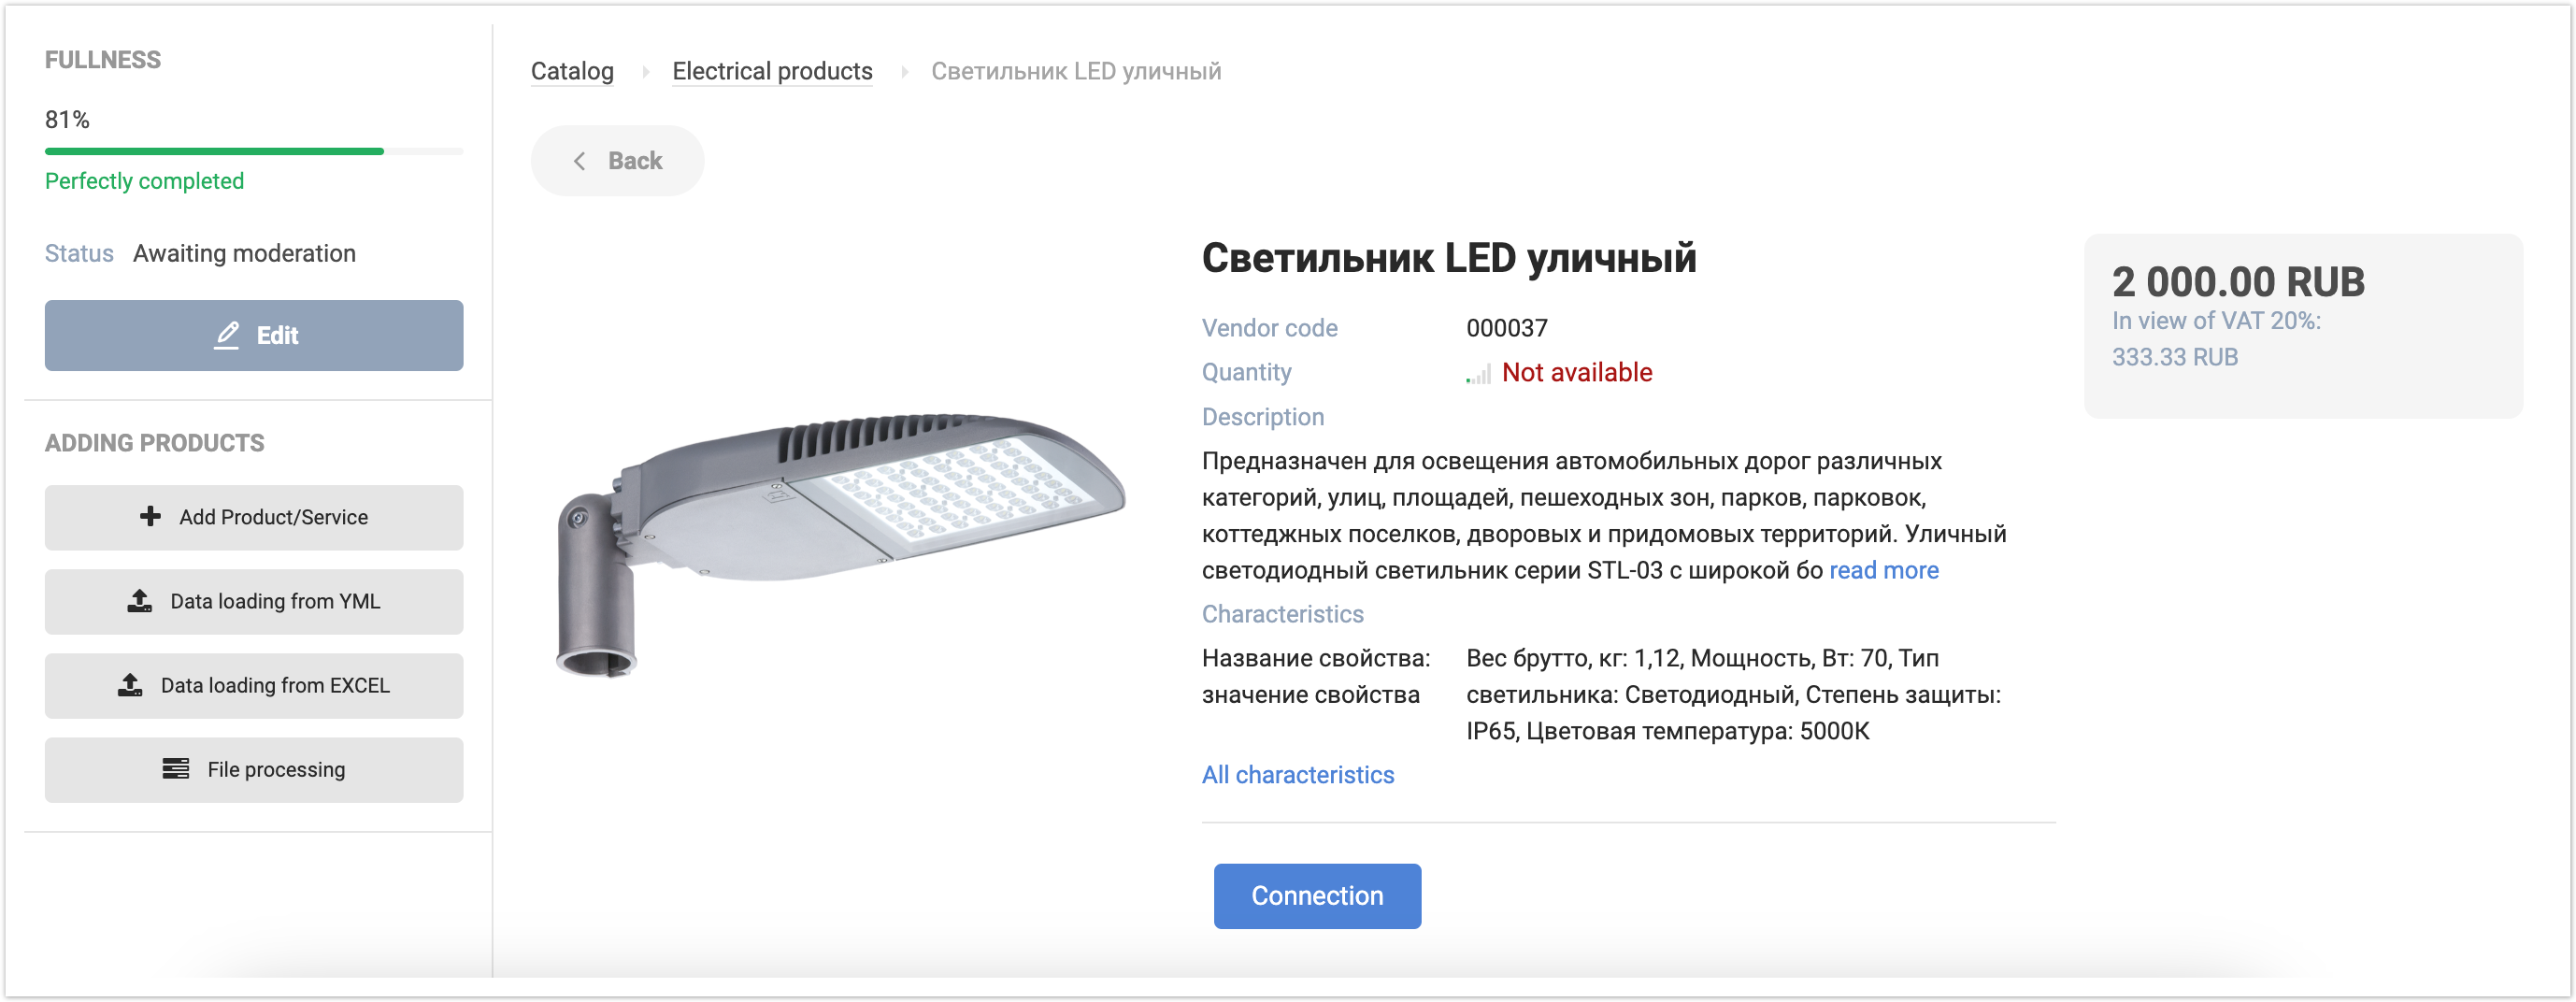
5. How to manually add an image of the added product to the catalog?To download the image, you need to log in to the supplier’s personal account and, in the My catalog section, go to editing the card for the necessary product by clicking on the icon
In the window that opens, all product properties will be available for editing. At the bottom of the page that opens, find the Images section and click on the Add file button to upload an image.
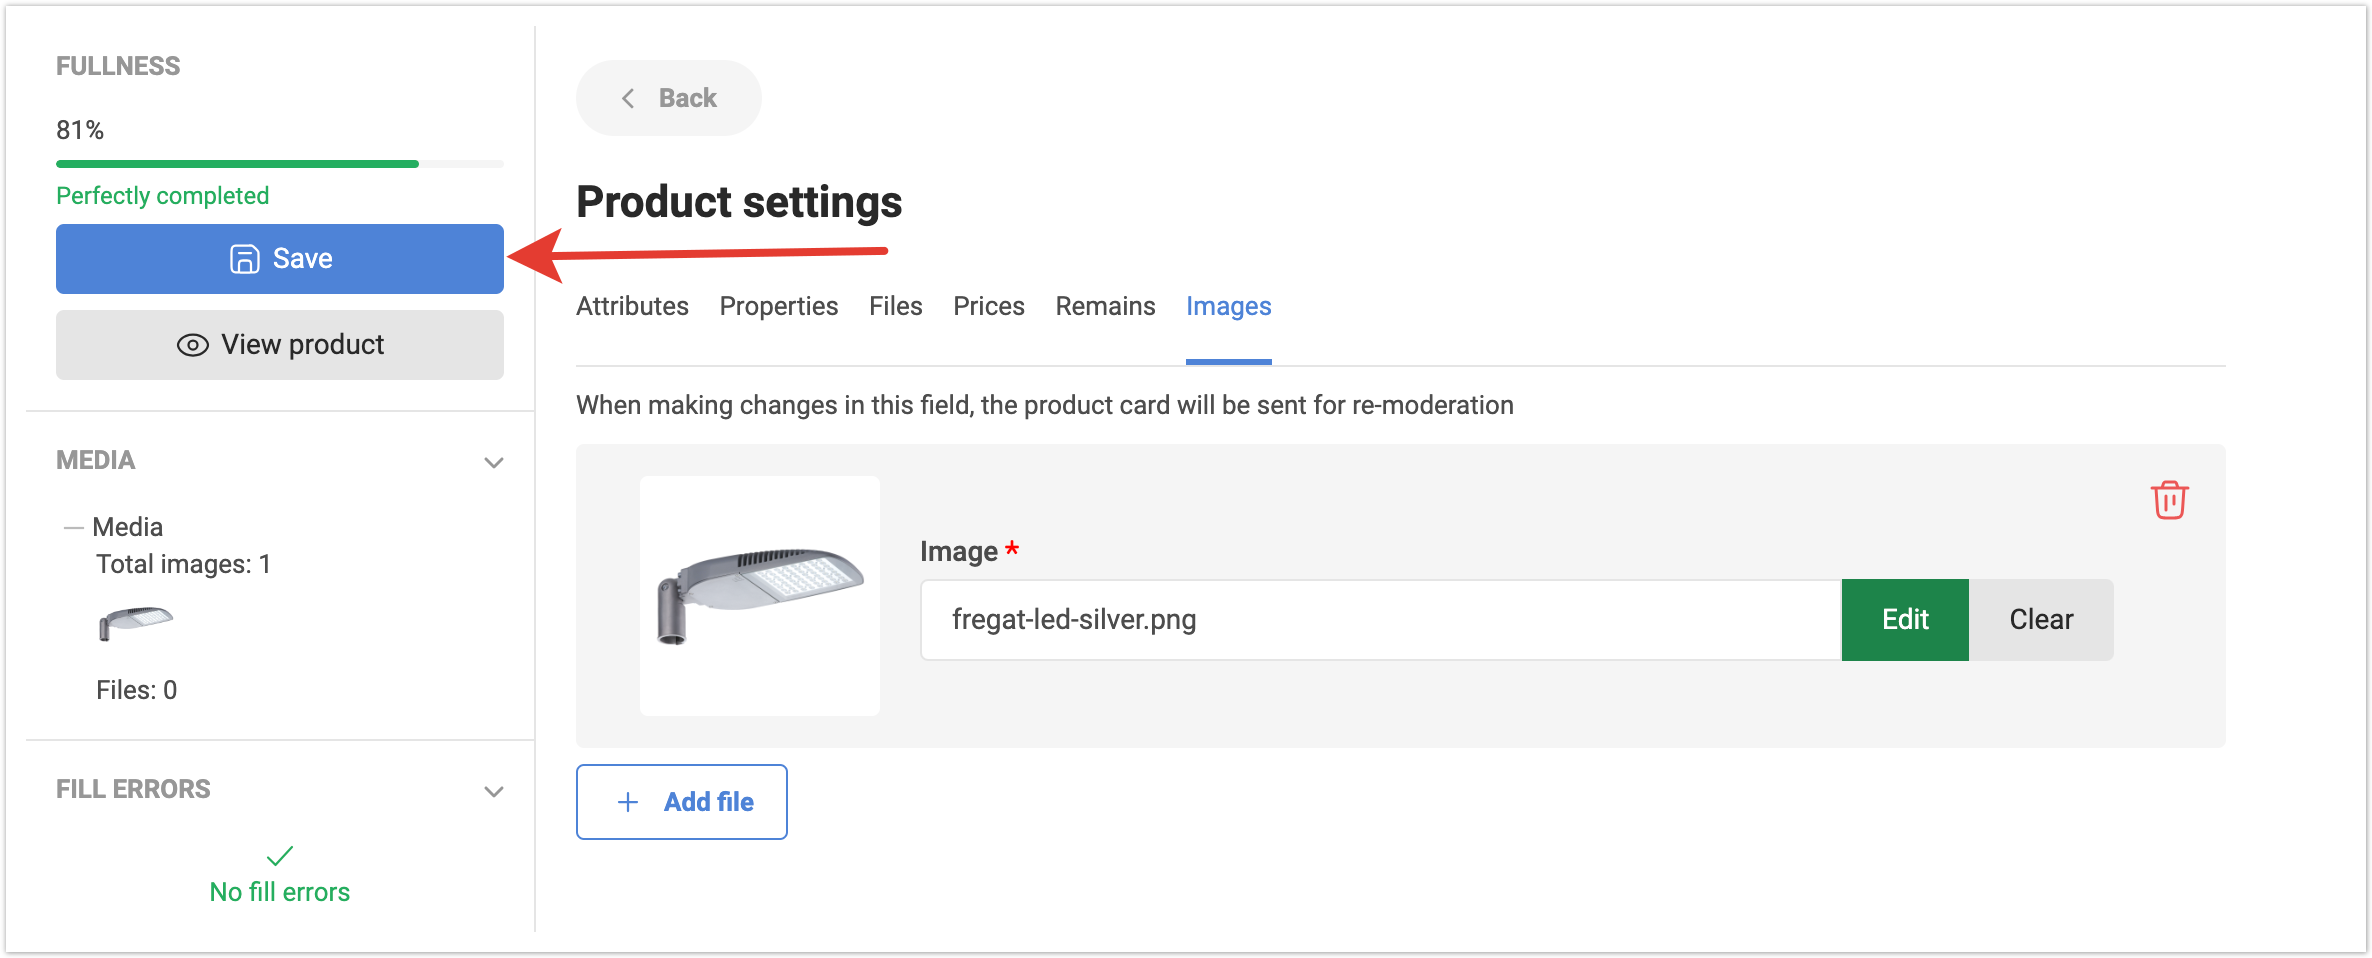
Next, you need to select a file from the local storage and after all the images are added, click the Save button located on the left side of the page.
After these steps, the image will be uploaded for the product and displayed in the catalog. Please note that when using product moderation, the changed product may be sent to the Awaiting moderation status if the Image field is selected as the fields for re-moderation.
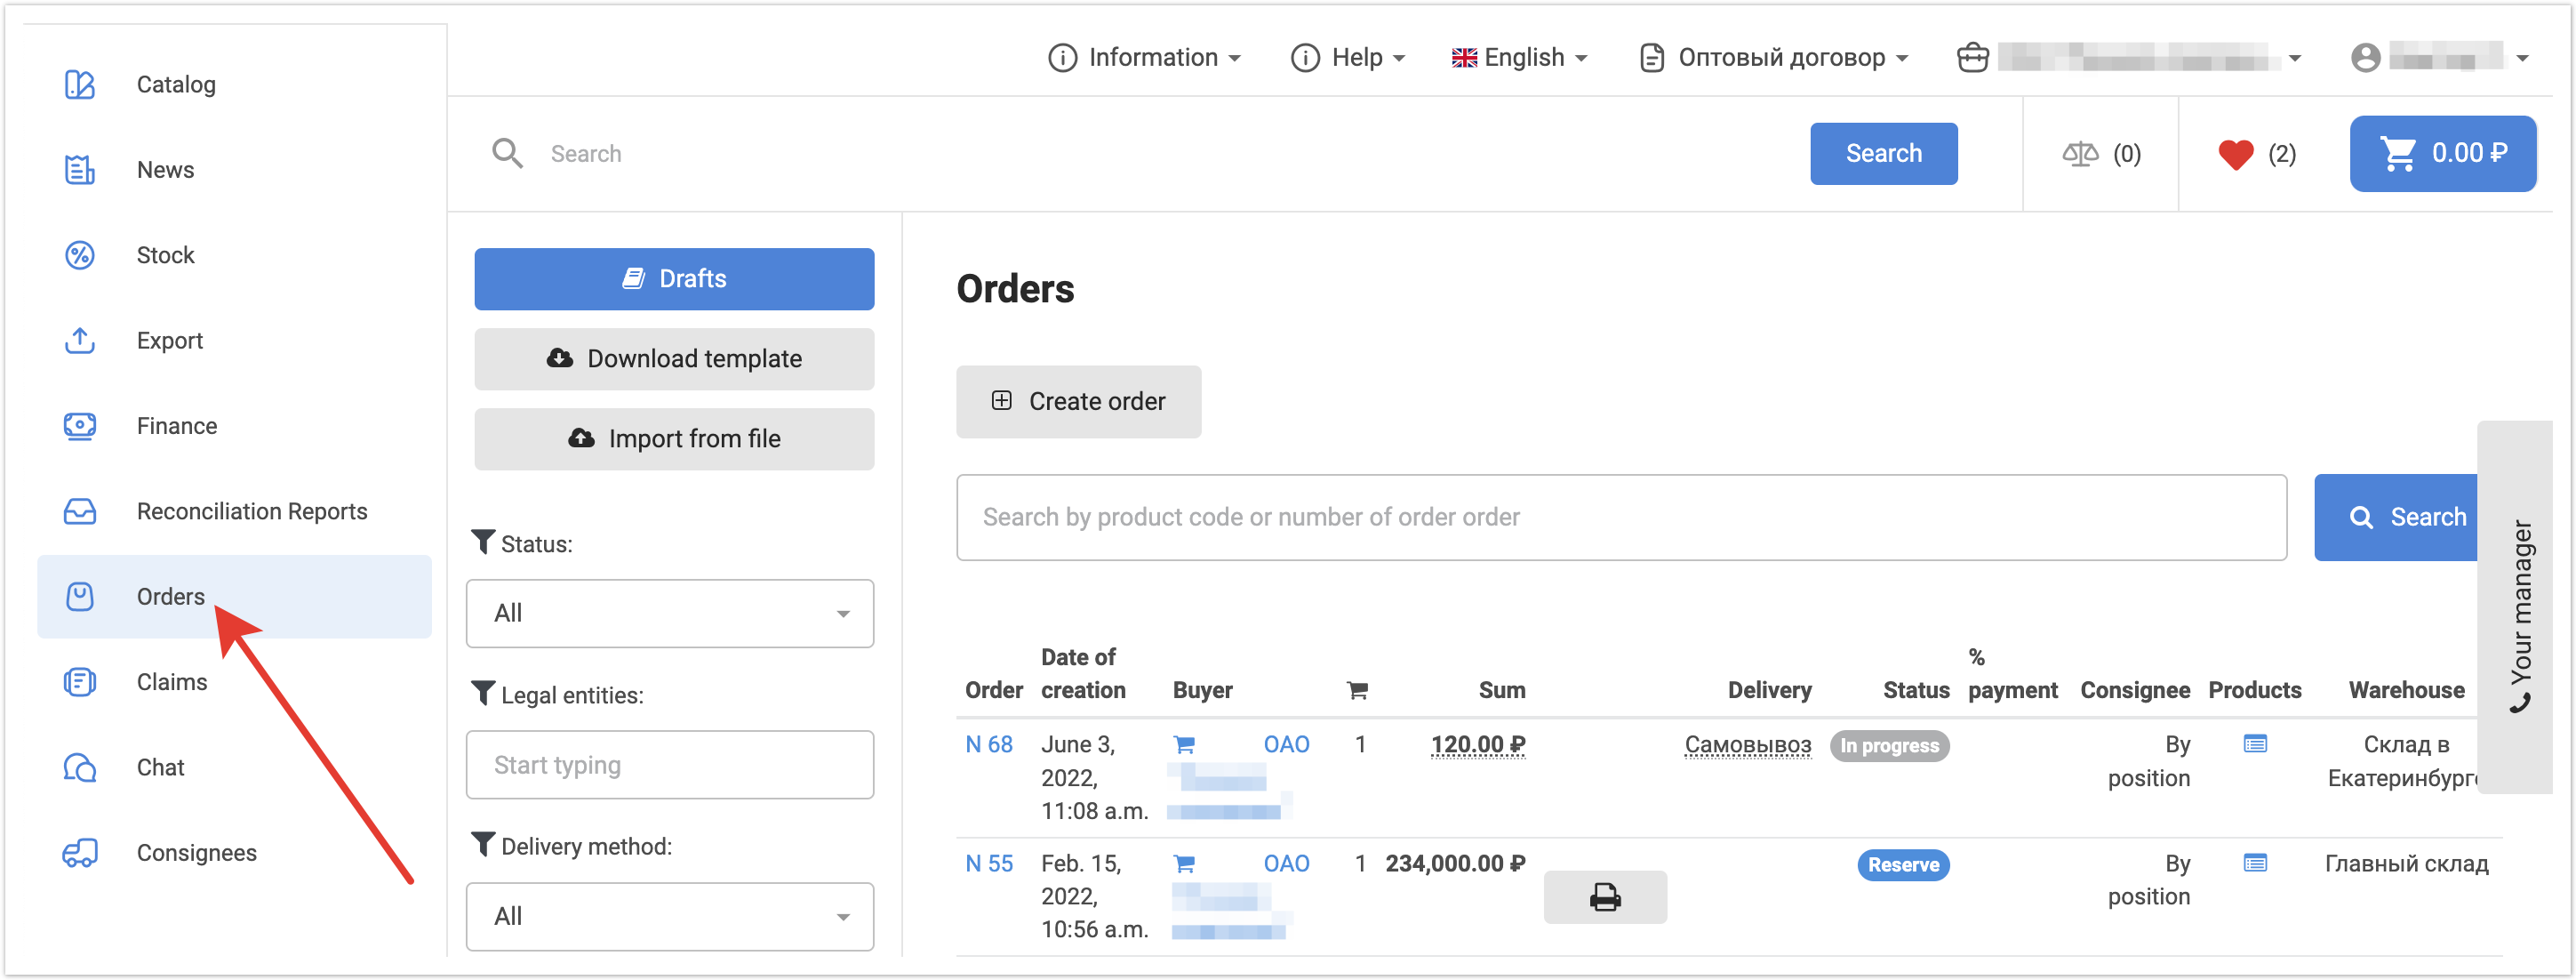
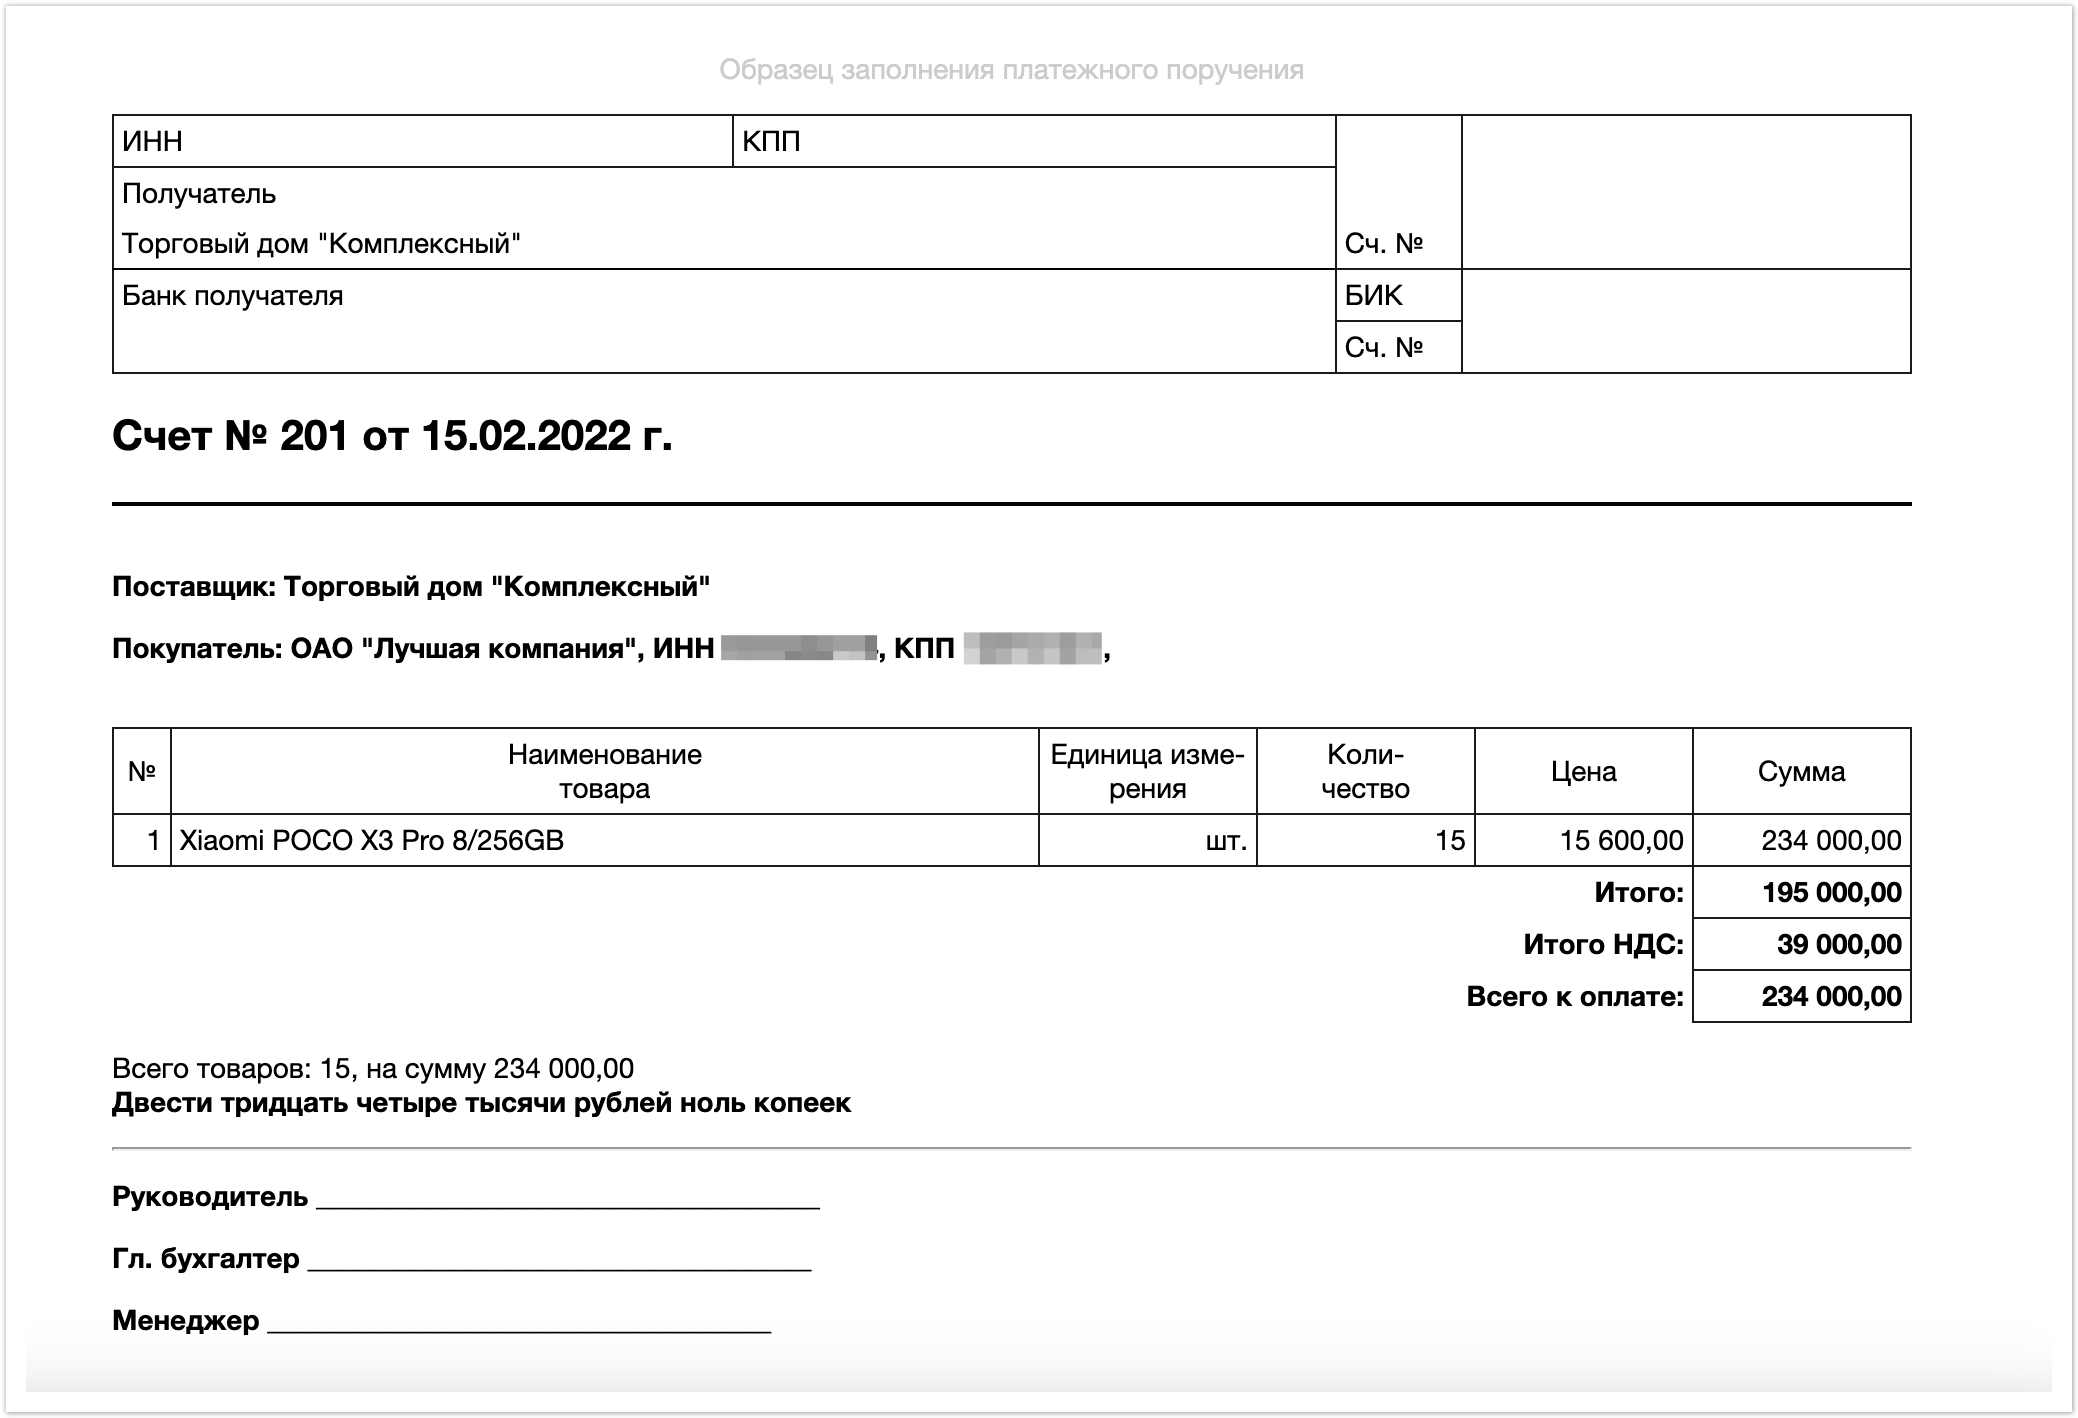
6. Why can’t I print out the invoice?The ability to print an invoice appears if the reserve order status is reached or the next in the status line. However, through the Order Status Complience settings in the admin panel, you can configure the ability to print an invoice for any status in the line. To print/view an account, just log in to your account and go to the Orders section:
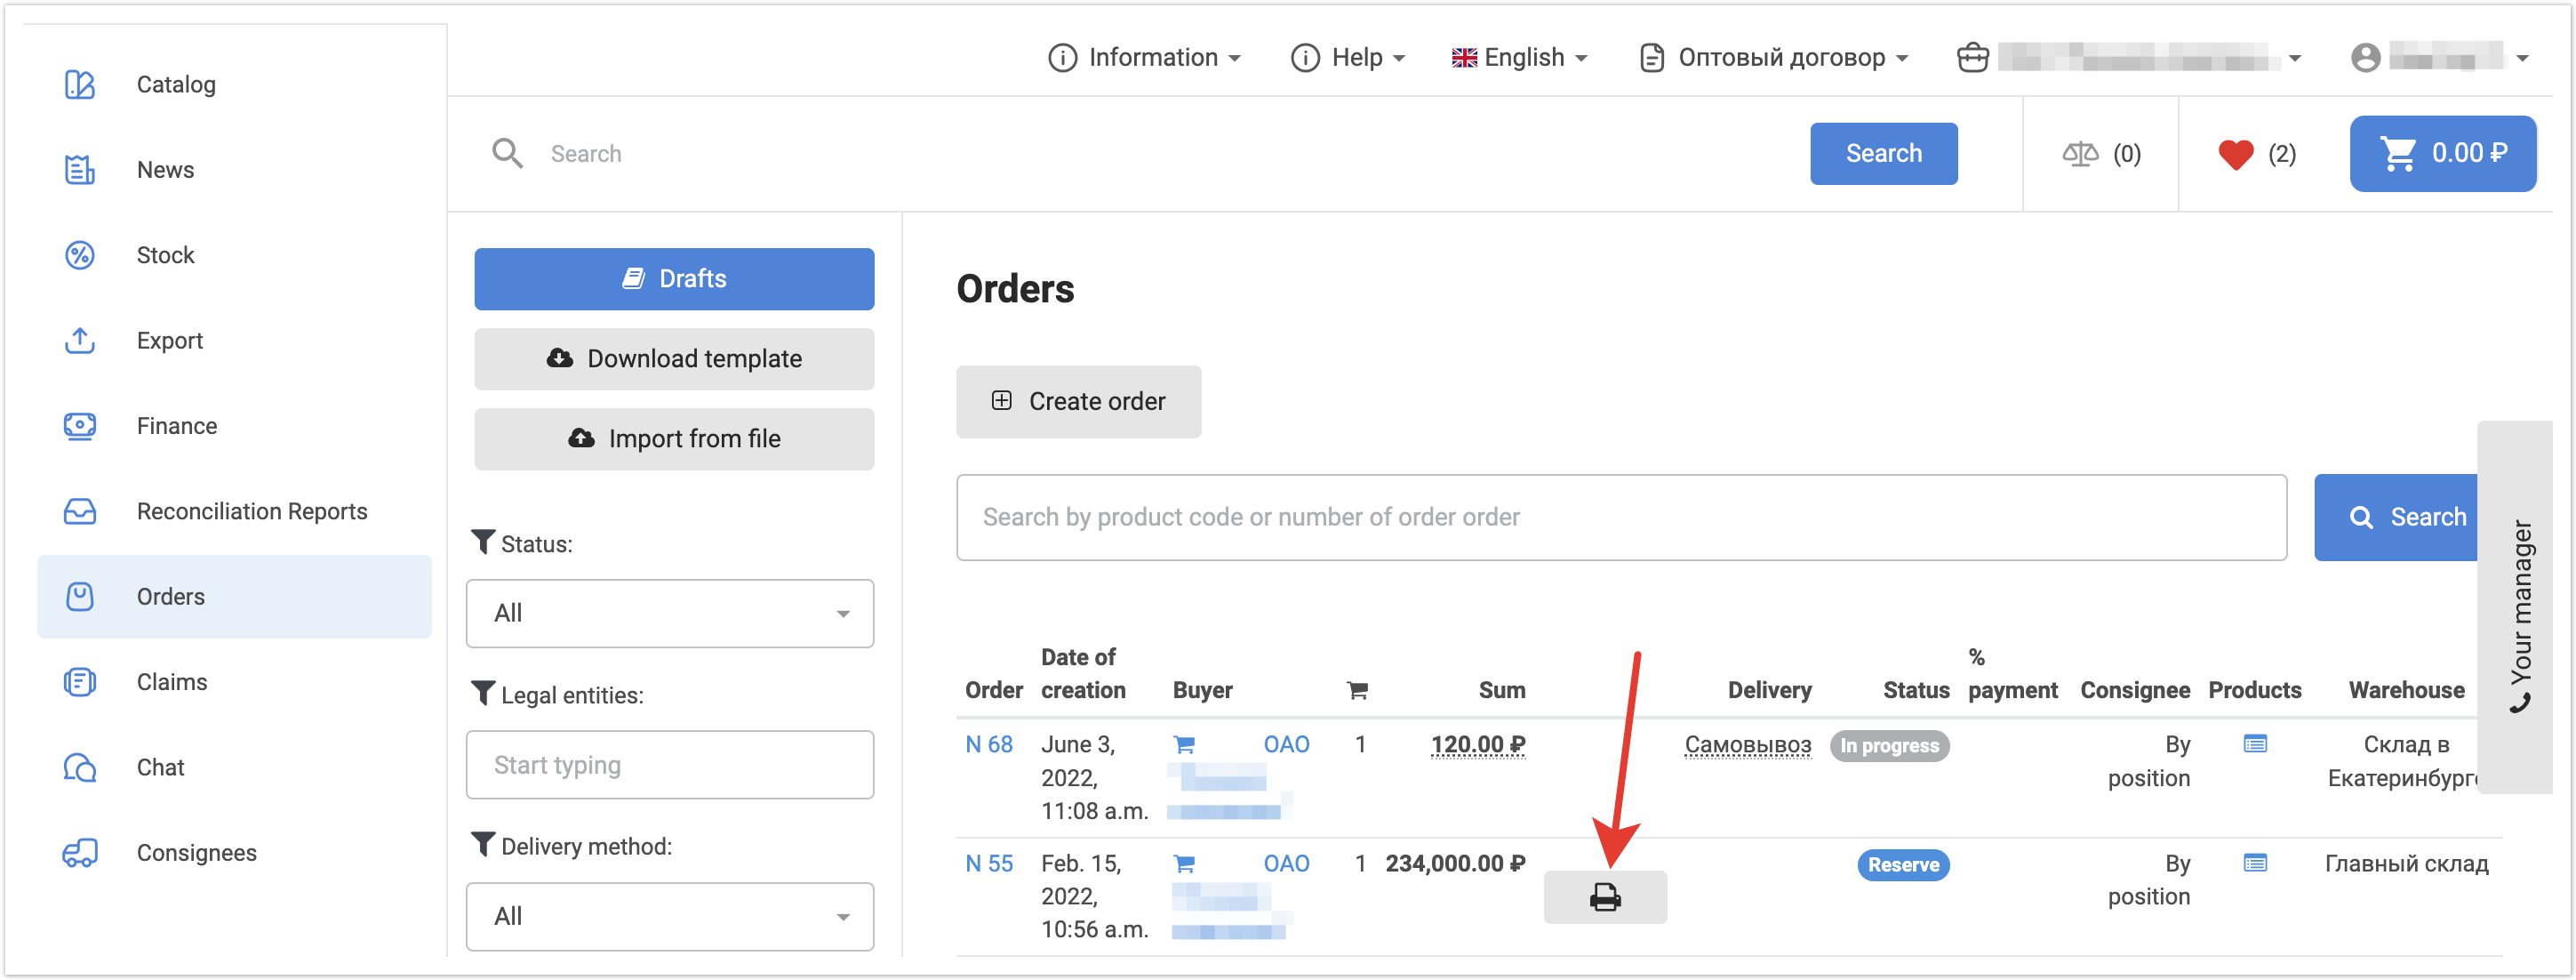
In the window that opens, a list of all previously placed orders will be available. To print an invoice, just click on the print icon
By clicking on the print invoice icon, the invoice form opens, which can be printed:
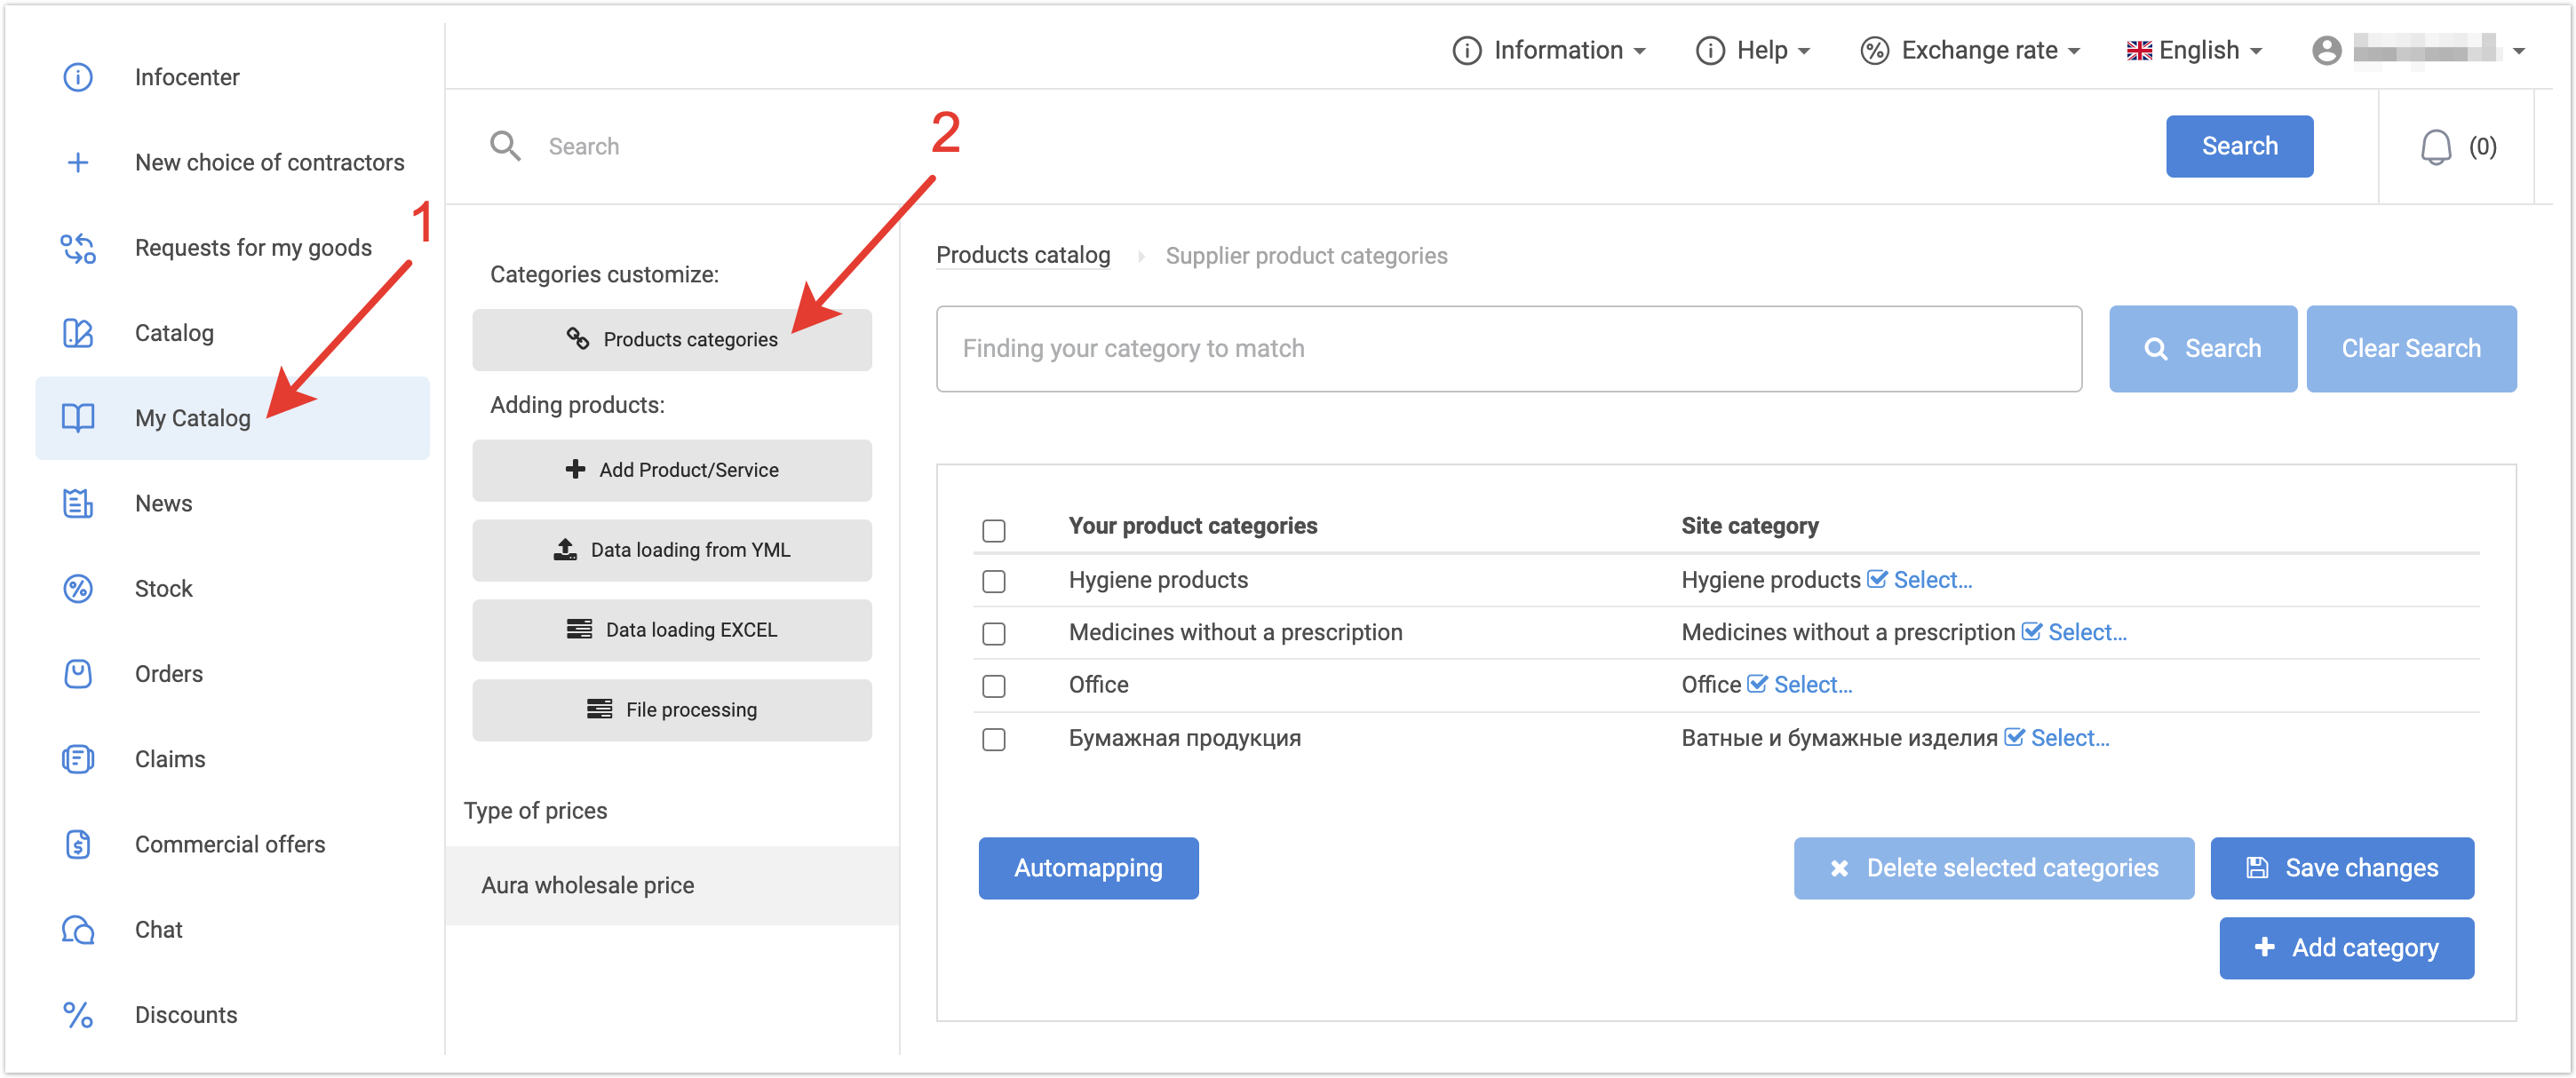
7. How to manually add a new category of products and assign part of the products to it?You need to log in to your provider account. Open the My Catalog section and click the Products categories button.
The page with the current vendor categories opens. On this page, click the Add category button.
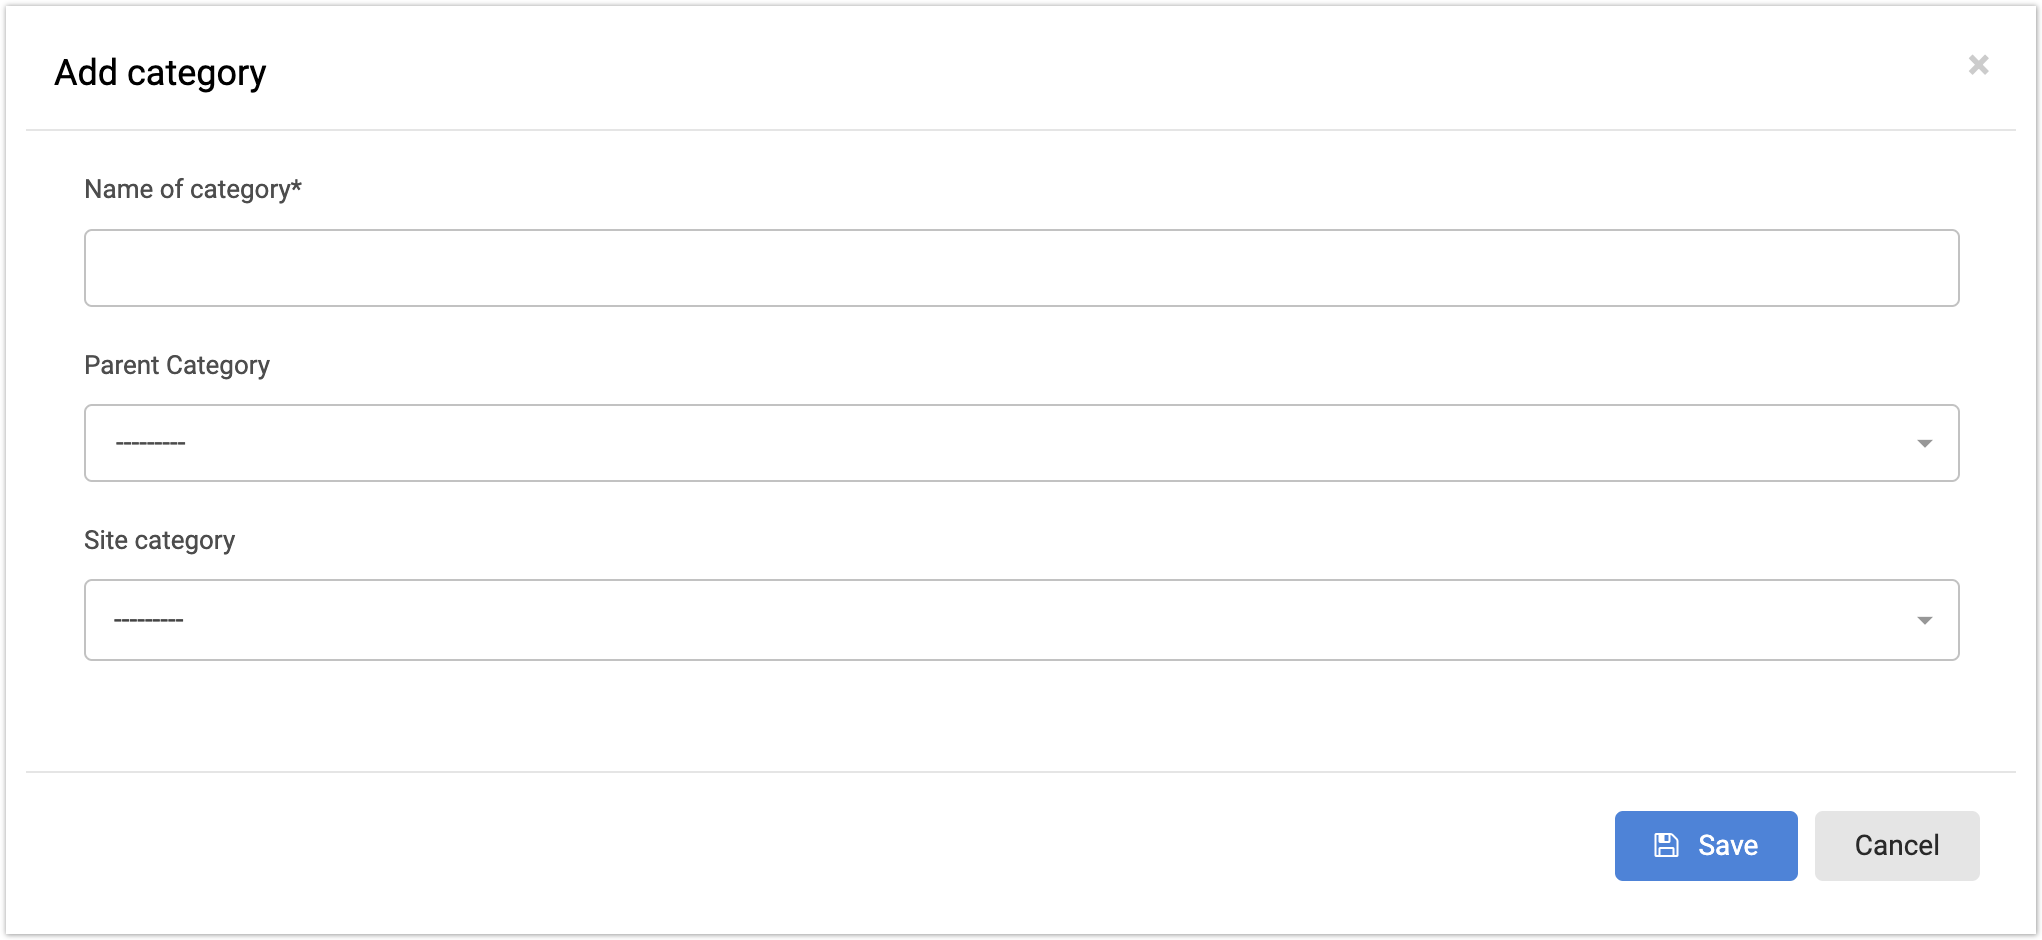
After that, a window will open with the addition of a new category.
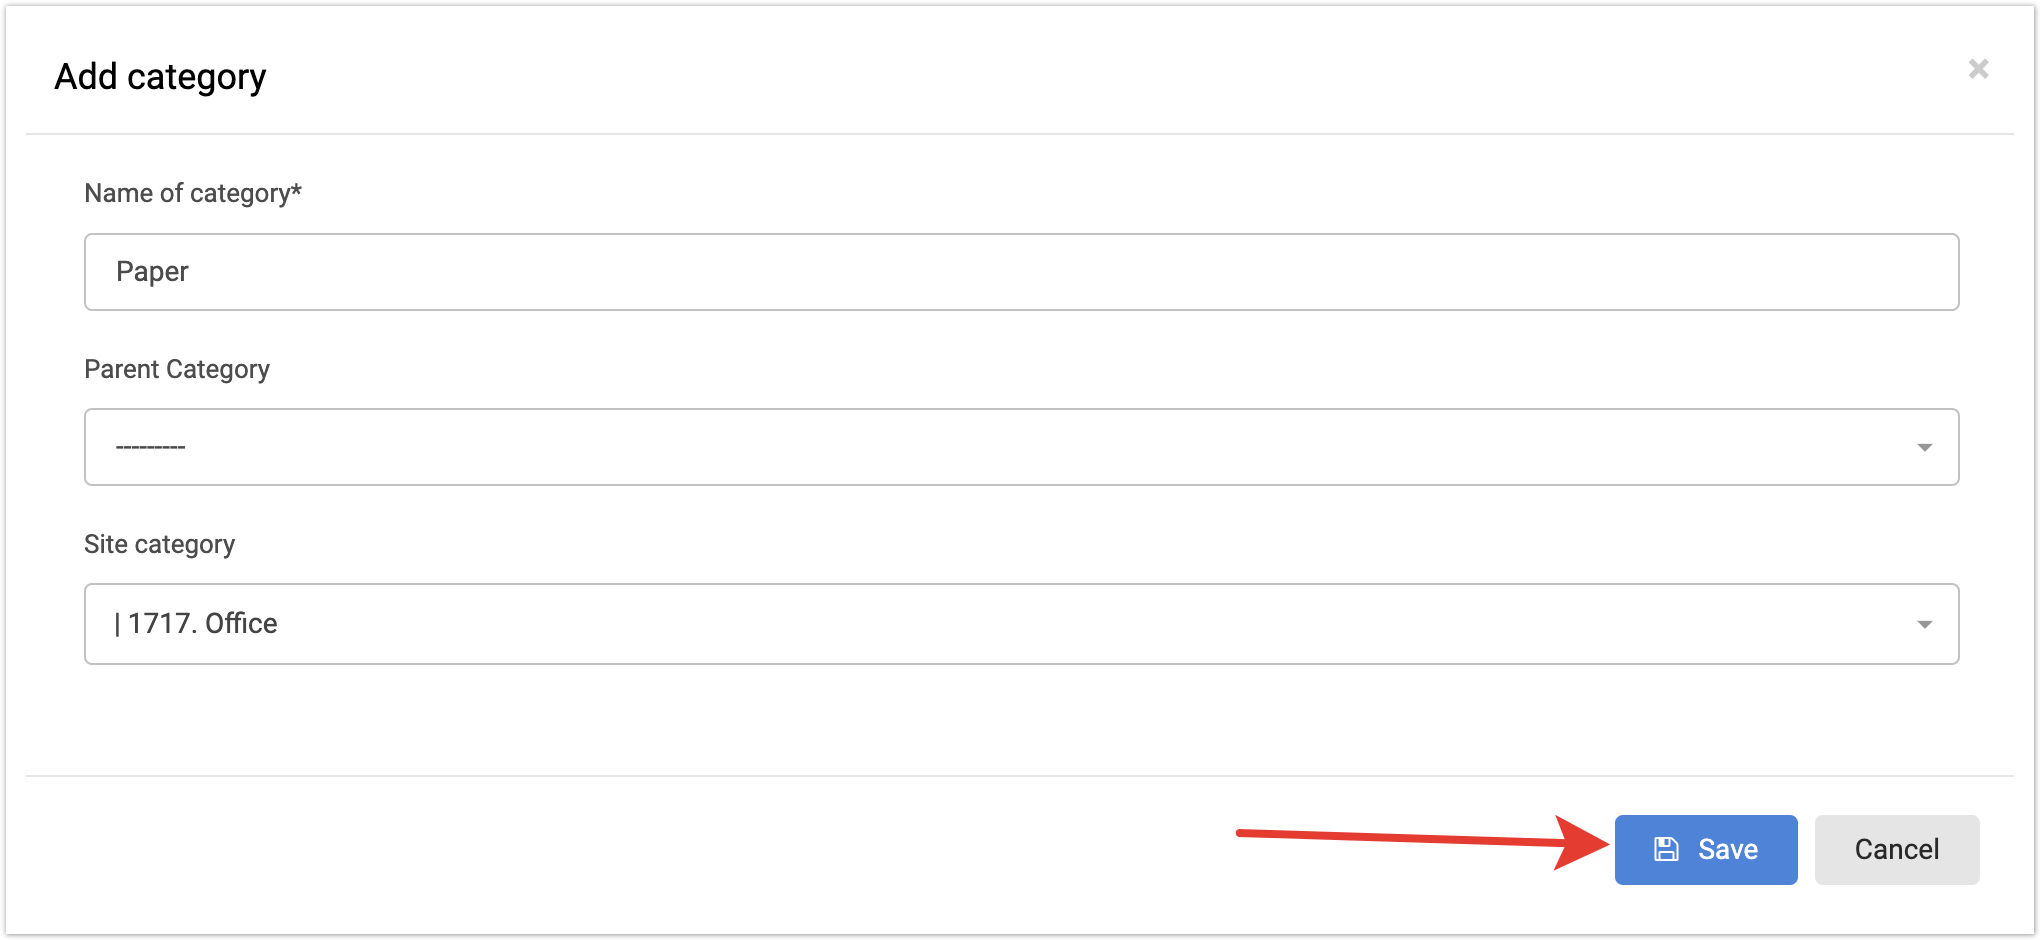
It is necessary to fill in Name of category field, as well as in the Site category field on the site, immediately assign a match for a new category, or in other words, match it. Matching the category of the supplier with the category on the site is a prerequisite for its display in the buyer's catalog. If a category is not matched, then it will not be displayed in the catalog. The Parent category field is populated as needed when a nested category is created. After the fields are filled in, click the Save button.
After saving the changes made, the category will appear in the list and if it has been matched, it will be displayed on the platform and the buyer will see the products in this category from his Personal Account.
8. Error registering. E-Mail Address/TIN is already in use.When registering a user, errors occur that E-Mail address or TIN is already used. Error example:
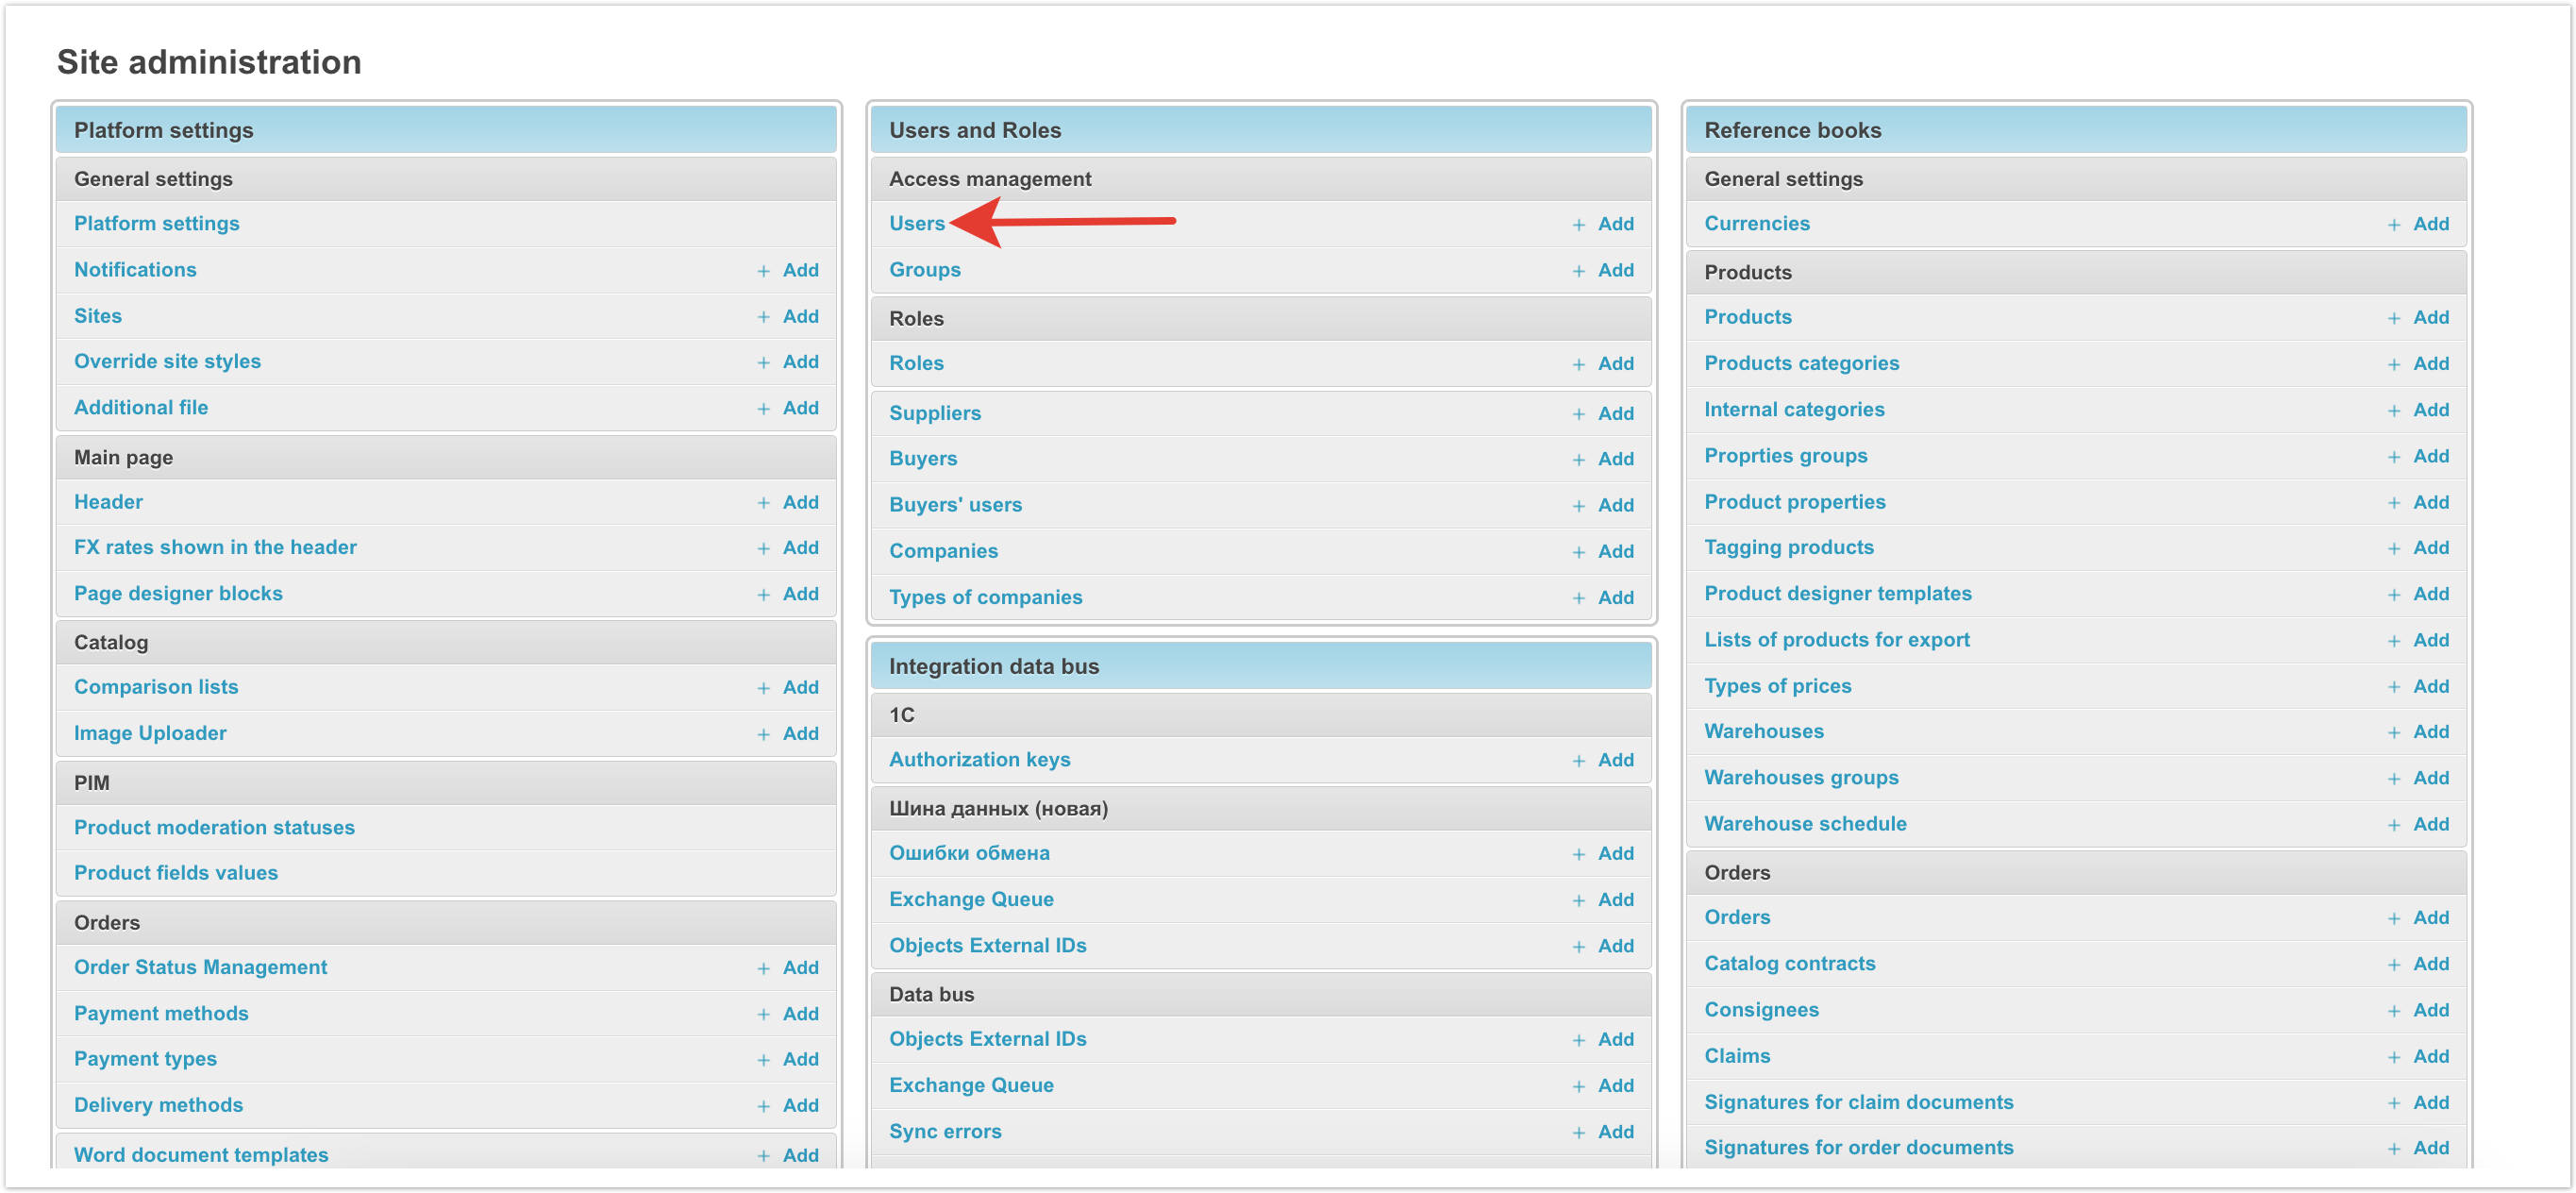
These errors occur due to the fact that the TIN/e-mail data was specified during registration on the portal earlier. To resolve the issue, it is necessary to find the User who registered with this data earlier and restore access to it. To search for a user by e-mail, go to the administration panel in the Users section:
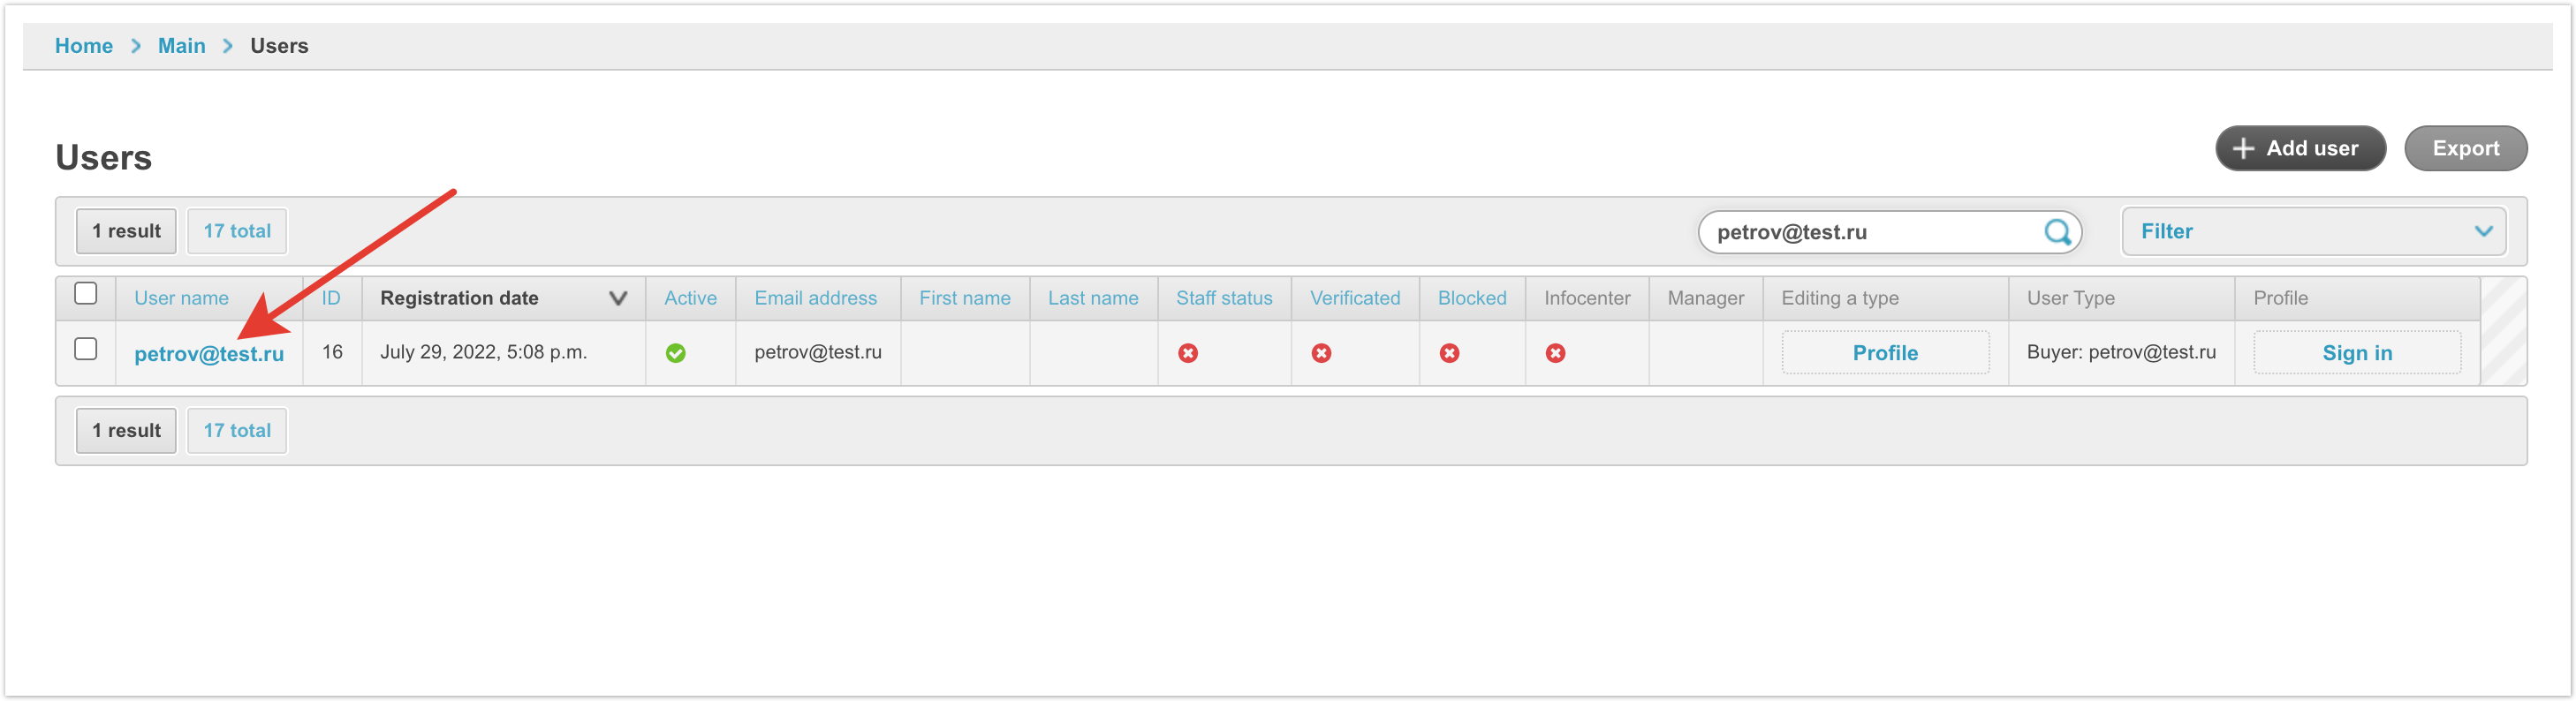
A list of users will open on the page that opens and a search box will be available in which you can specify the desired e-mail and click on the search button:
As a result, you will find the User you need and will be able to restore access for this Personal Account:
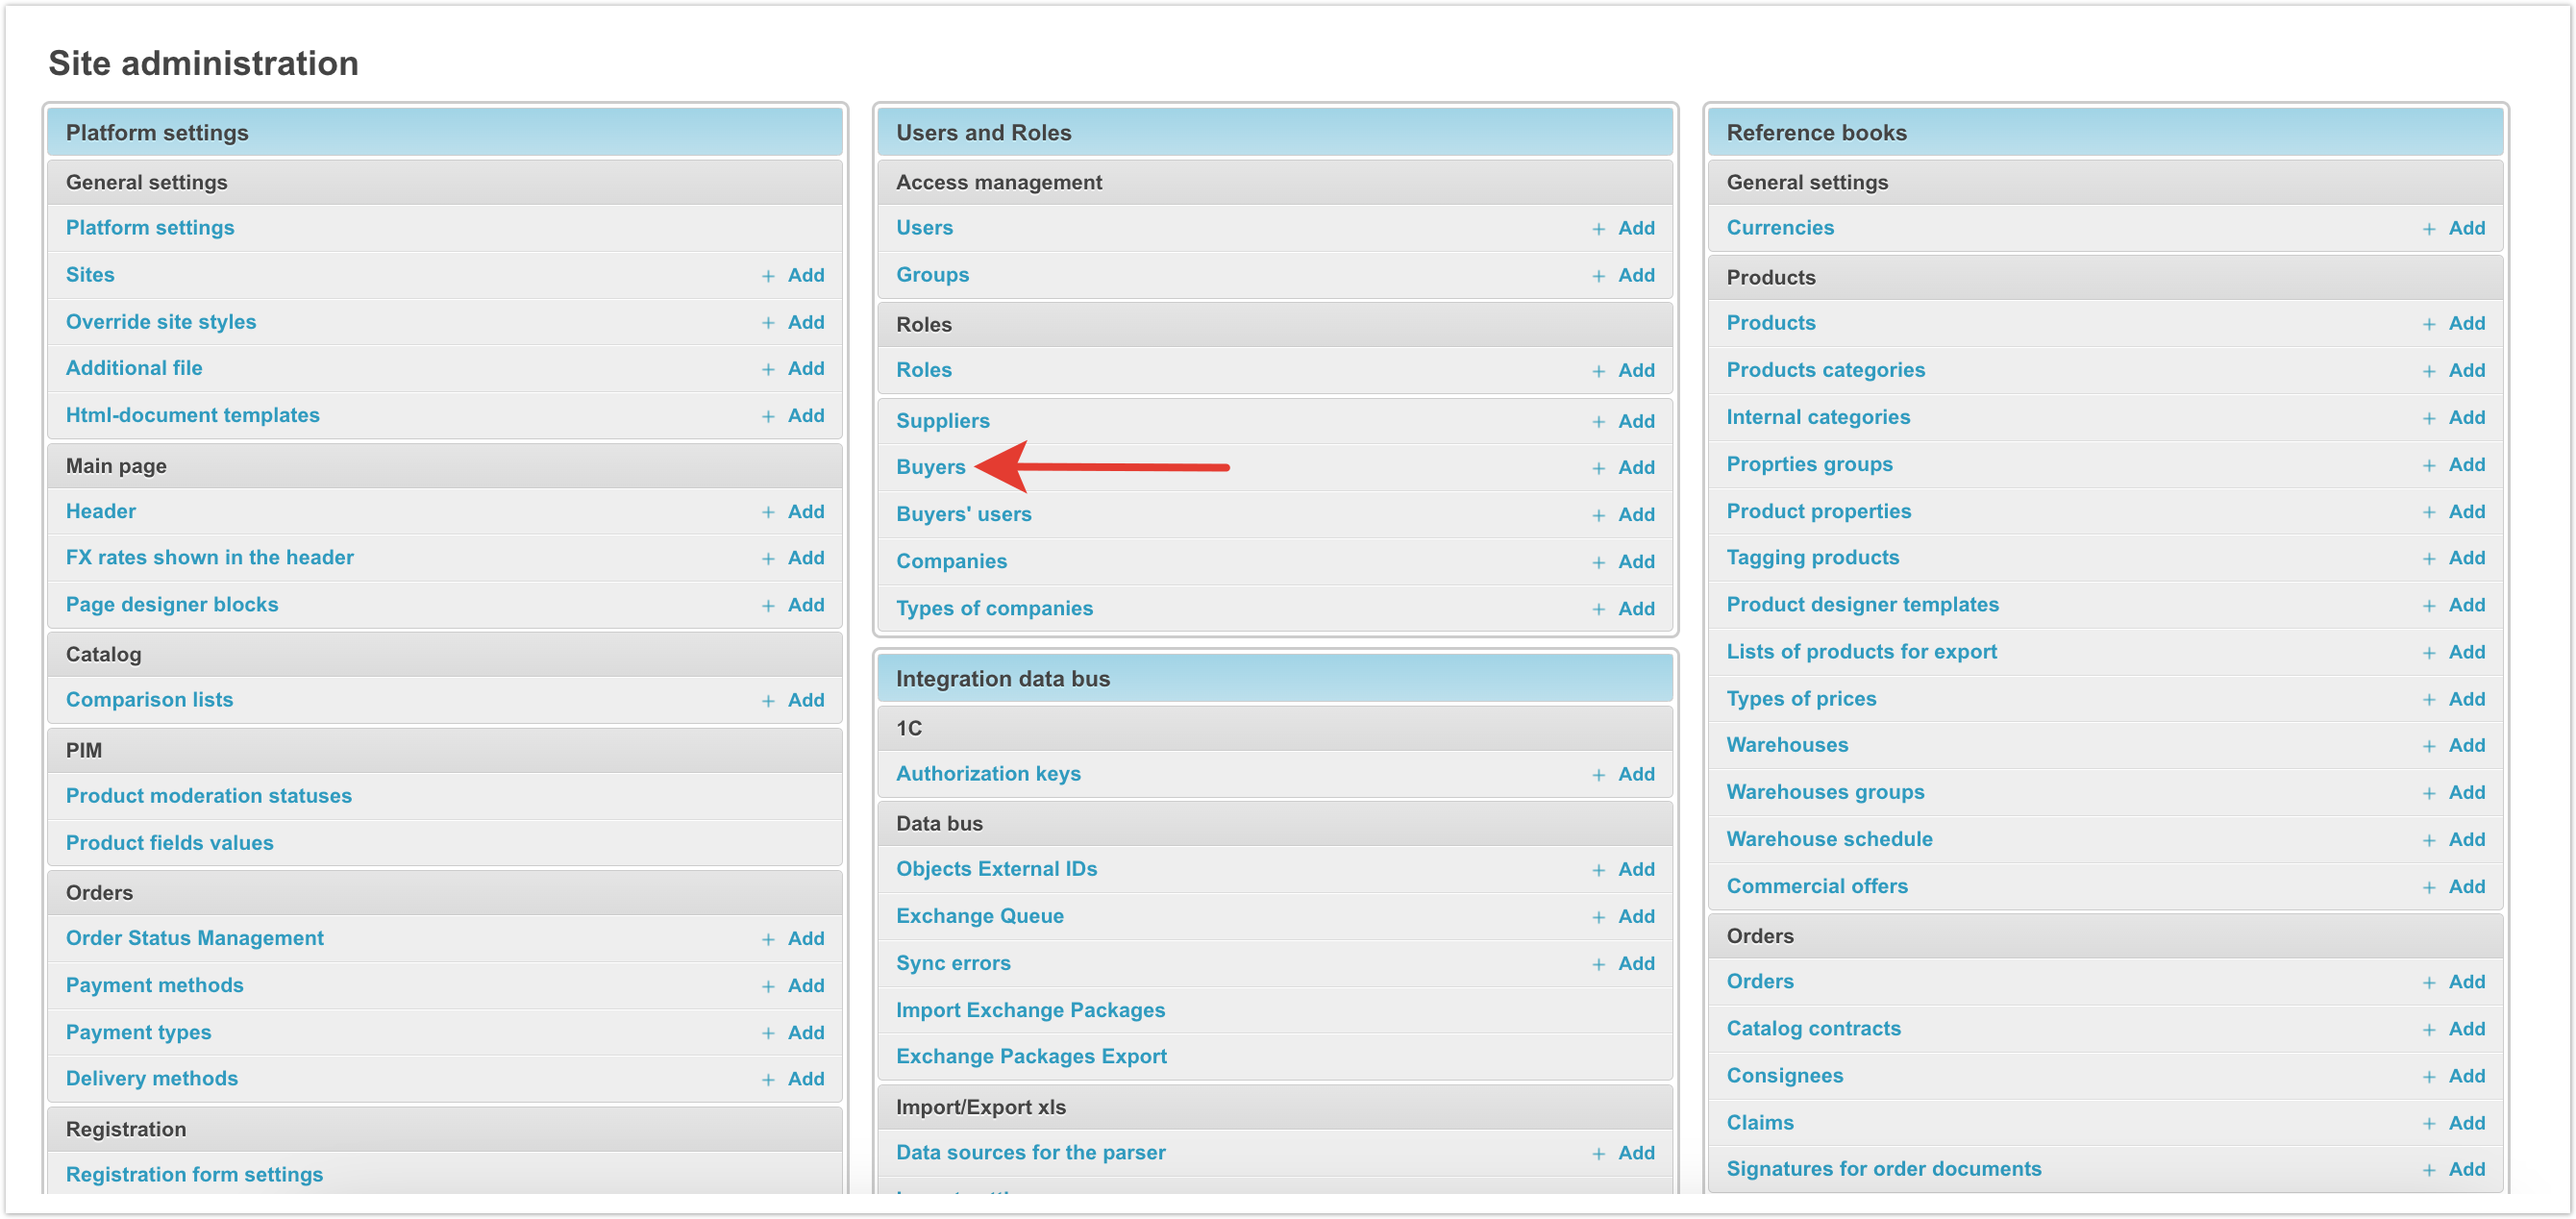
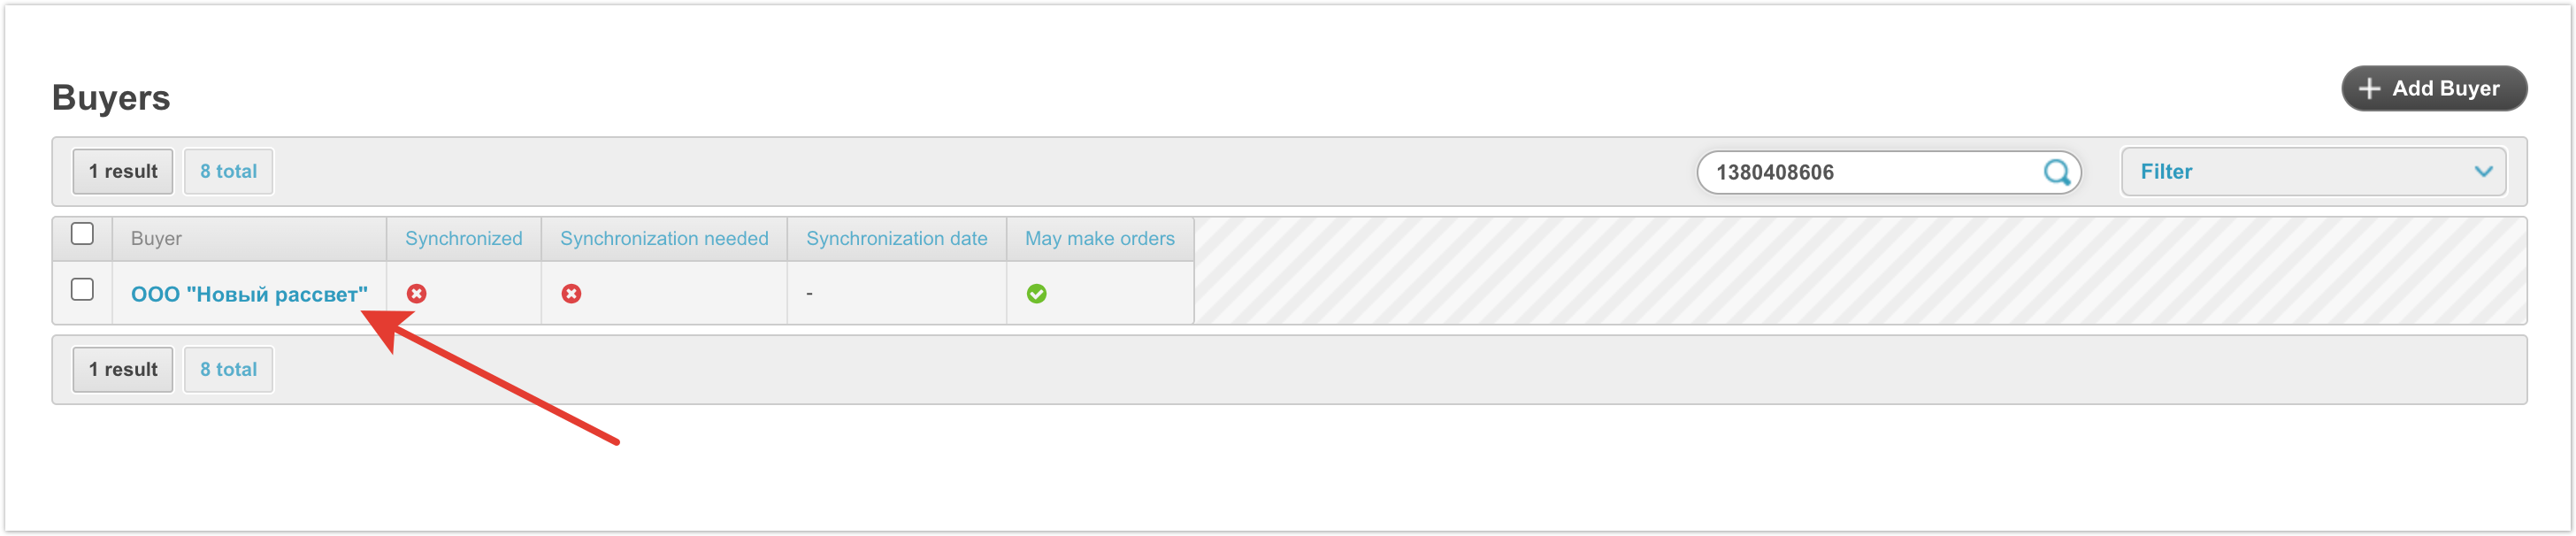
Search by TIN can be carried out as follows: In the administrative panel, go to the Buyers section:
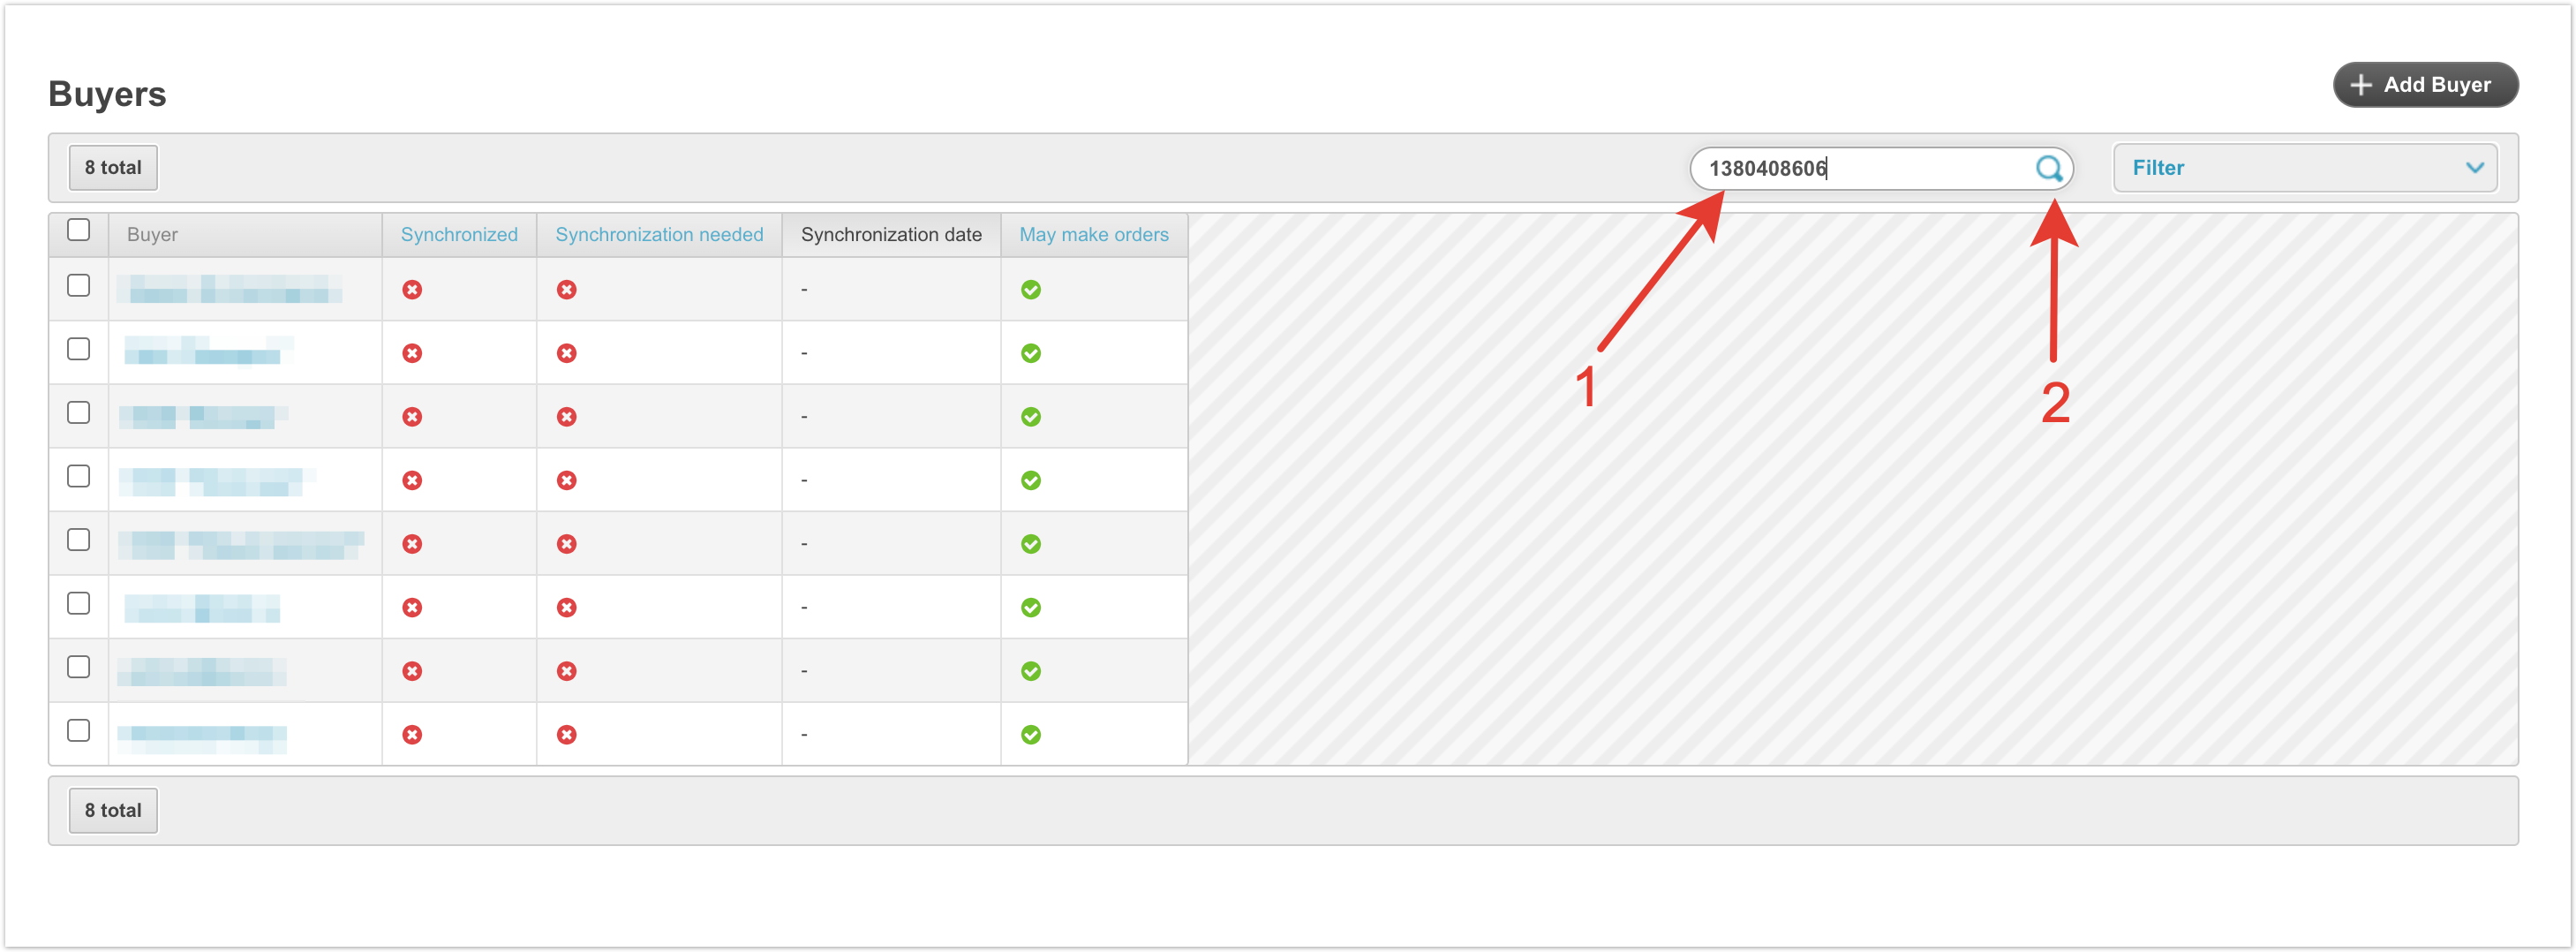
A list of all Buyers will be presented on the page that opens and it is possible to specify the TIN in the search box:
As a result, you will find an organization that is a Buyer and can be found using the name of this company in the Buyers section:
Restoring access to the account is carried out similarly to the algorithm described in paragraph 1.
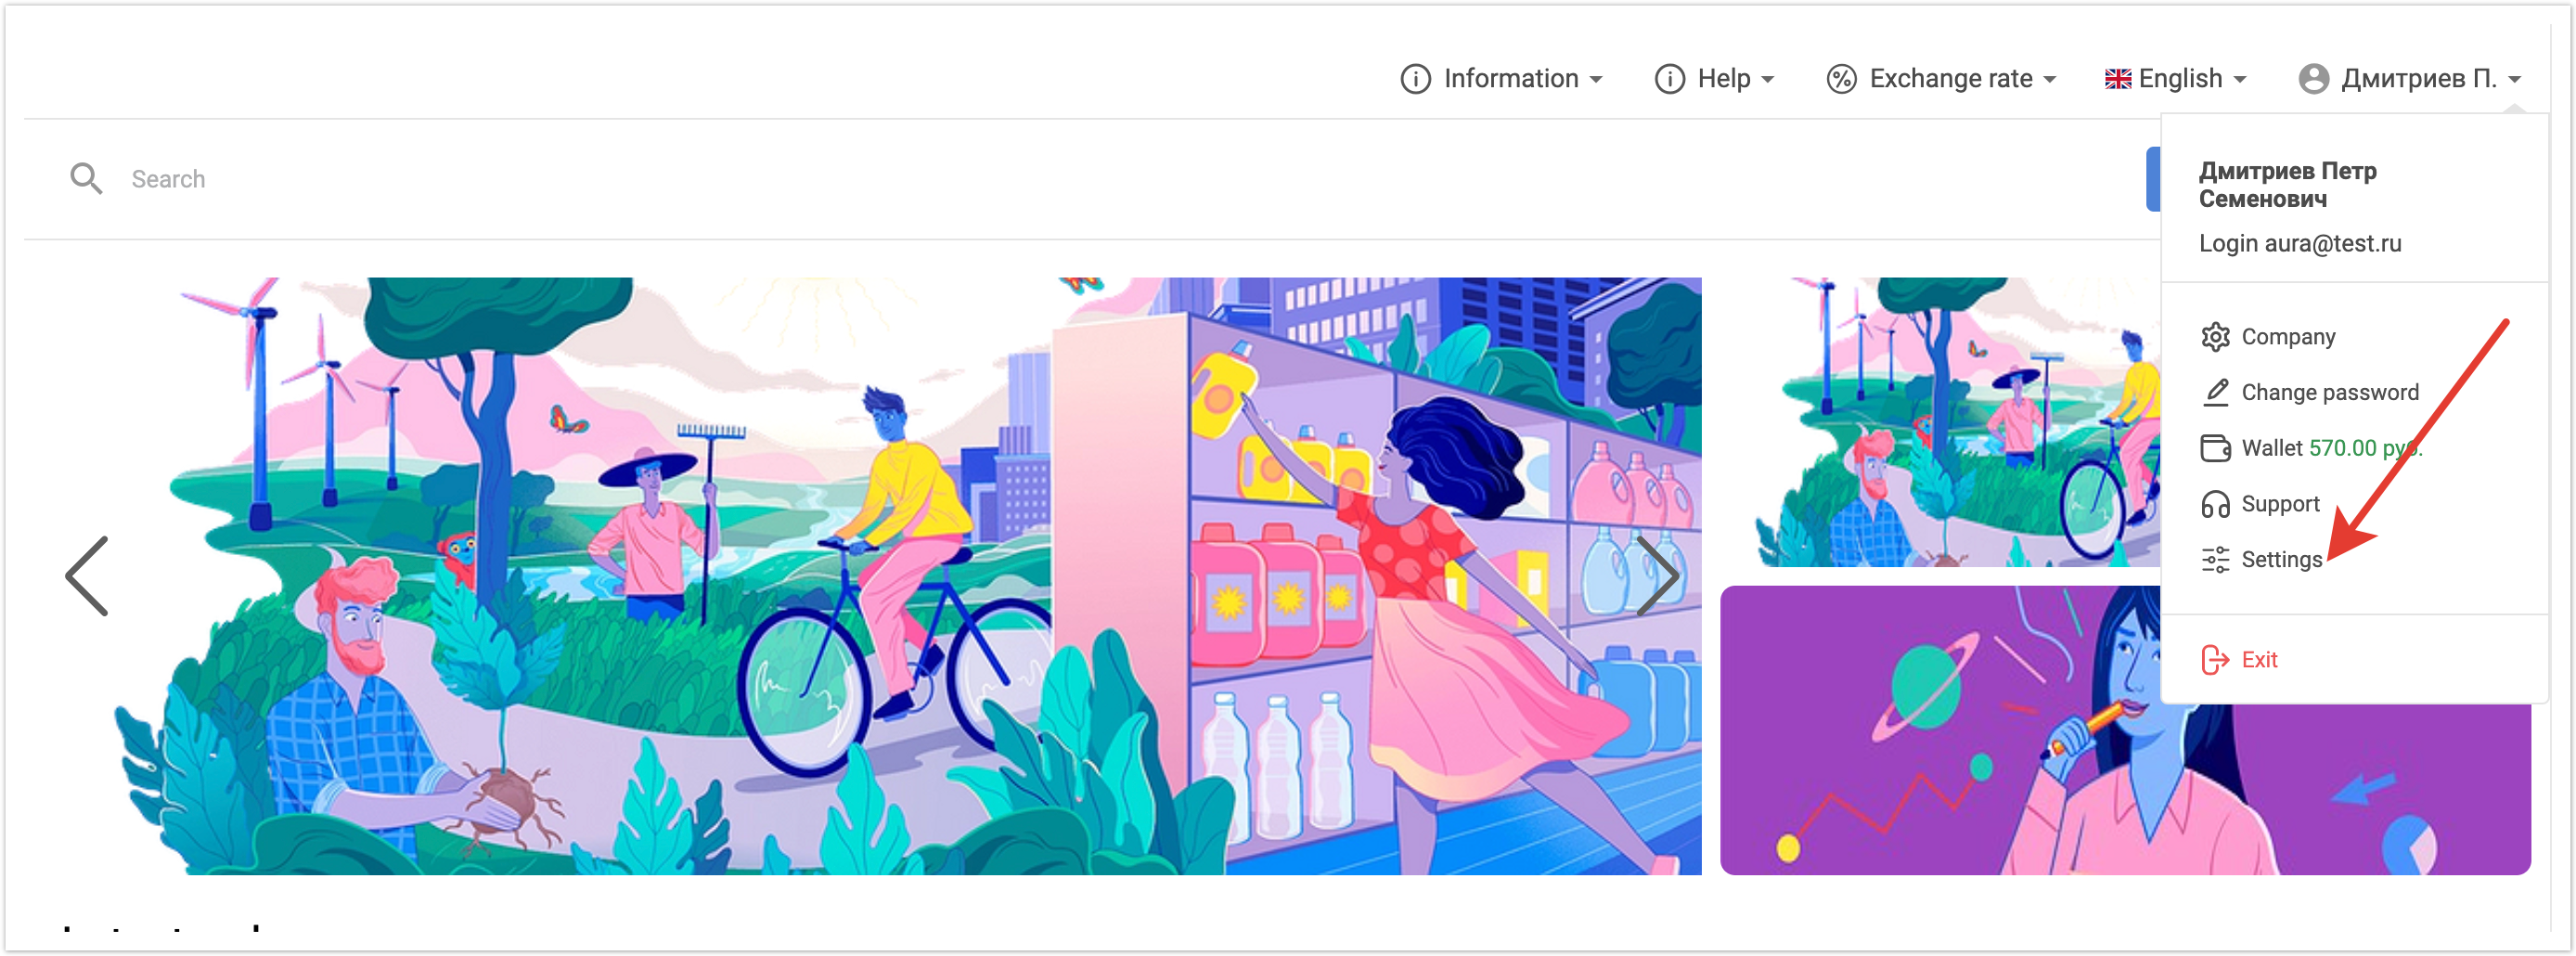
9. How to configure sending notifications of new orders to a specific e-mail?To do this, go to the Supplier’s personal account and go to its Settings:
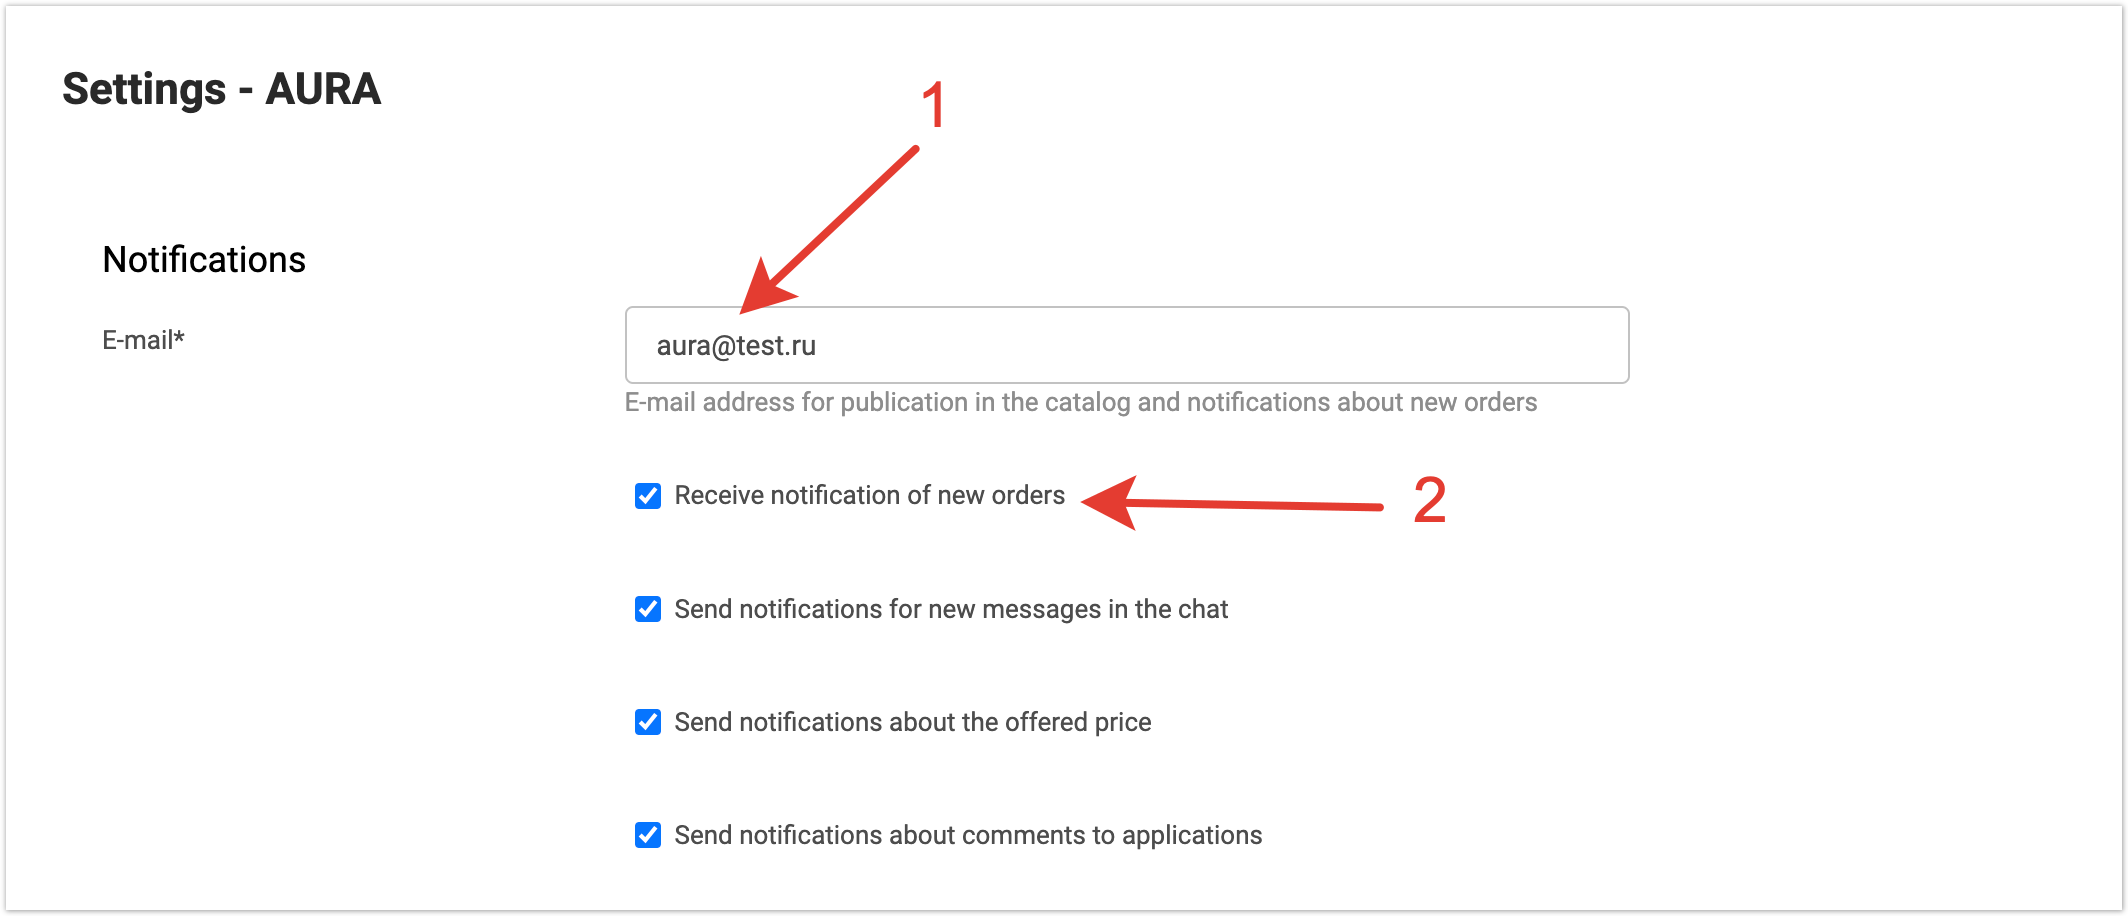
In the Settings section, you can specify the e-mail to which you need to send notifications of new orders.
After saving the settings, notifications of new orders will be sent to the specified email.
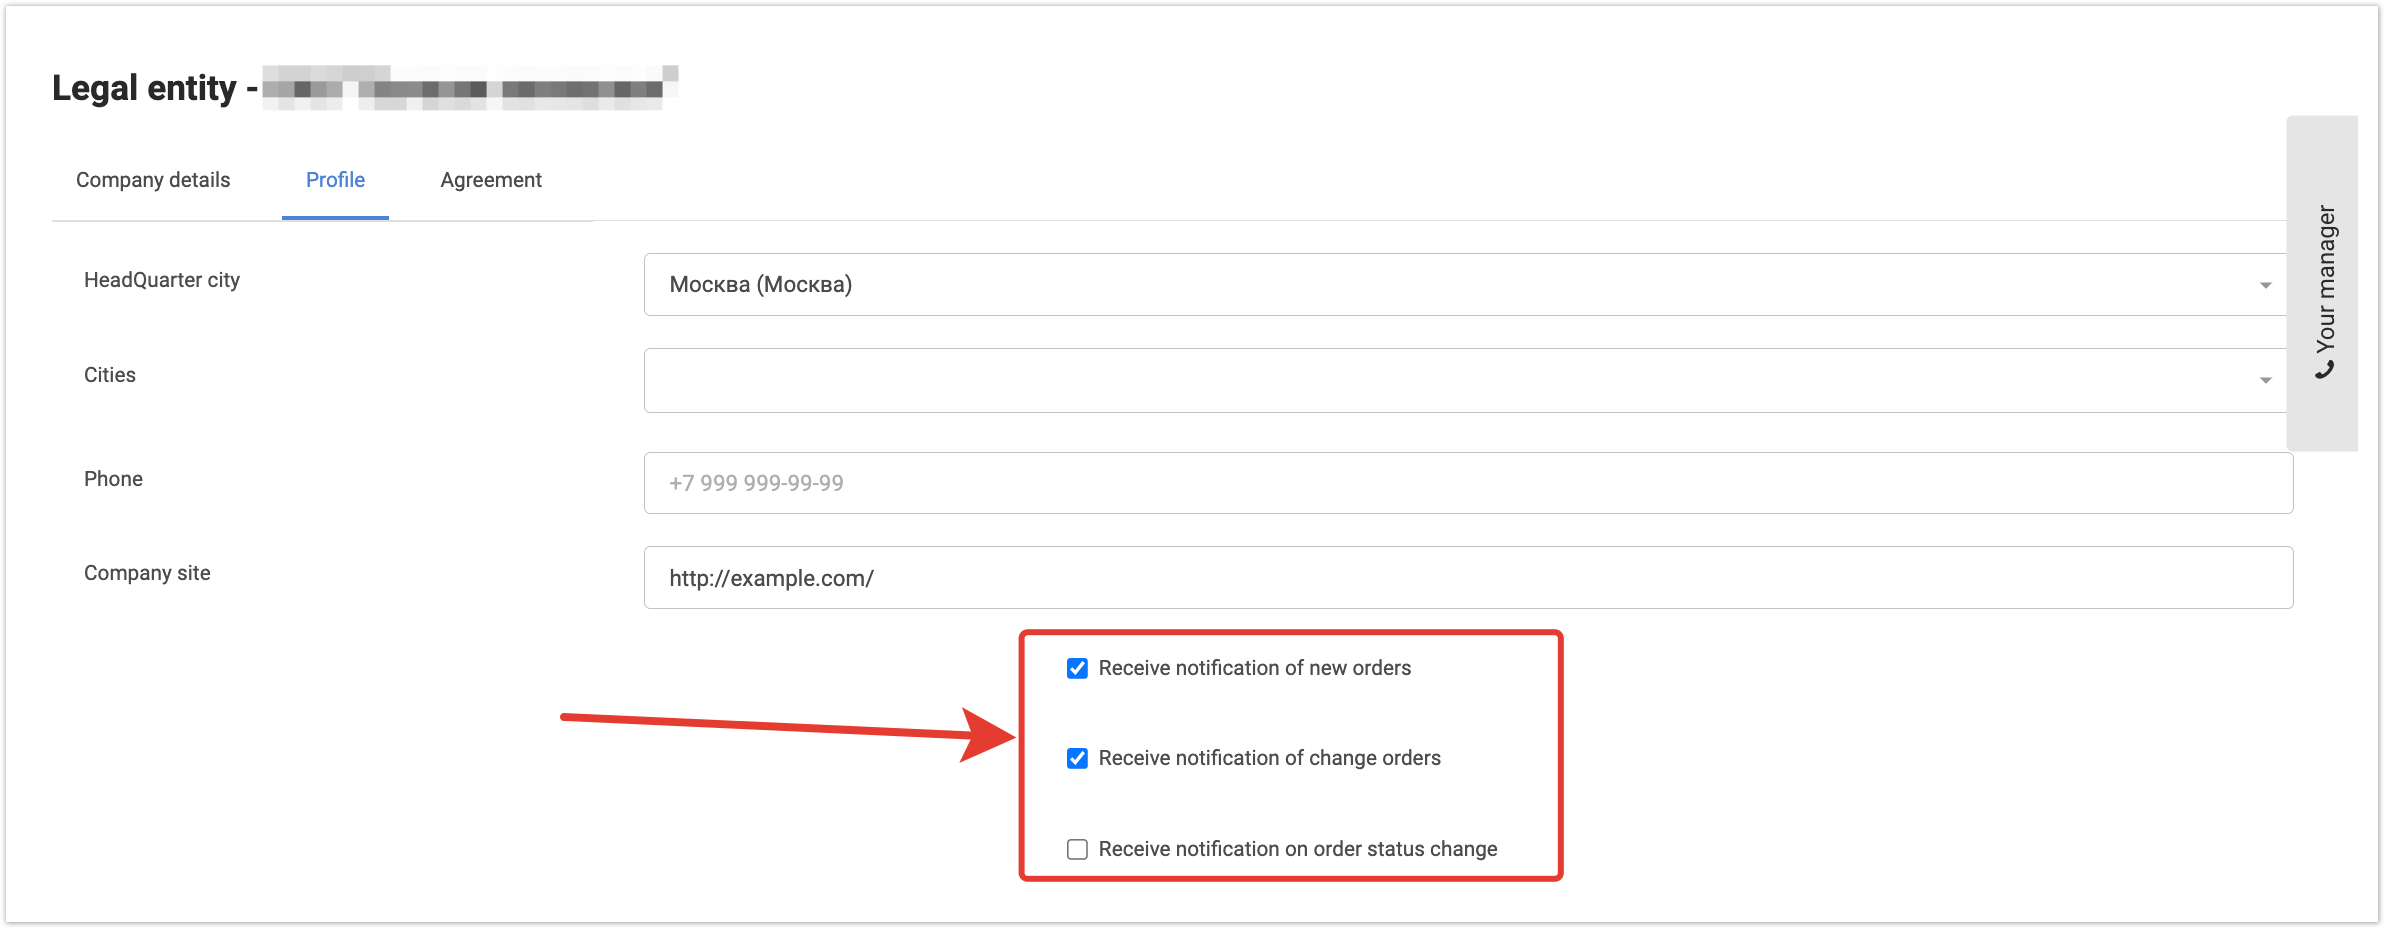
10. What order notifications can be sent to the Customer.The Customer can set up the following notifications in his Personal Account:
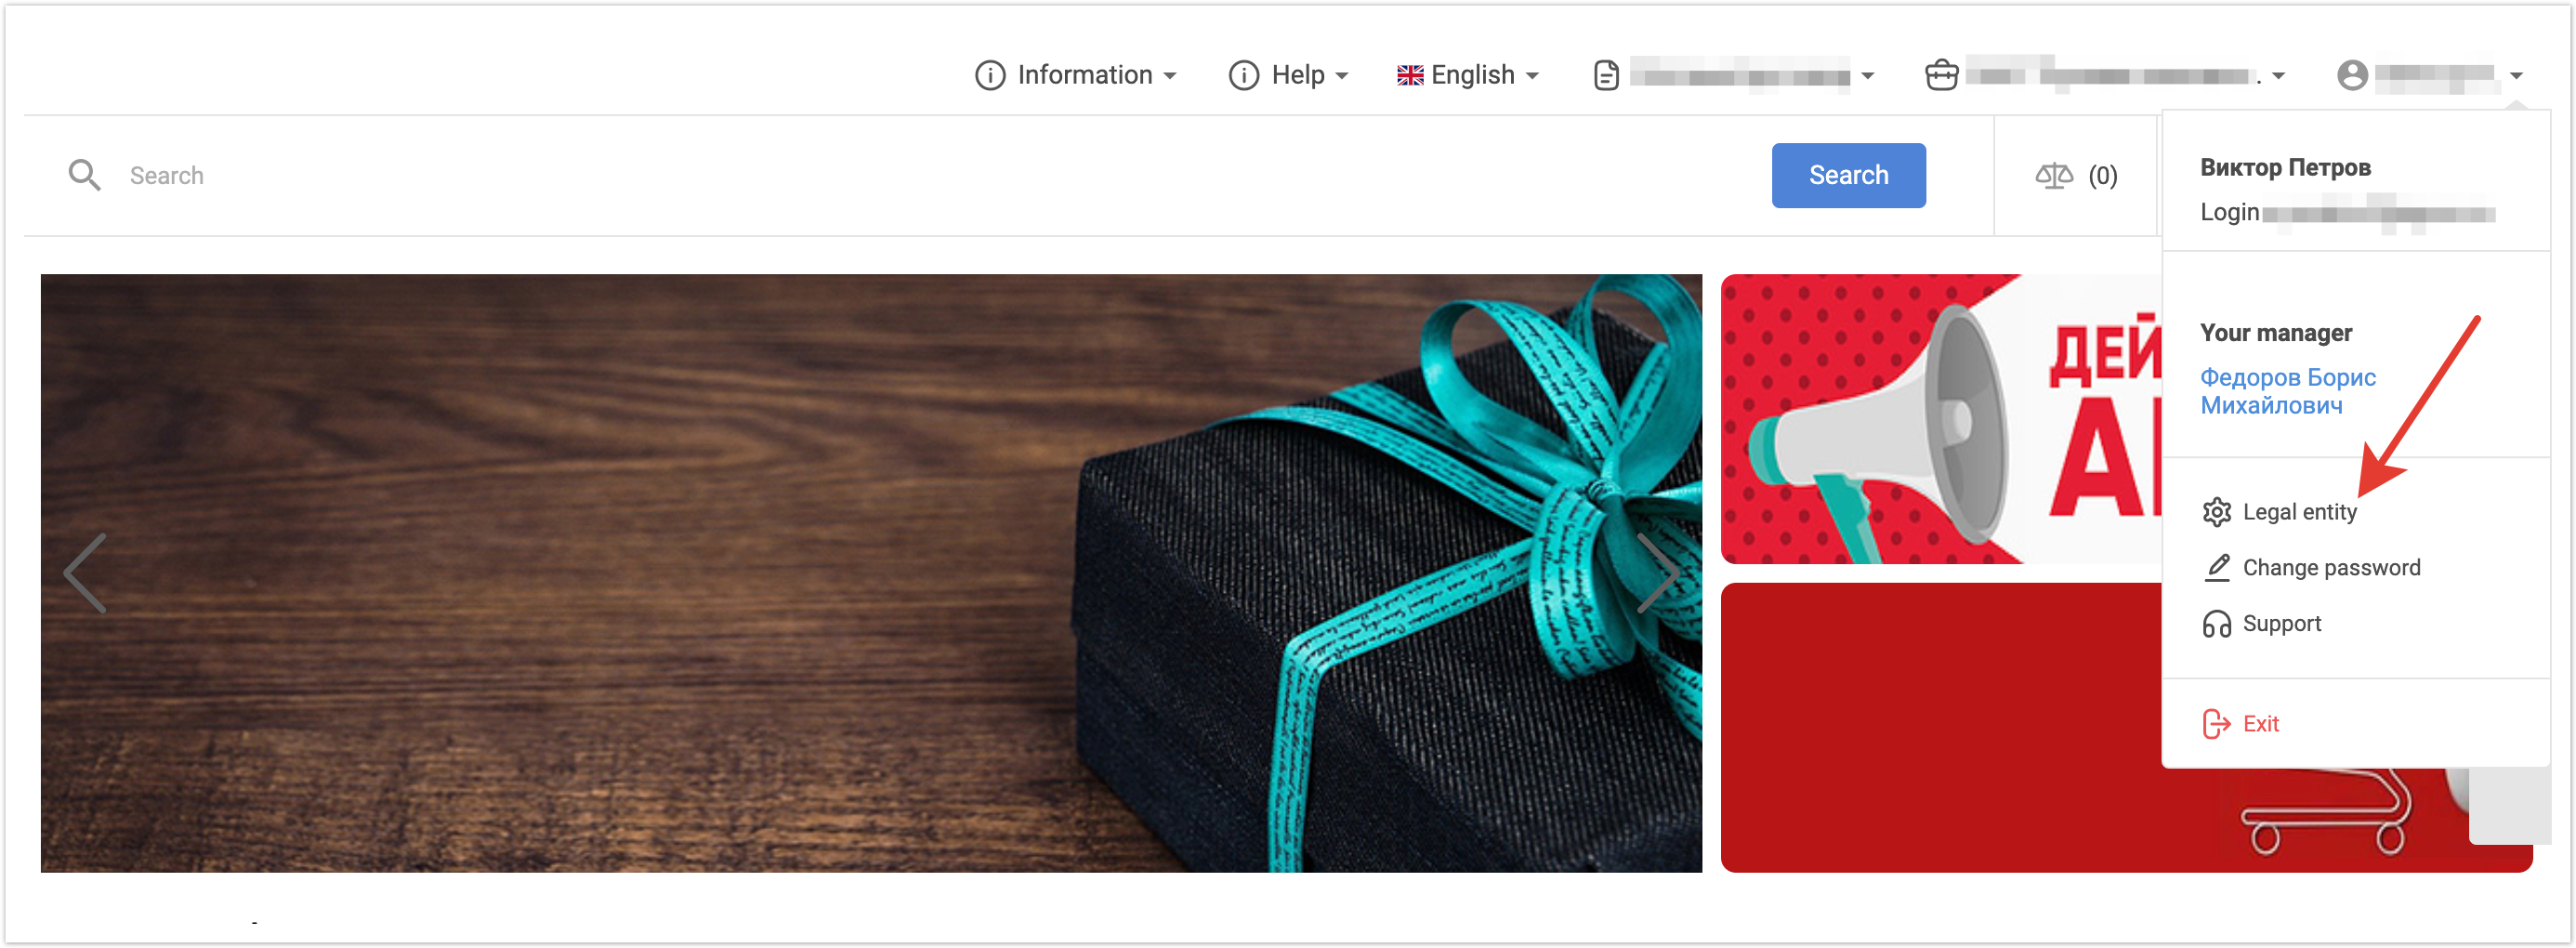
To configure the sending of notifications, you need to go to the Personal Account settings in the Profile section, it will be available if you go to the Legal entity setting.
Next, go to the Profile tab and select the necessary alerts with checkboxes.
After saving the settings, the selected notifications will be sent to the user's contact email.
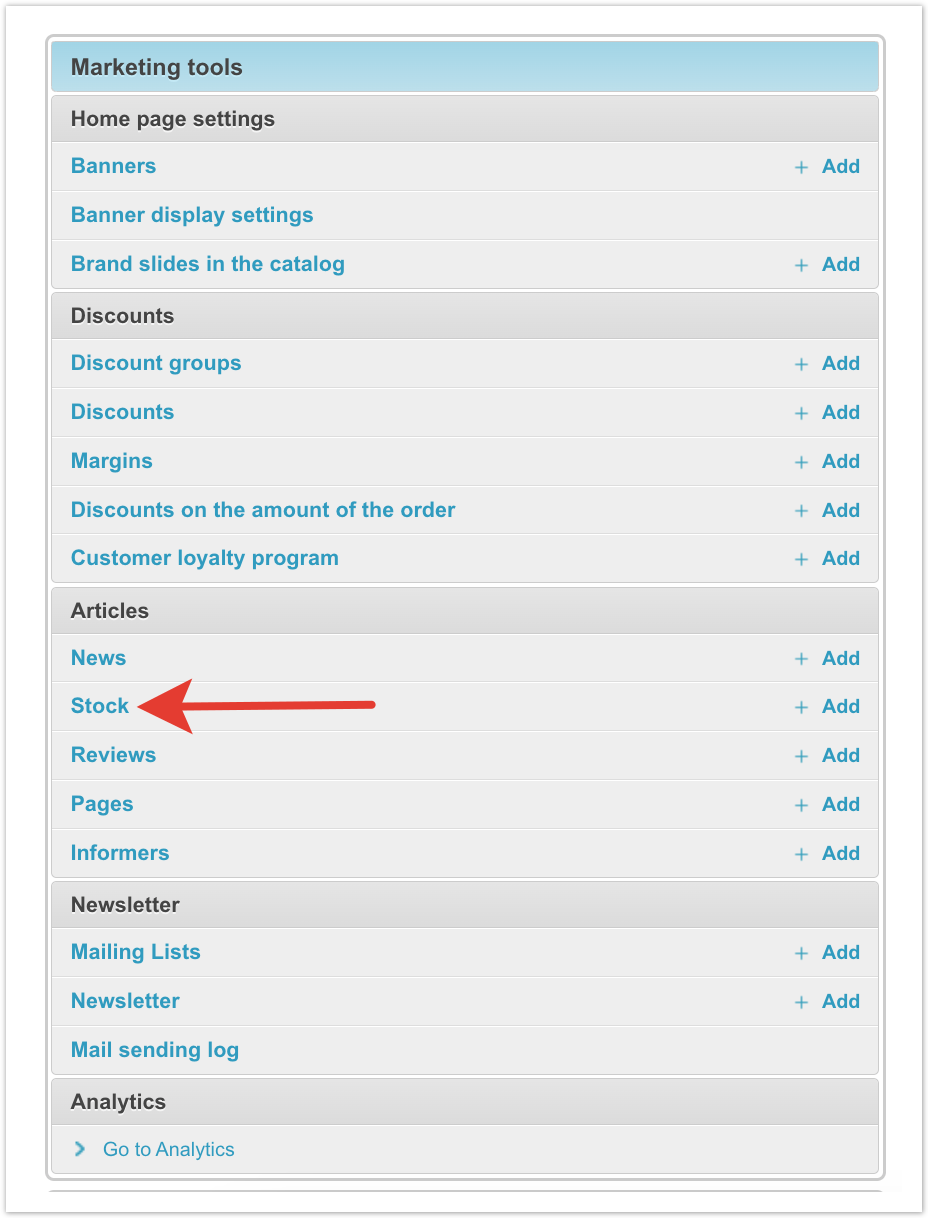
11. How to get shares on the portal.In order to start a share, go to the administrative panel, in the Stock section:
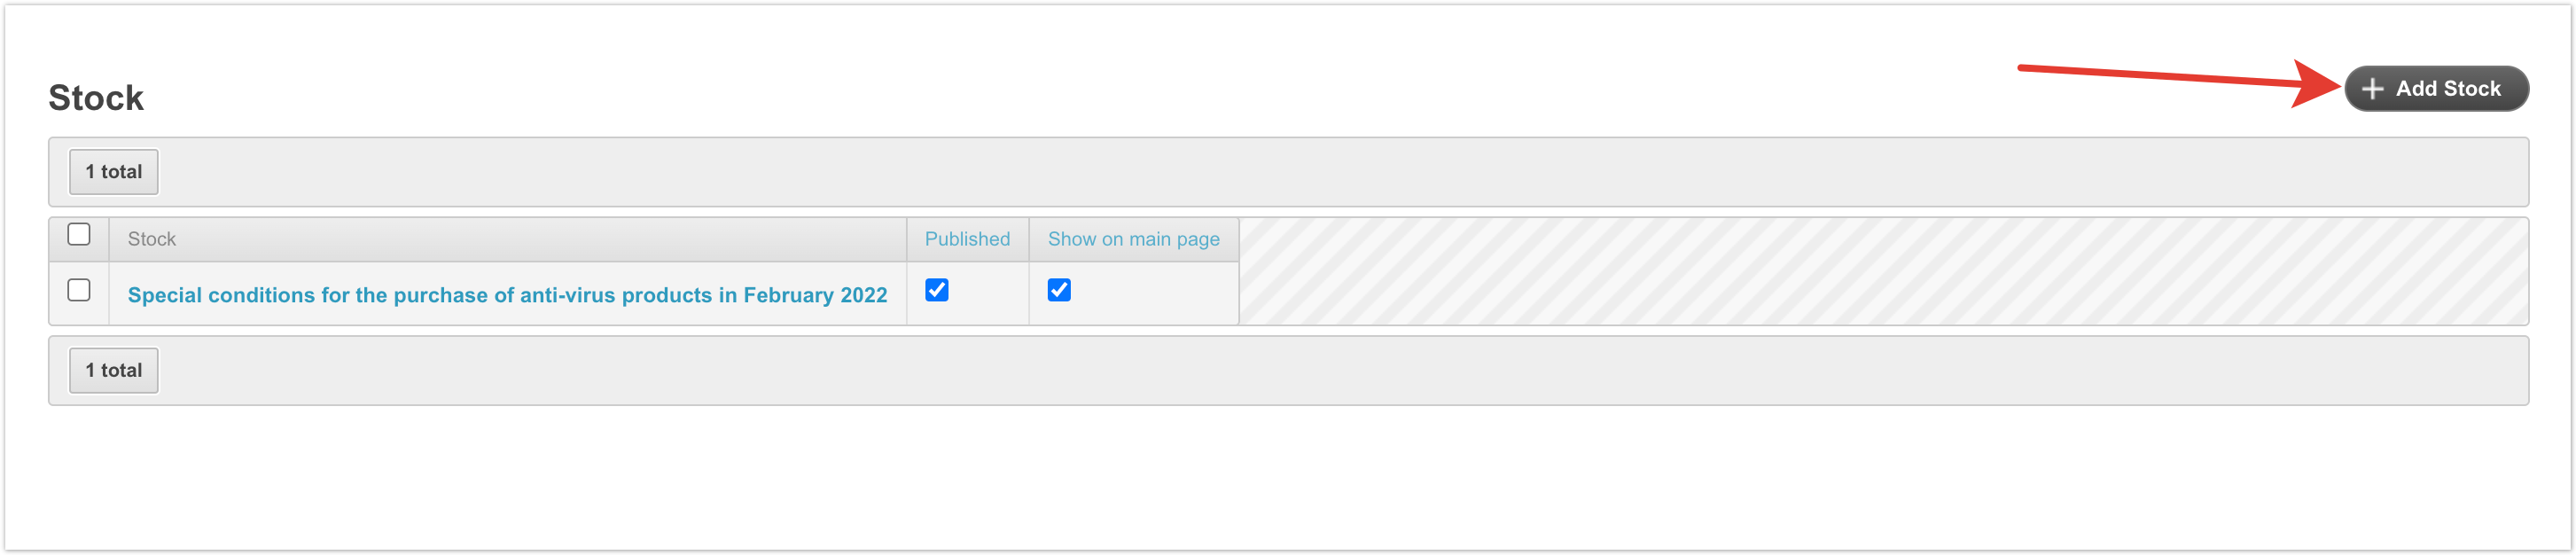
Next, click on the Add Stock button.
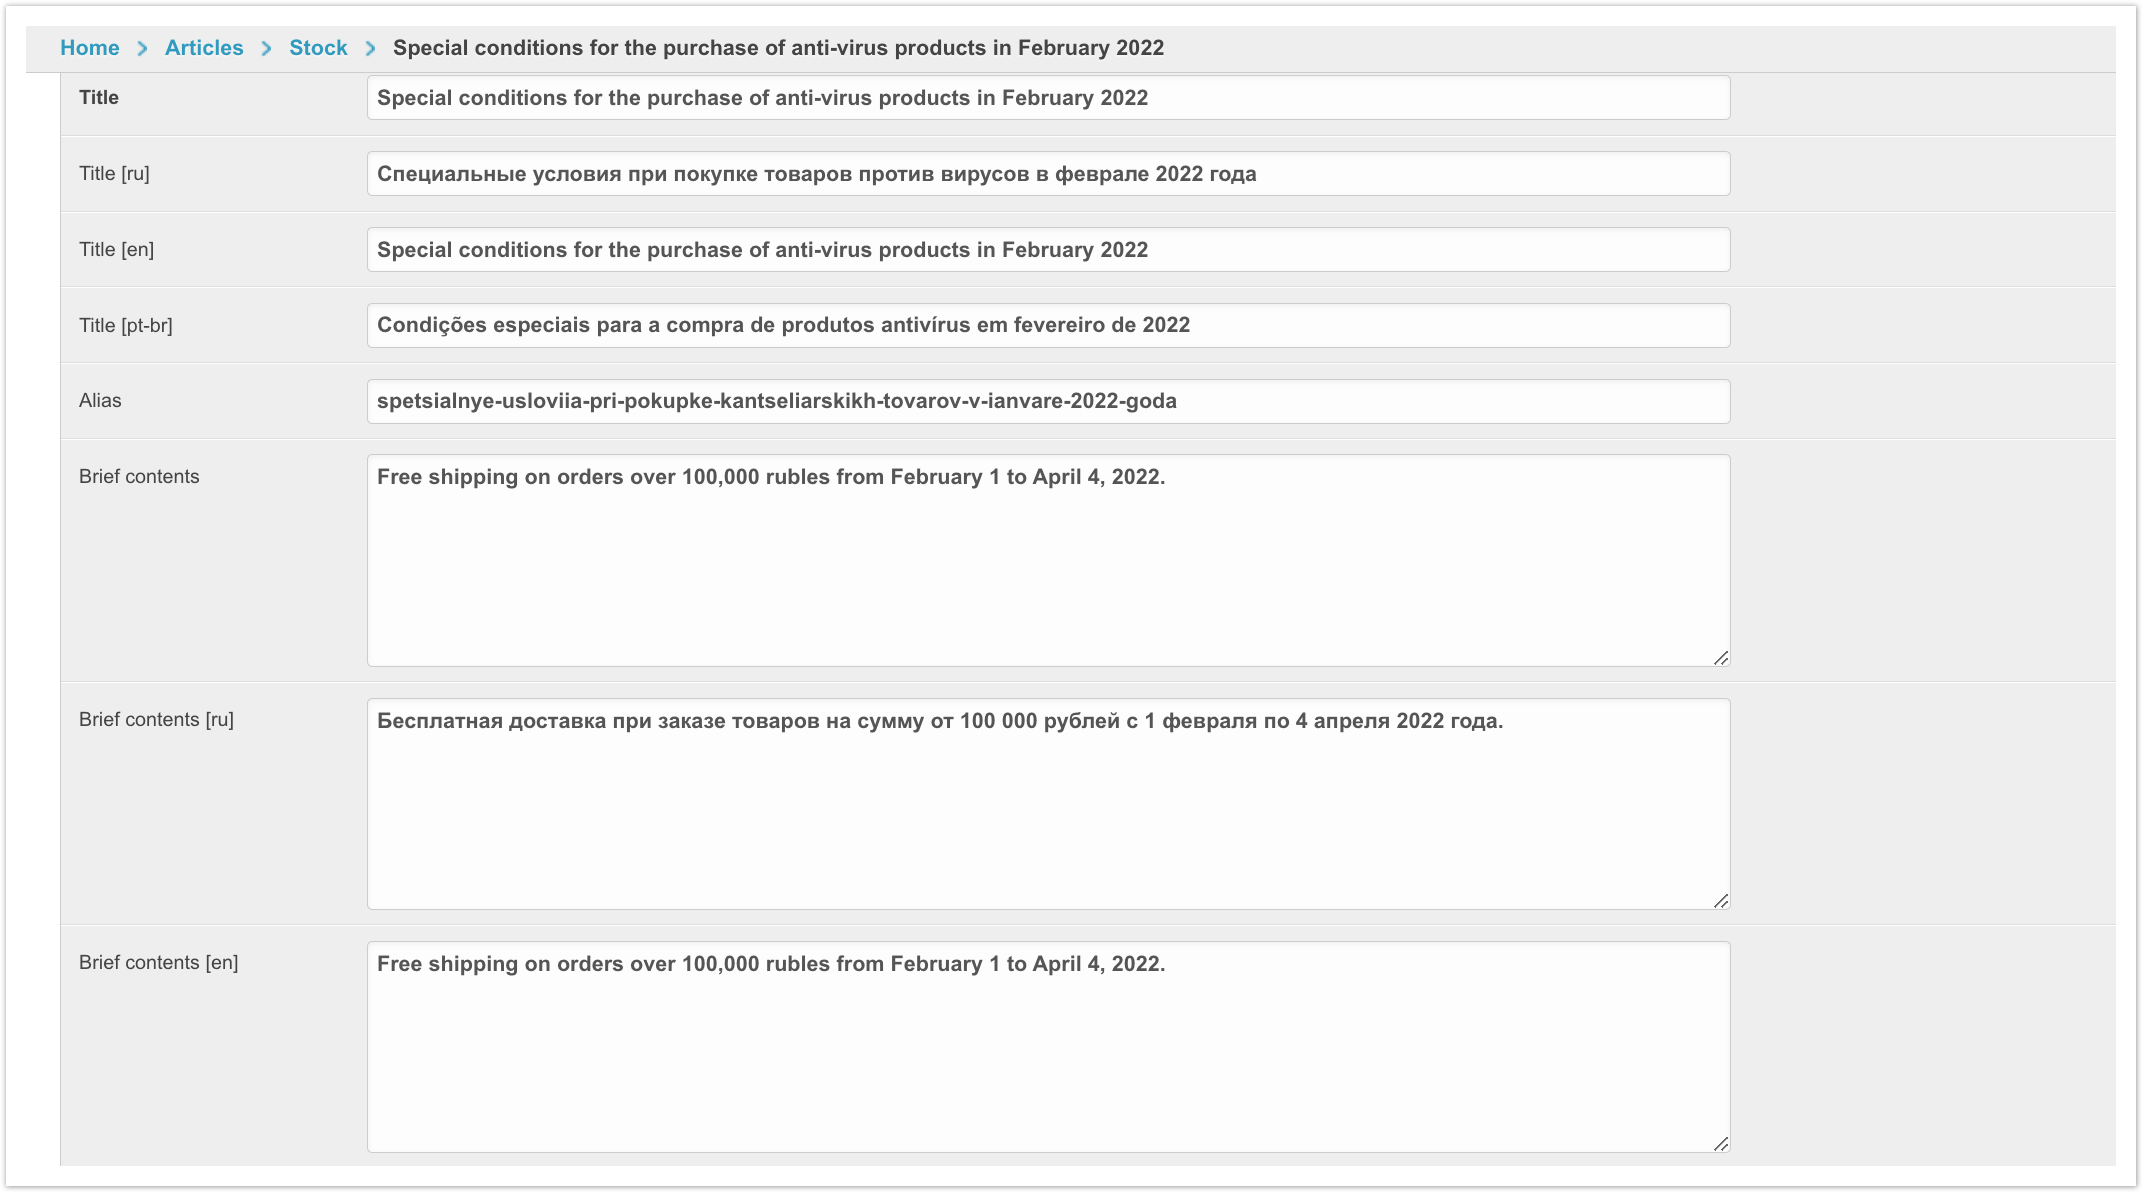
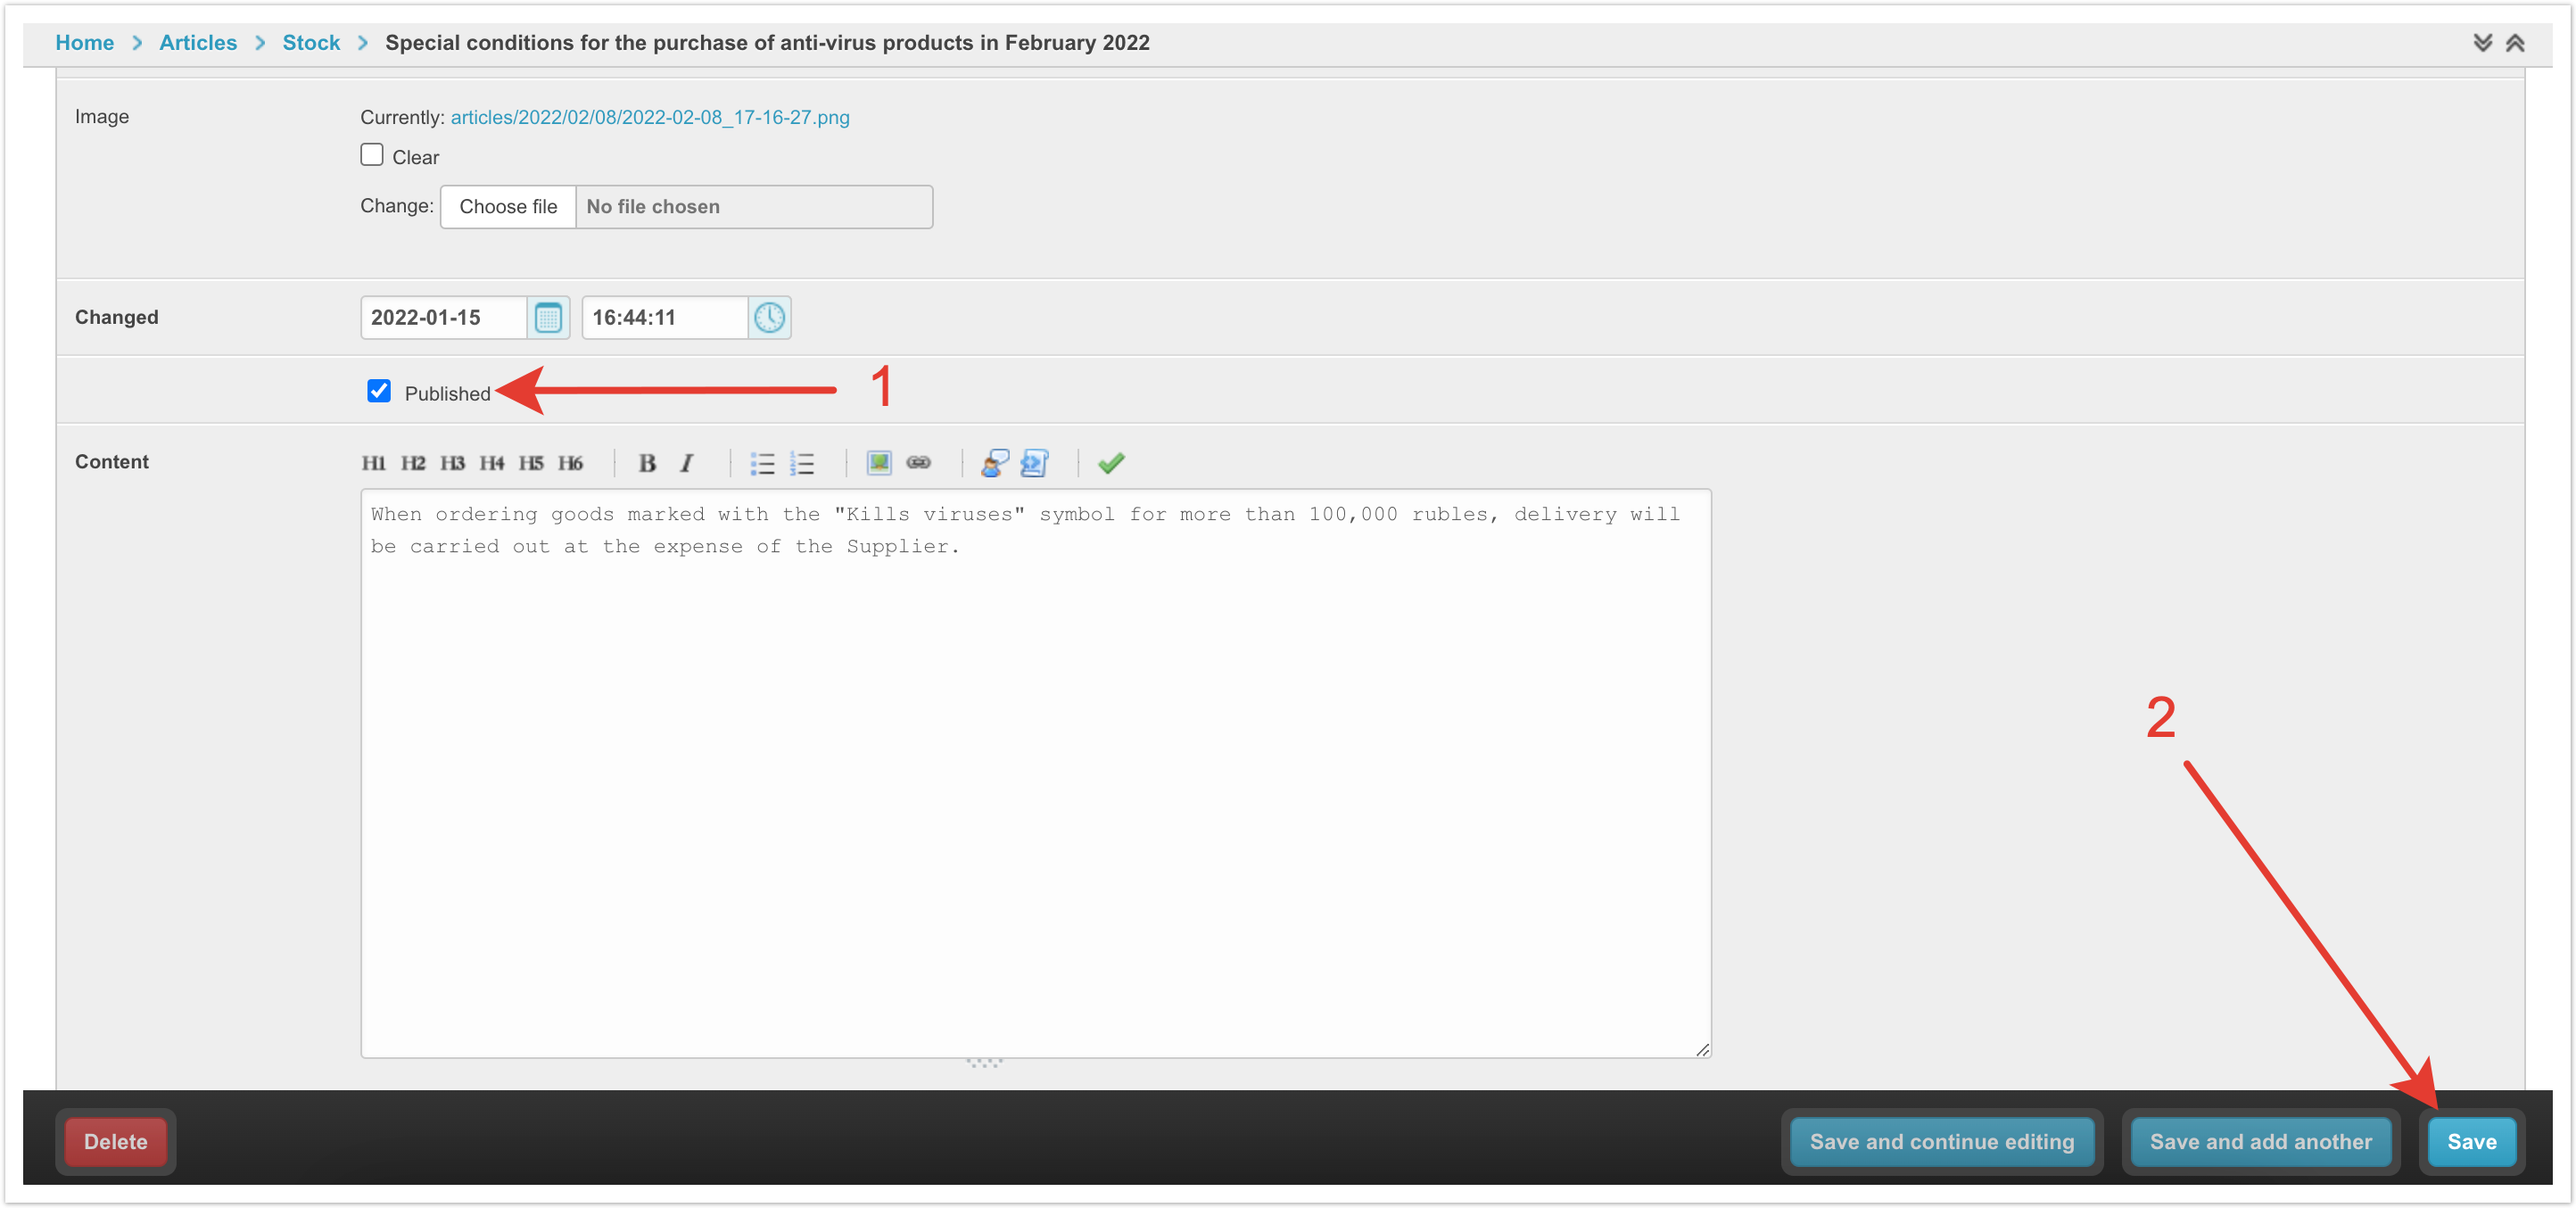
For registration of the action you must fill in the following data:
After that, it is necessary to mark the check box Published, then click the Save button.
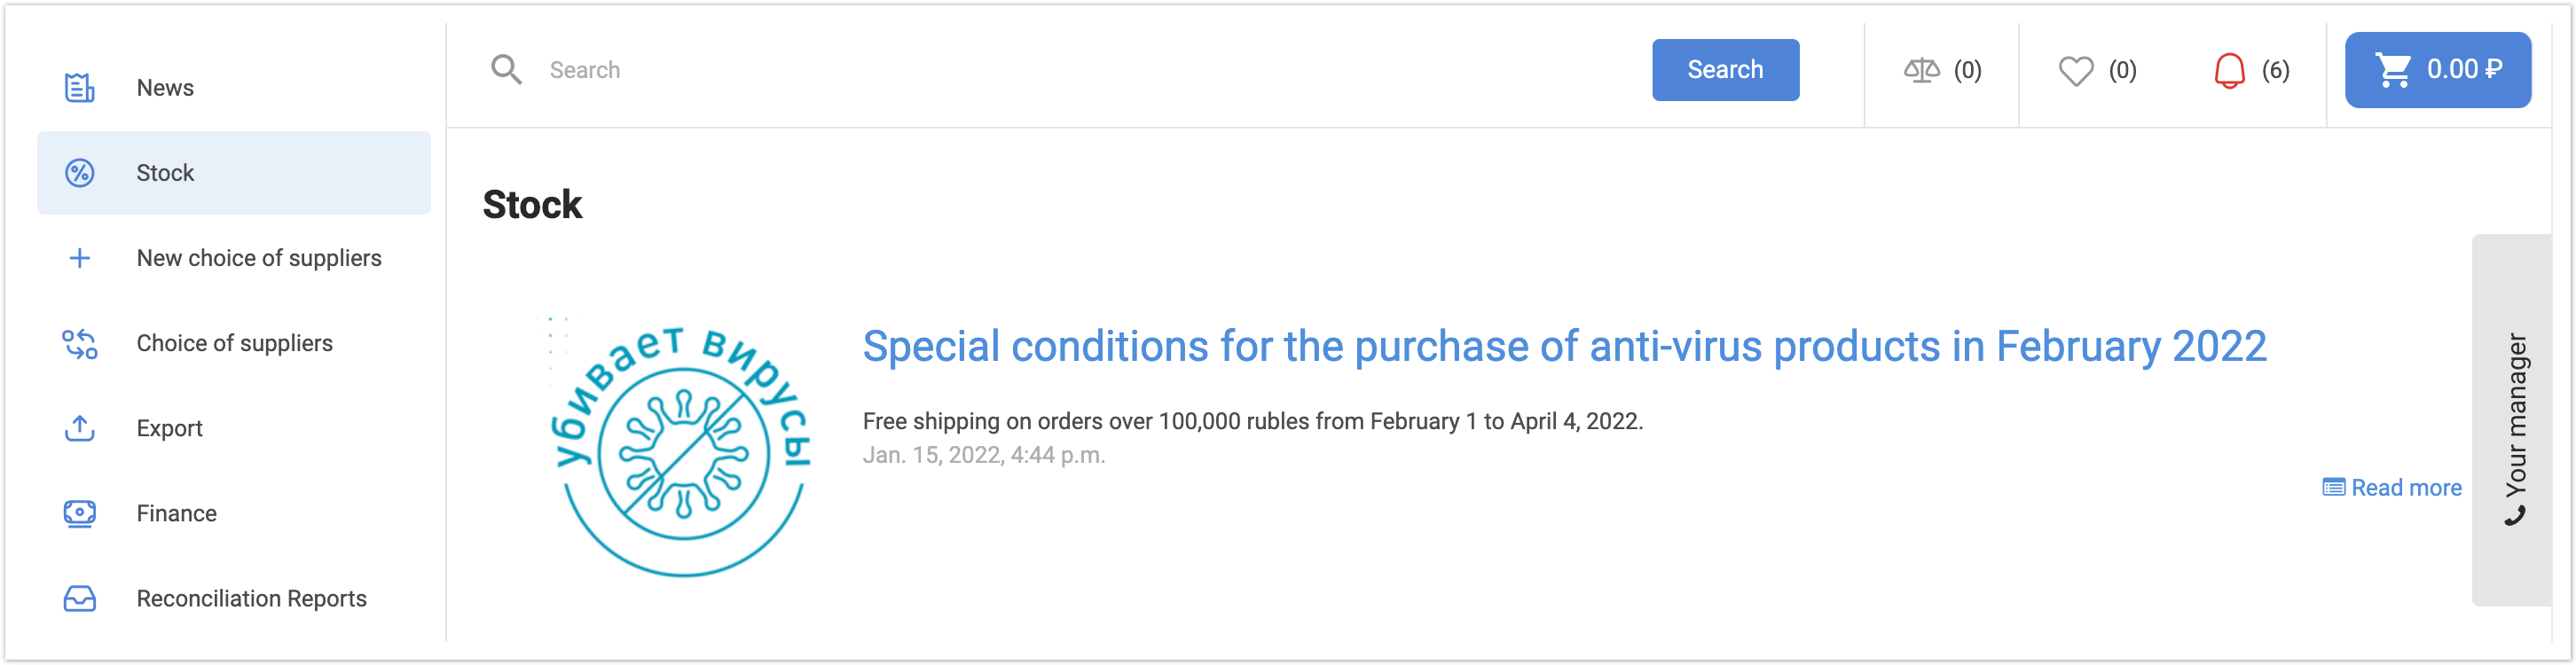
The promotion will be displayed in the customer’s account as follows:
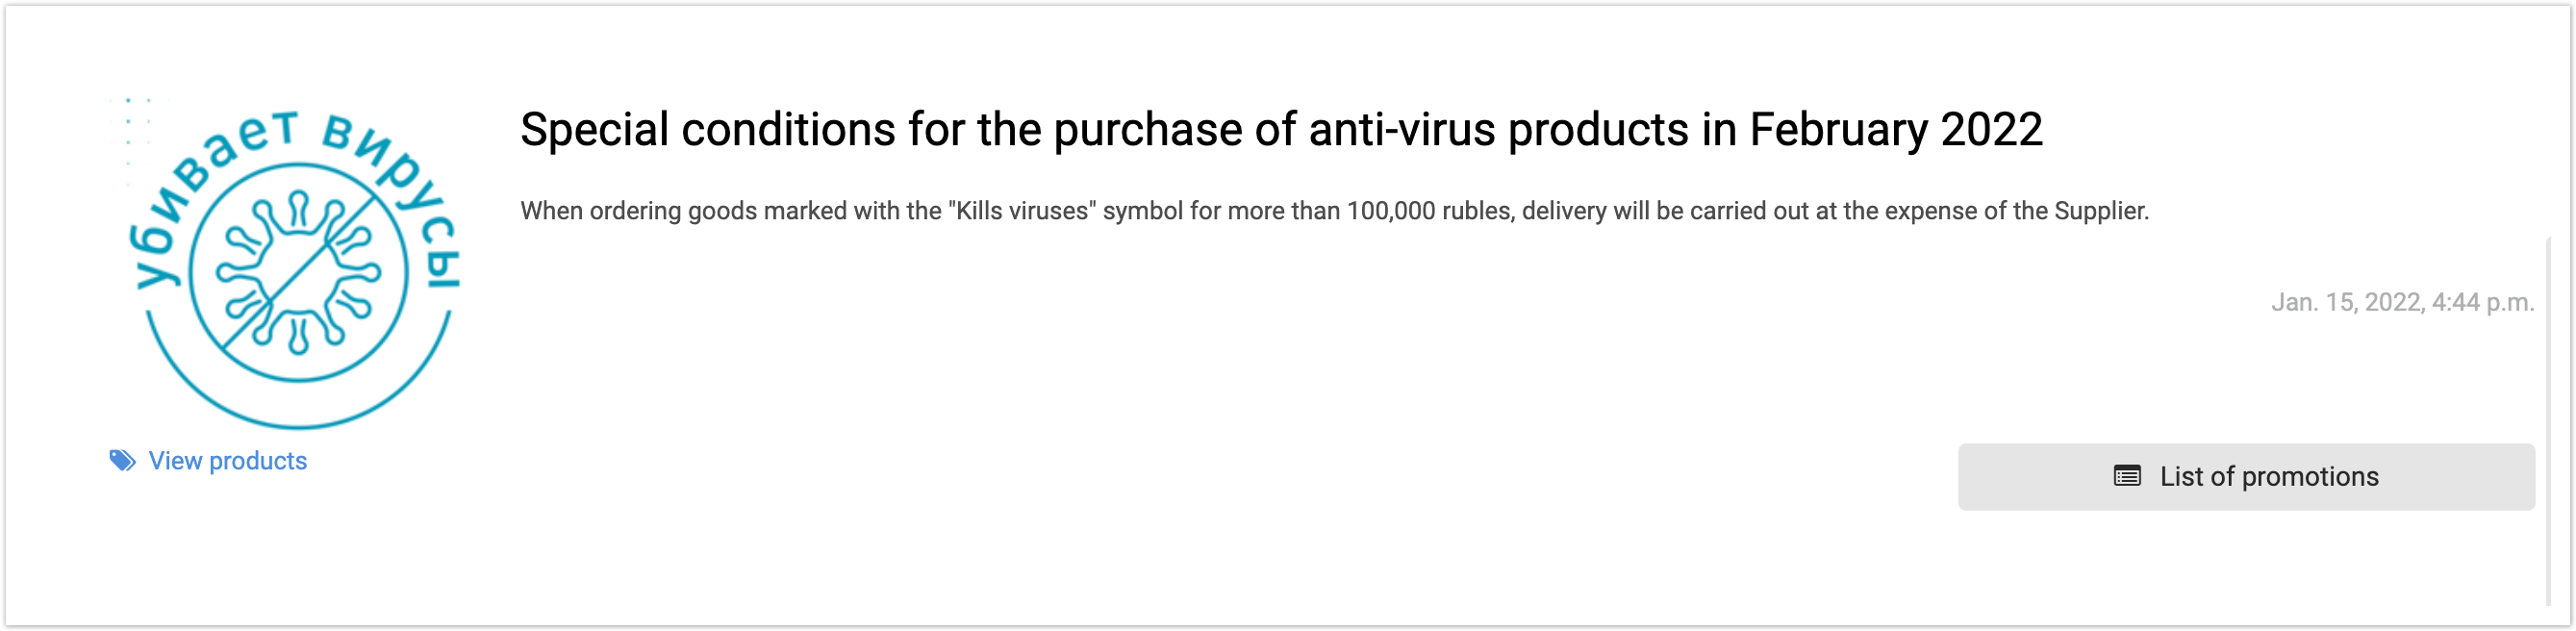
To view additional information on the promotion, the user needs to click on the name of the promotion. Inside the promotion, a View Products link will be displayed, which will lead to a catalog page with products linked to the promotion, which the buyer can immediately add to the cart.
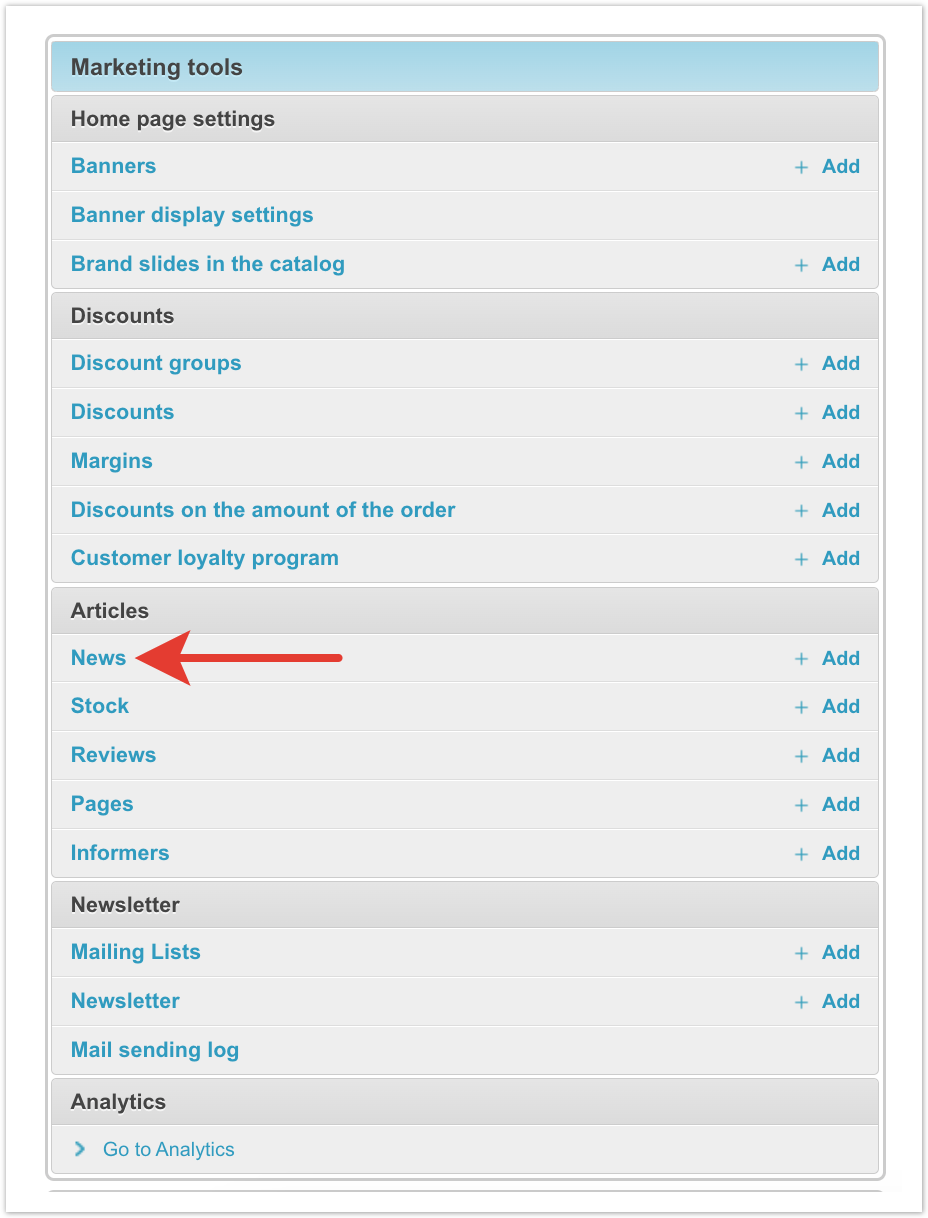
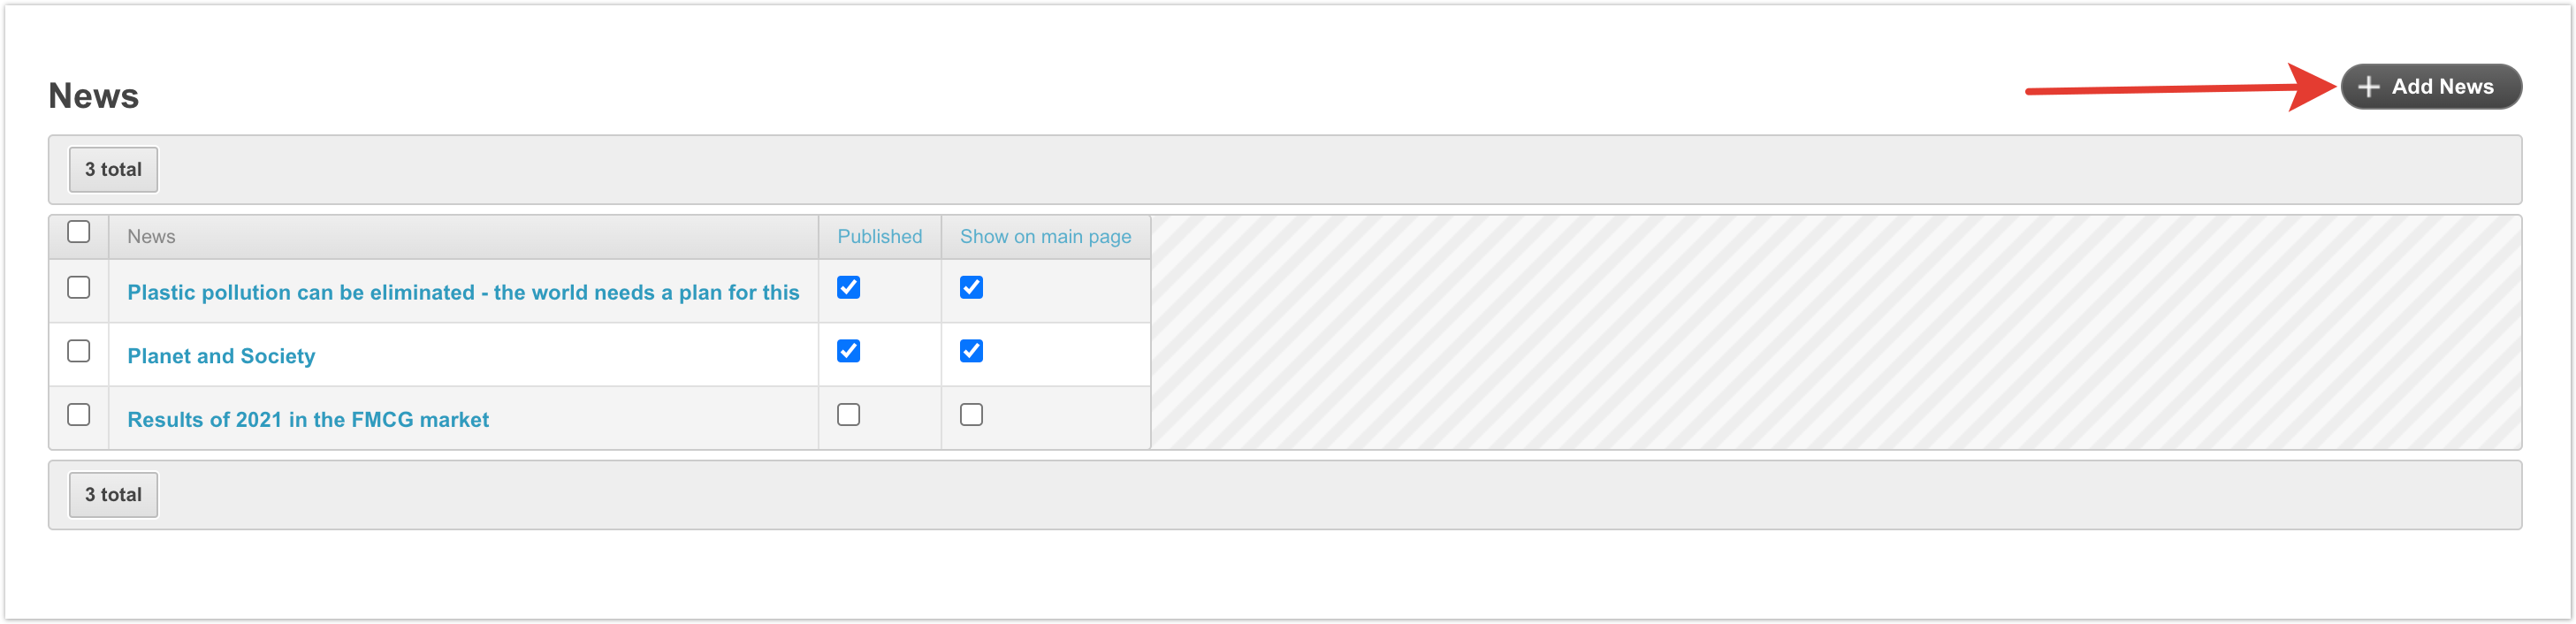
12. How to add news on the portal.To post news on the portal, go to the News section.
Next, you need to click on the Add News button:
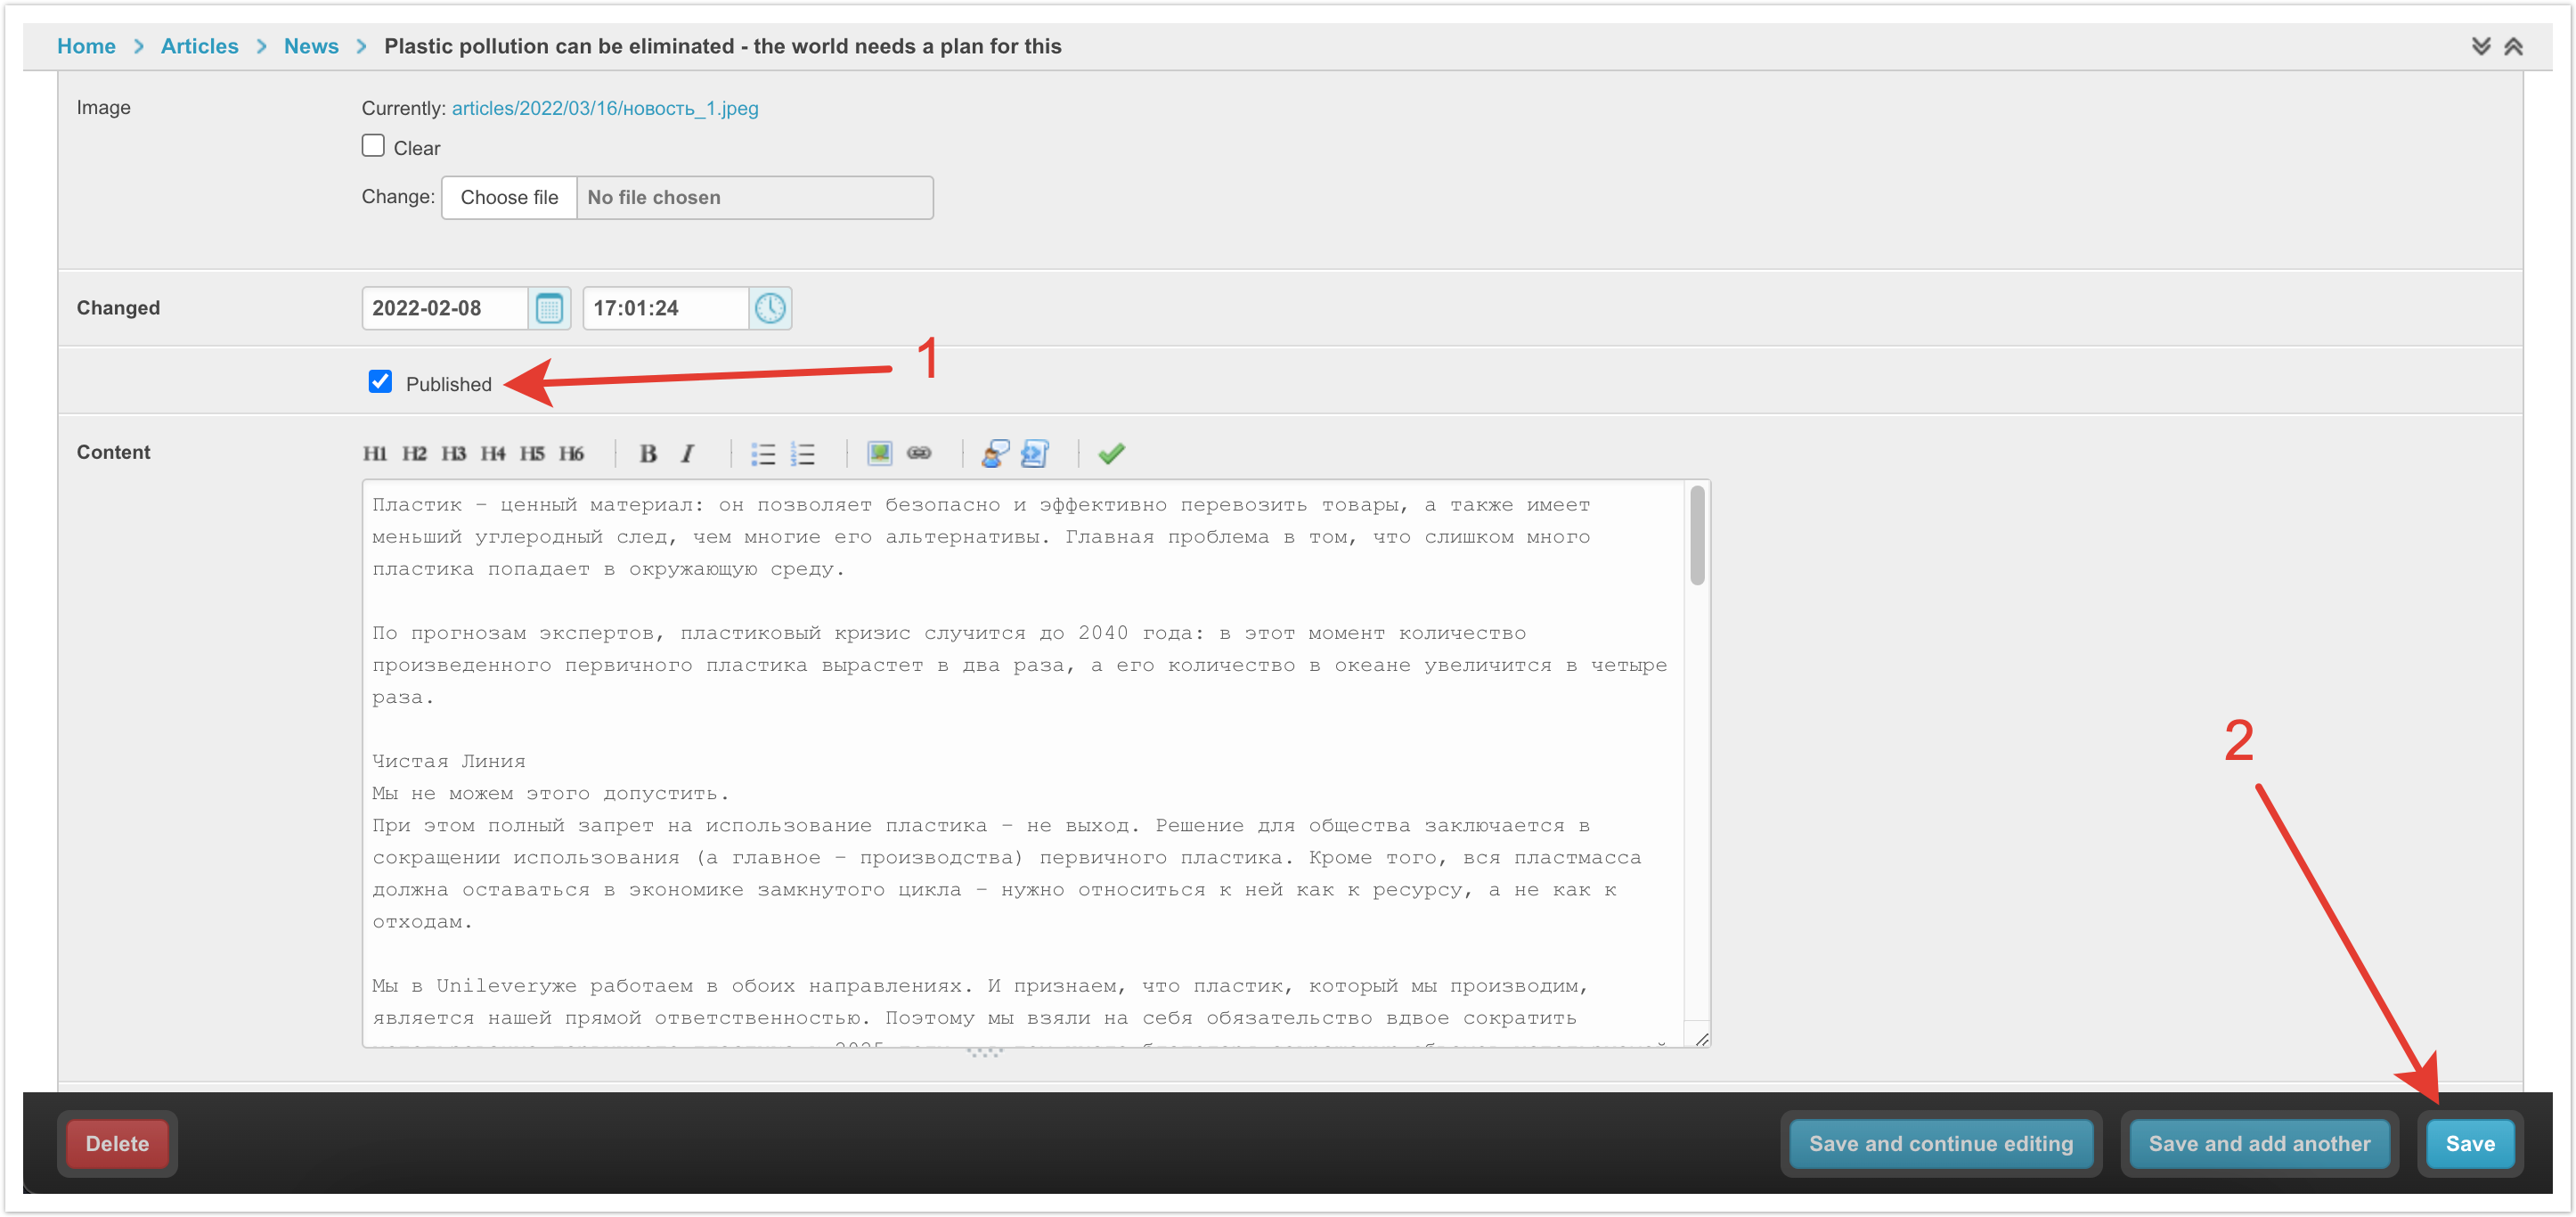
To create News, you must fill in the following data:
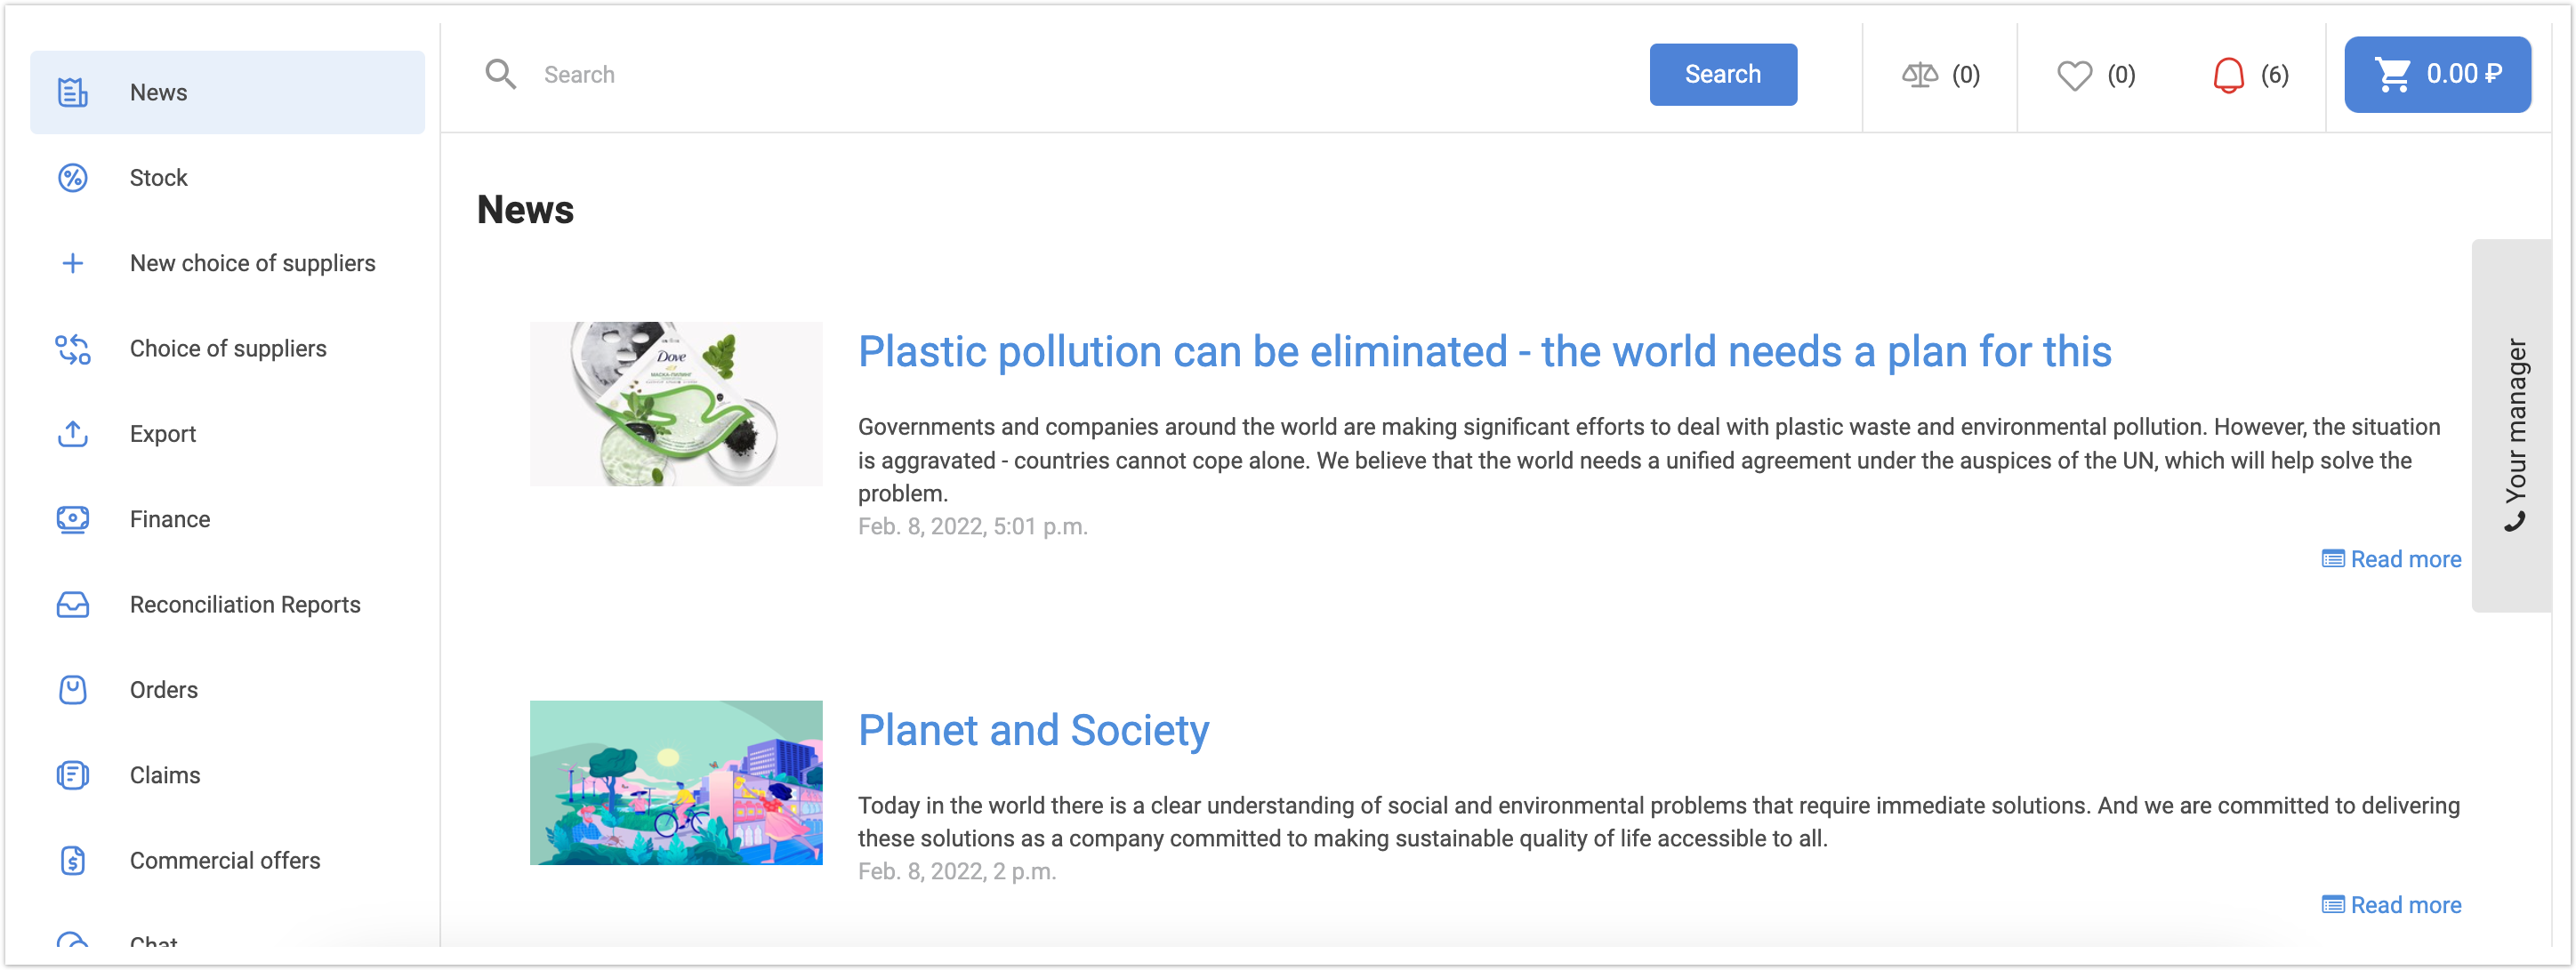
After that, the news will appear on the customer's page in the News section:
13. How is the AGORA system of protection against hacking, DDoS, and other things organized? How is data security ensured?Data transfer is carried out using secure protocols, the servers are closed by a firewall.
|


...